Searching for Wesley & The Dining Hall Firefight – The Old Blood Chapter 3: Wolfenstein Keep Walkthrough
Wolfenstein: The Old Blood Gameplay Chapter 3: Wolfenstein Keep Walkthrough 4K 60FPS
B.J. Blazkowicz is used to dangerous missions, but Chapter 3: Wolfenstein Keep takes him deeper into enemy territory than ever before. After escaping the docks, he sneaks into the castle to rescue his partner, Agent One, also called Richard Wesley. The castle is filled with signs of the Reich’s obsession with the occult and their advanced military technology, making this one of the most intense parts of the game as B.J. moves deeper inside.
This chapter is a turning point in Wolfenstein: The Old Blood. It starts with stealth but quickly becomes a tense rescue mission with horror elements. As players lead B.J. through the castle’s halls, the mission feels heavier, with the sounds of machinery and distant interrogations adding to the tension. The enemies are tough, and the castle itself feels like it’s meant to break anyone who tries to fight the Nazis here.

The Breach and Infiltration of the Keep
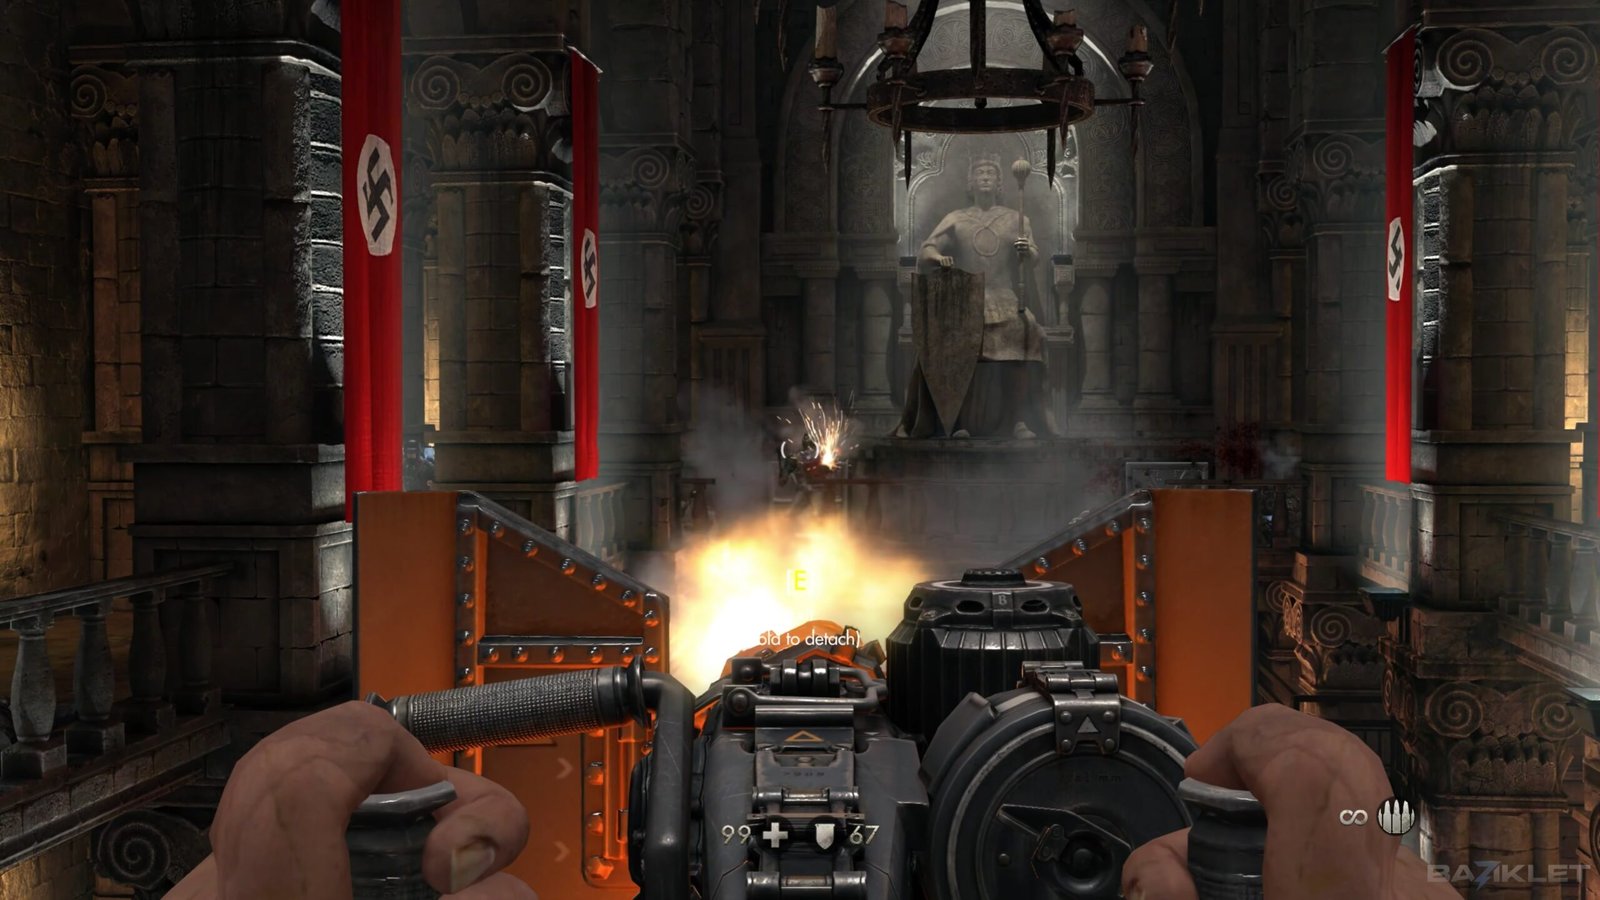
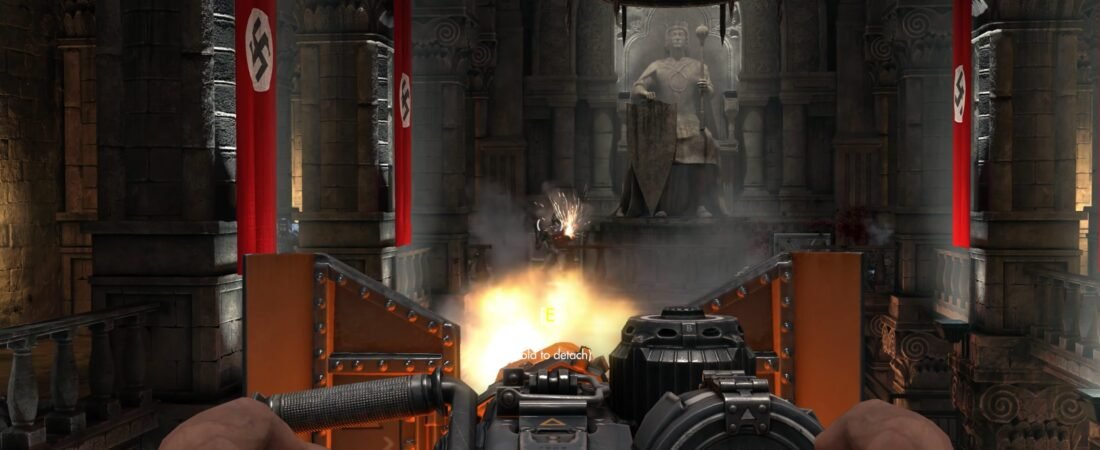
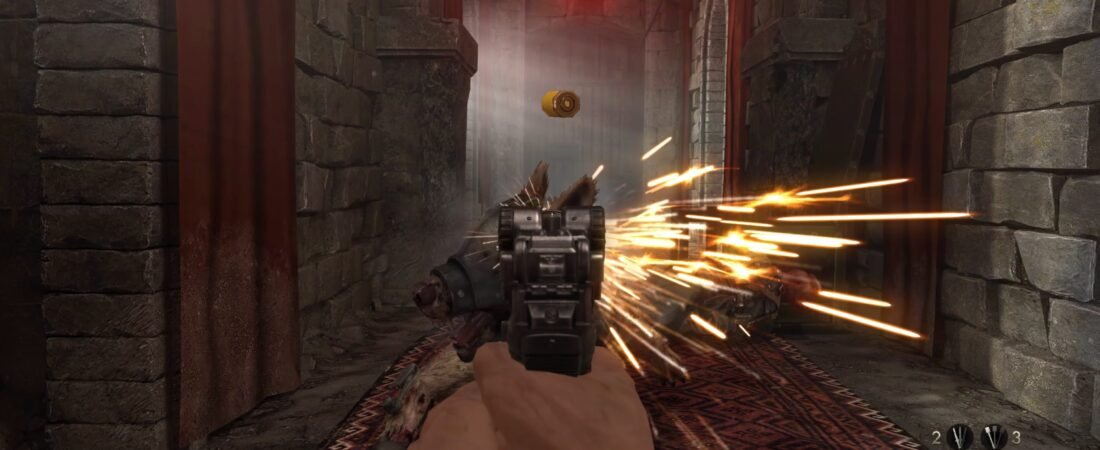
The mission starts with high action as B.J. moves from the docks into the main keep. He faces a powerful Supersoldat and several guards blocking his way to his partner. After fighting through, B.J. climbs to the upper levels, passing through the fancy but cold Dining Hall and the busy Kitchen. These areas show the everyday lives of the soldiers, which contrasts with the harsh reality of their mission.
While moving through these areas, B.J. overhears guards talking. He learns about Helga von Schabbs and her obsession with King Otto I, hinting at something supernatural in the castle. He also hears that Agent One is still holding out against Rudi Jäger’s harsh interrogations. This gives B.J. hope but also shows how urgent the rescue is, as his friend is reaching his limit.
Secrets of the Library and Archives
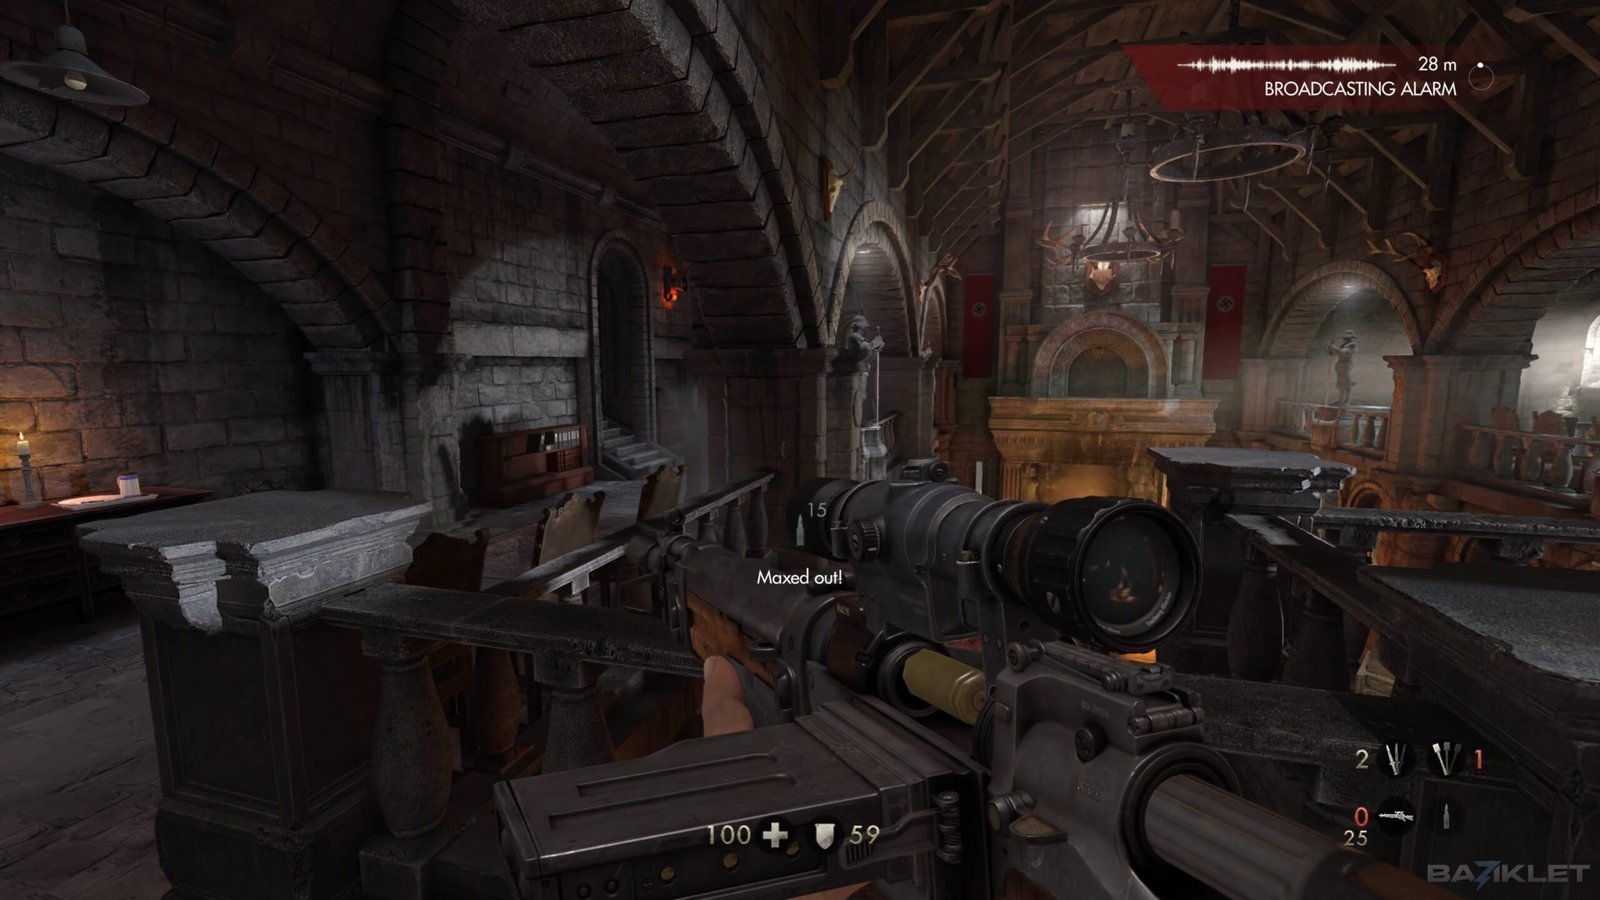
Deeper in the castle, B.J. enters a large library with high ceilings and old books, where several Nazi Commanders are hiding. He must quietly take out the officers to avoid more enemies showing up. B.J. finds a hidden key in a display case, which he needs to open a secret room behind a big portrait of King Otto I. This adds to the mystery Helga has created in the keep.
Inside the secret room, B.J. discovers documents about Helga’s archaeological interests. They show she is obsessed with King Otto and that her work at the castle is more than just military. This reveals that the Nazis are searching for something much more dangerous than gold or land. With this new information, B.J. knows where to go next to find Wesley.
The Anatomical Theater and the Rescue Attempt
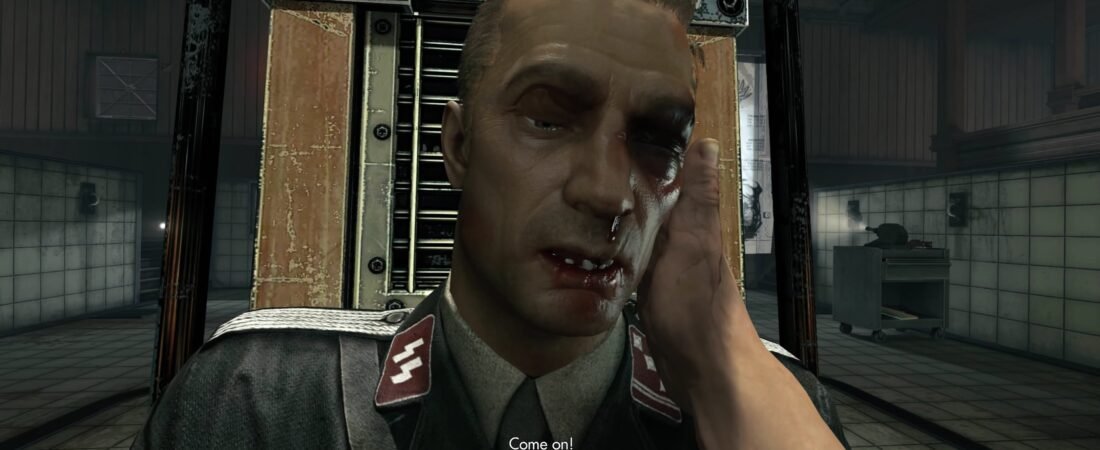
The tension peaks when B.J. finds the medical observation room, which is set up like a grim anatomical theater. He sees Richard Wesley strapped to an electric chair, suffering from long torture. When B.J. reaches him, Wesley wakes up for a moment and shares a coping method with B.J.: “Count to four. Inhale. Count to four. Exhale.” This touching moment shows their shared strength in the face of pain.
But the rescue is cut short. Before B.J. can free Wesley, he is ambushed by Rudi Jäger, the main villain of the chapter. Jäger attacks so quickly that B.J. can’t react and is knocked out. This changes the story, turning B.J. from rescuer to victim, and the mission becomes a fight for his own survival. The scene shows just how cruel the Nazis can be when their secrets are at risk.
Interrogation and the Adrenaline Breakout
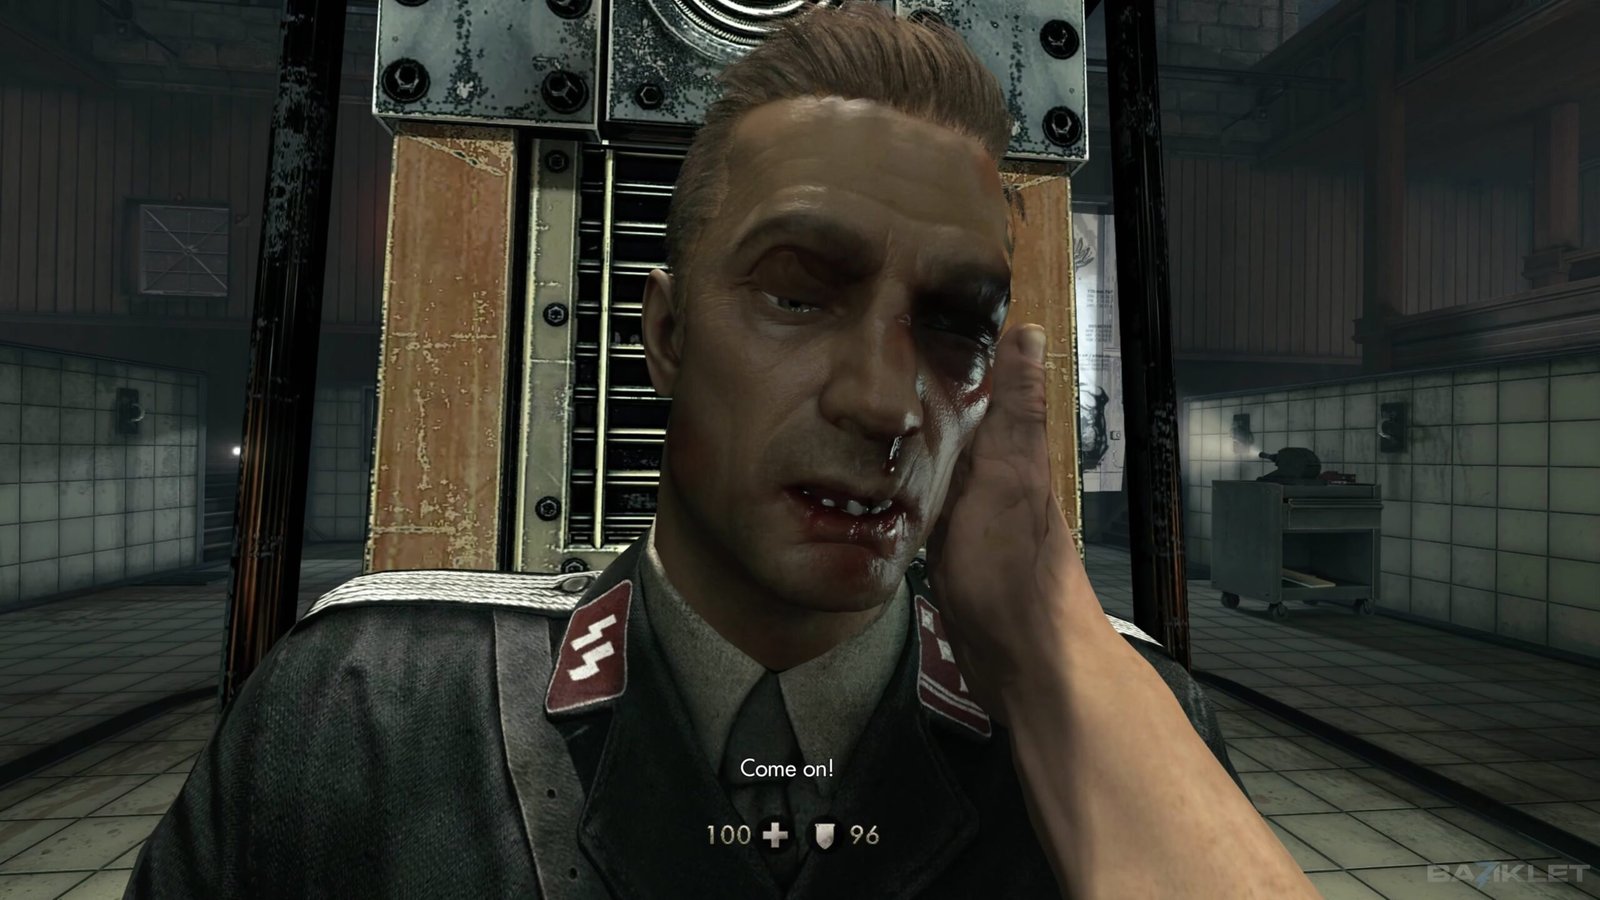
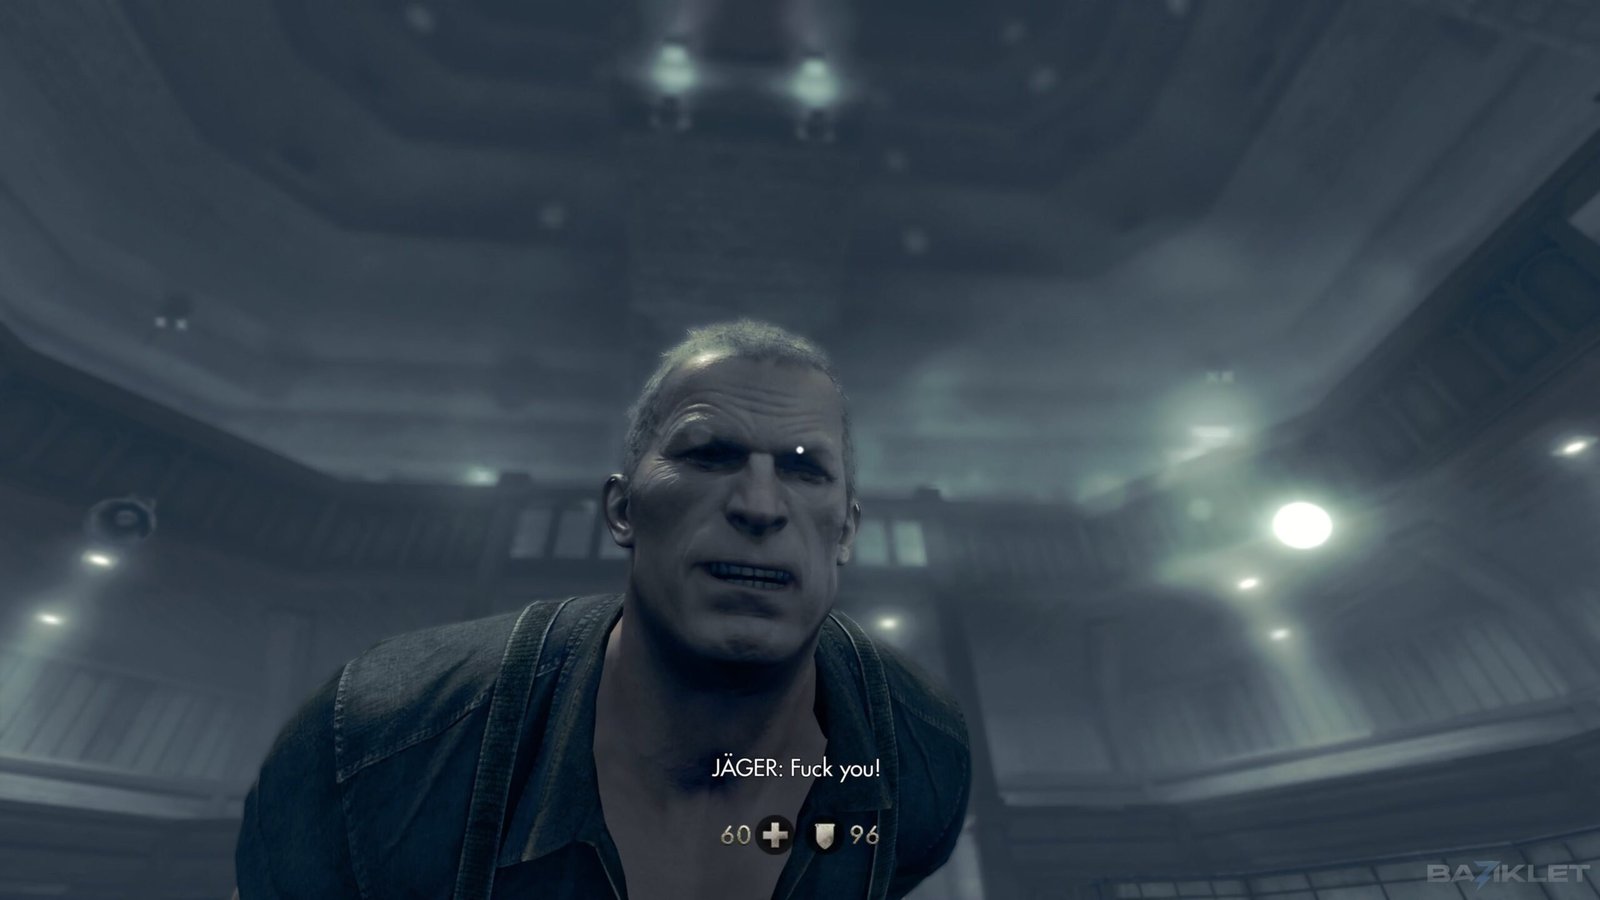
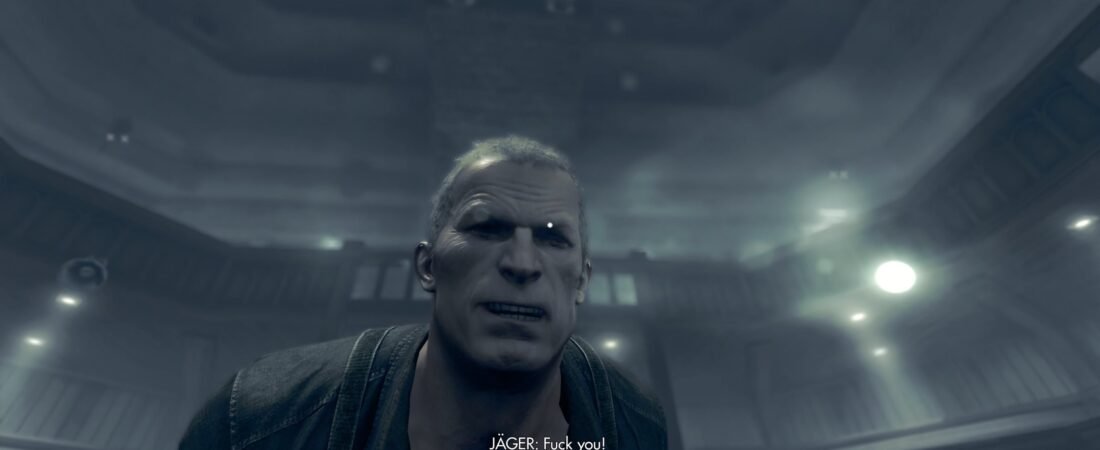
When B.J. wakes up, he is strapped into the same electric chair Wesley was in. Rudi Jäger and his huge dog Greta start a brutal interrogation, trying to force B.J. to reveal their contact in the village by shocking him with electricity. The pain is intense, but instead of giving in, B.J. gets a surge of adrenaline. He manages to break free from the restraints, even tearing his own skin to escape.
B.J. uses a hidden pipe to stab Jäger in the chest. Jäger is then electrocuted by the same circuit he tried to use on B.J. The interrogation room, once controlled by the Nazis, turns into chaos. The shock doesn’t kill Jäger right away, but it badly injures him and gives B.J. the chance to escape. This scene shows B.J.’s determination and how far he will go to survive.
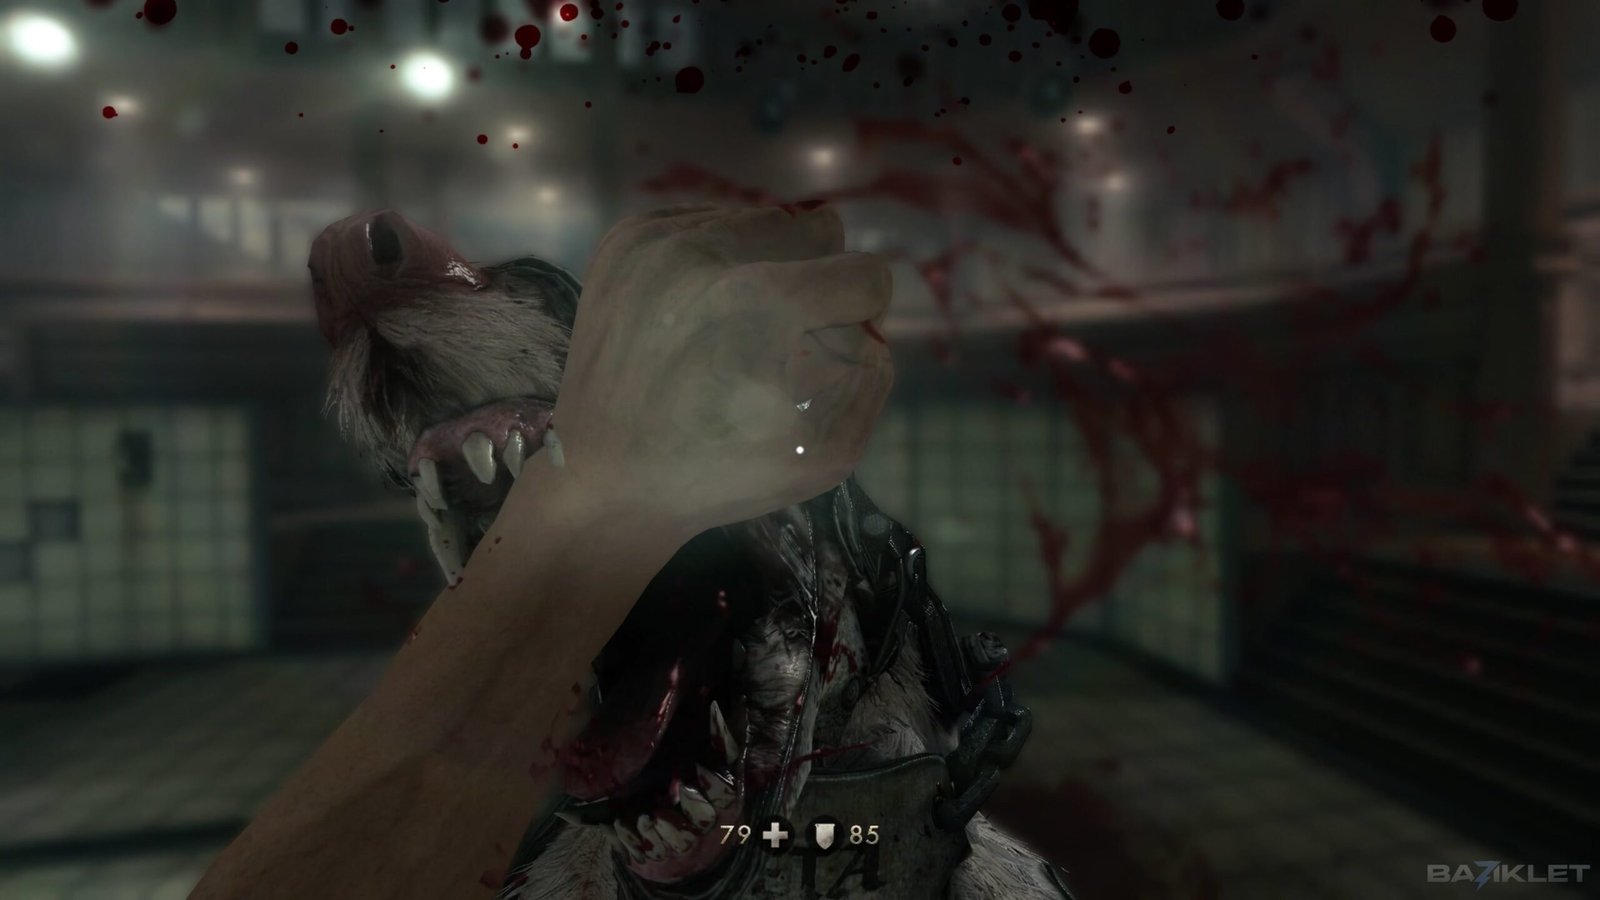
The Death of Greta and the Final Escape
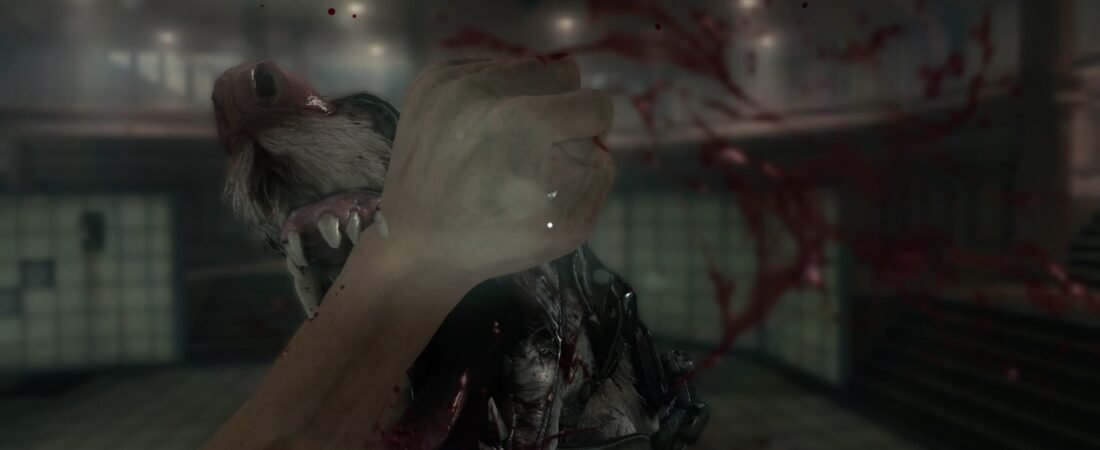
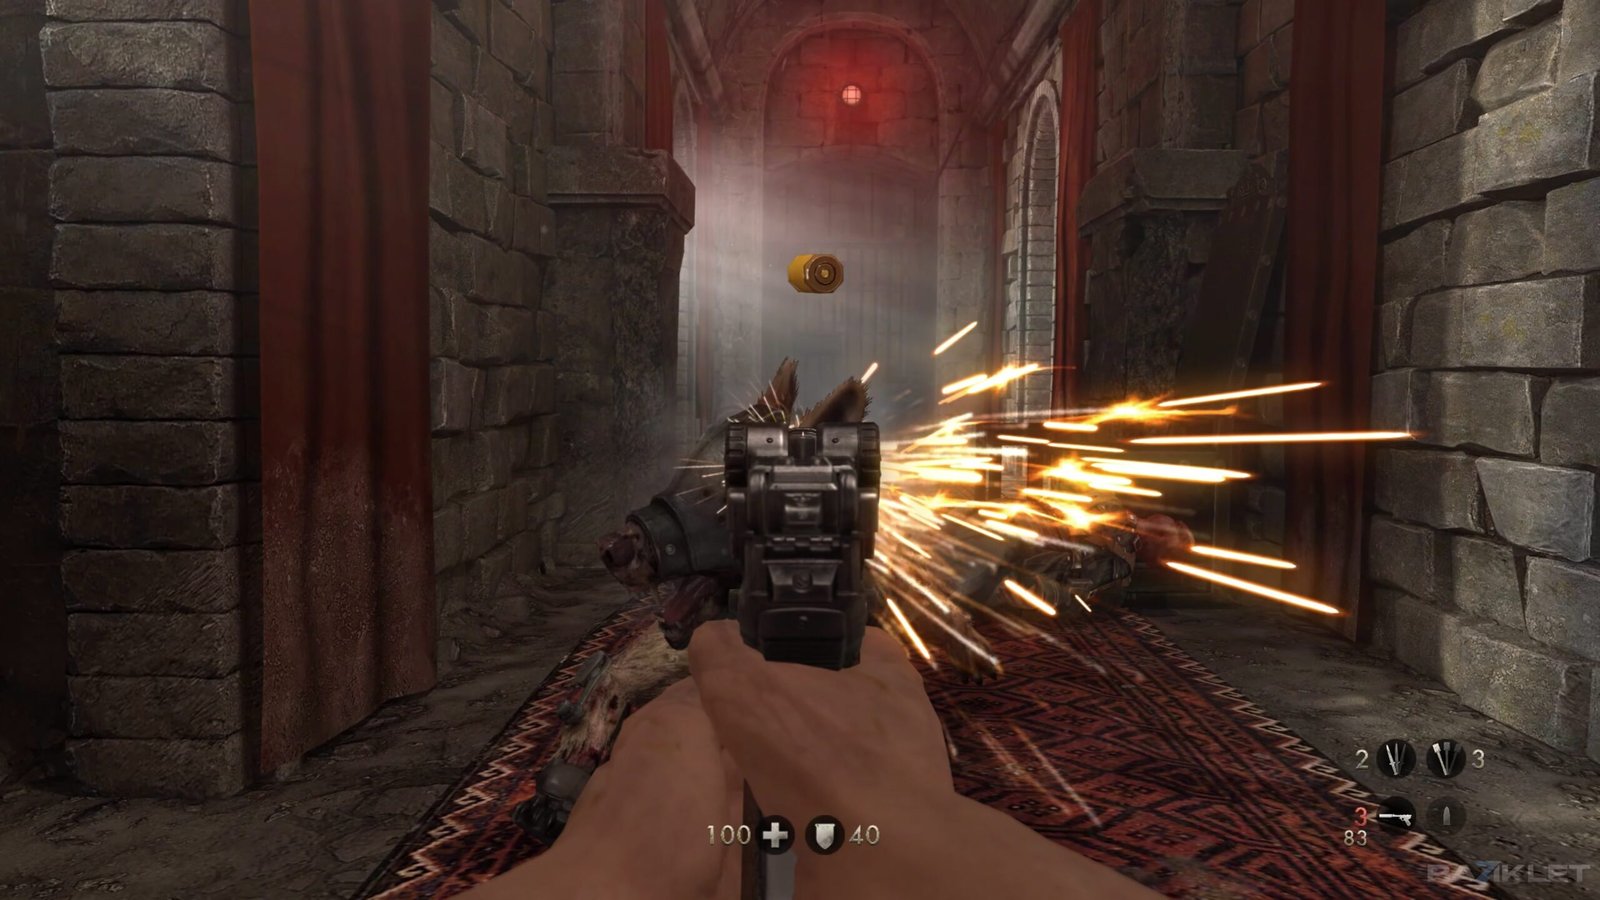
As Jäger escapes, he leaves his dangerous dog Greta to attack B.J. B.J. has to fight the huge dog with his bare hands and whatever he can find nearby. After a tough fight, he kills Greta, which makes Jäger furious. Now without any weapons and still behind enemy lines, B.J. must sneak to an armory to get his gear back.
After fighting off more Nazi reinforcements, B.J. returns to Wesley’s side. He pauses to honor his fallen friend and the sacrifice Agent One made. With a heavy heart, B.J. heads to the castle’s elevator and leaves for the cableway station. He plans to meet their contact, Kessler, in Paderborn and keep fighting against Helga von Schabbs’s plans.