
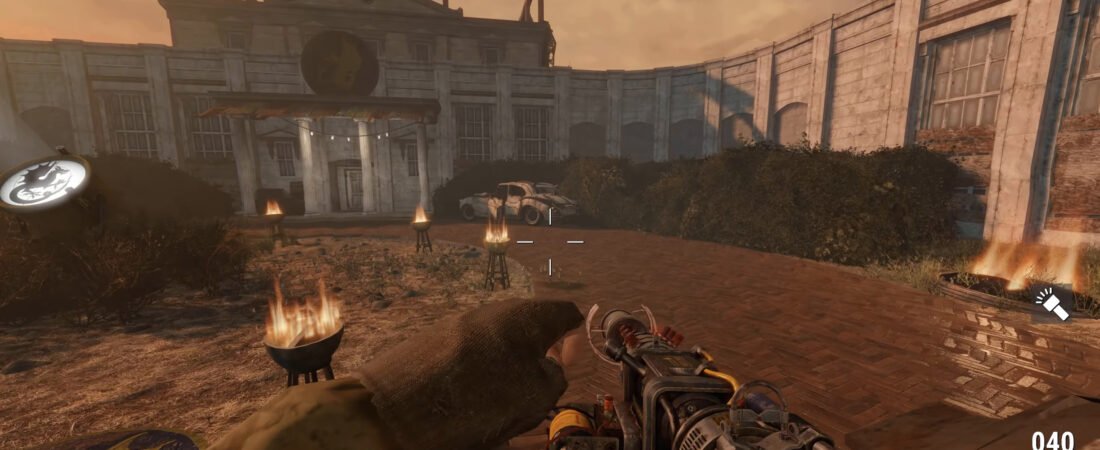
Idylls of the King at Camelot
Video chapters
In this episode
- Quests
- Idylls of the King
- Locations
- St George, Camelot
- NPCs
- Eve Varney, General Jonathon Allen, Derek Castor, Muirgheal, Braiden Knight, Horatio Whitehouse, Lancelot, Merlin, Arthur, Churchill, Freddie Stonem
Idylls of the King is already under way when we sit with Eve Varney and the 5th Column leadership. She tells them that today they destroy Camelot, and no start card appears as she speaks. London, she says, has stood as a bulwark against chaos, and complacency, hesitation, and mercy are death. The plan is to overwhelm Camelot, push the enemy back, and crush them. She later calls the attack the point of no return, and she will not hear a lengthy siege.
Episode 38 is the next official upload after A Roar in the Waves. Eve sends us to the brig to make Lancelot talk, then tells us to meet the 5th Column at Camelot. After the interrogation fails, we join the assault beside General Jonathon Allen and the Tommies. Inside the headquarters we find Merlin in the library and Arthur in the safe room. After a last clear of Camelot soldiers outside, we close the quest with Eve in the field hospital.
Eve Varney
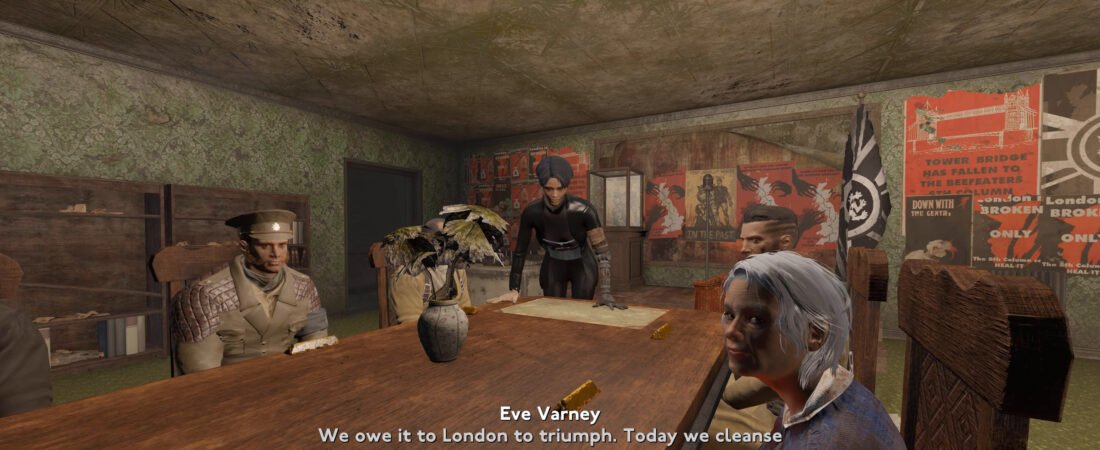
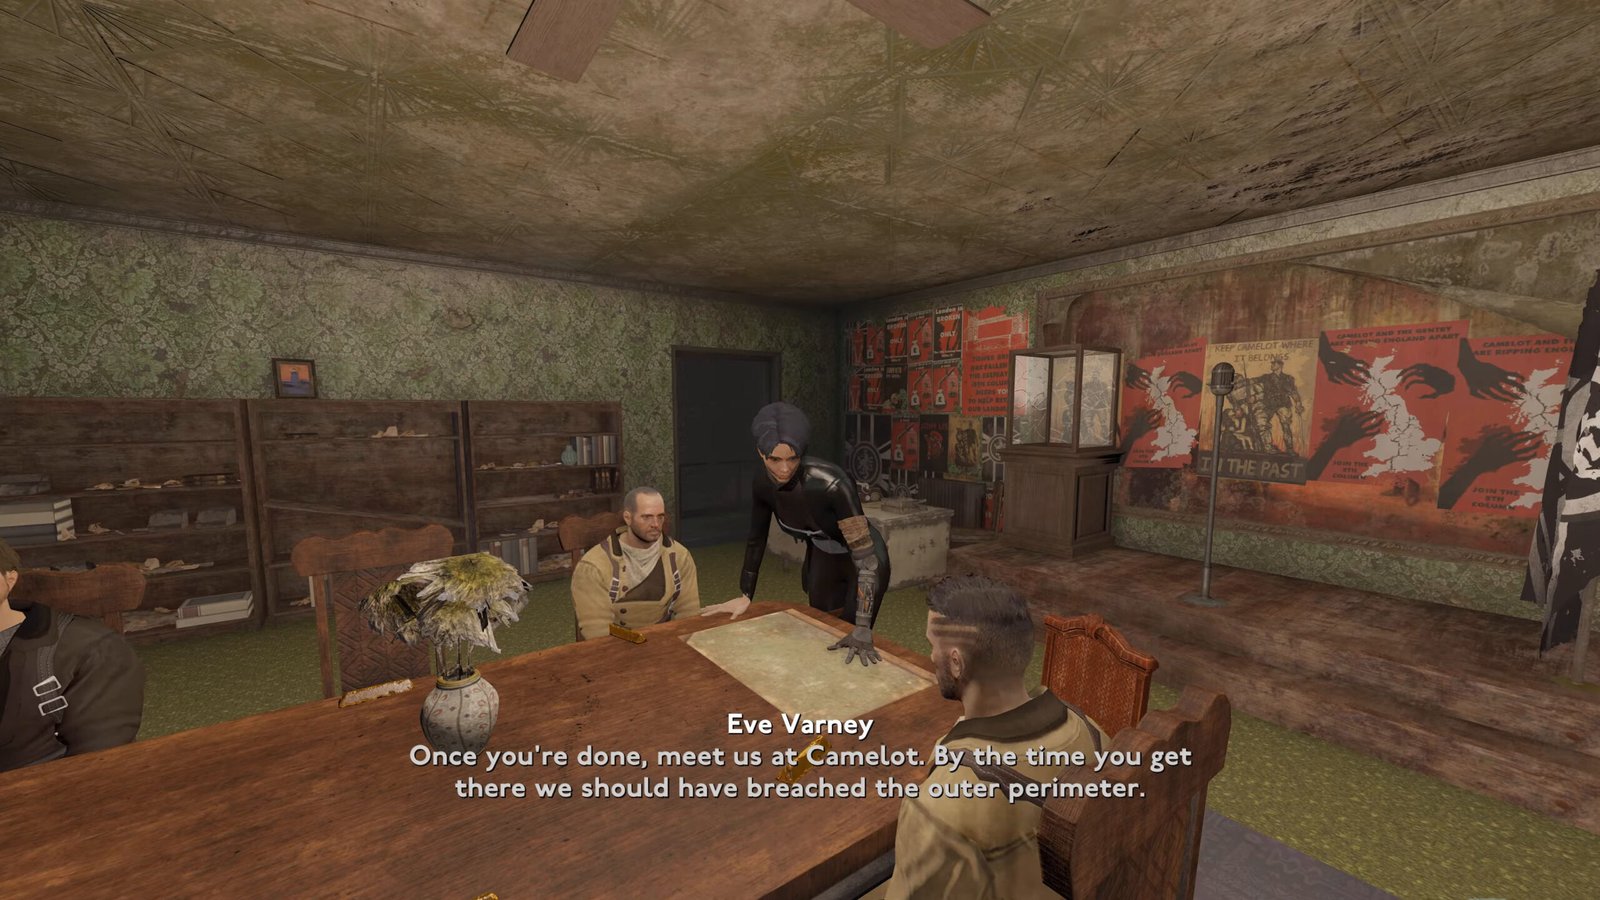
We sit at a long table in a green-wallpaper meeting room at St George, with 5th Column posters and banners already on the walls. Eve Varney asks if they are all here, and General Jonathon Allen answers that they are here now. She says they should not waste any more time on talk today. London, she says, has stood as a bulwark against chaos, a lodestar against savagery, and a centurion against decadence. She says it is up to them to restore that reputation now.
There is no room for error, she continues, because complacency, hesitation, and mercy are death. She tells the table they owe this triumph to London today. Today, she adds, they will cleanse the city of a malign rot and destroy Camelot. The plan is simple: they will play to their strengths, overwhelm the enemy, push them back, and crush them. Allen will take the bulk of the offensive forces and lead an assault against the main gate.
He asks why they should not siege Camelot and starve them out, and Derek Castor asks whether he has lost his nerve. His speaker tag in this episode is only Derek. Allen tells him not to mistake tactics for cowardice, or the only thing he will end up losing is his tongue. Eve cuts them off and reminds them this is not a conversation. They do not have the time left for a lengthy siege now. She has full confidence their men’s strength and experience will be enough to break the line.
Their rear flank, she adds, will be “re-enforced” by reserve units led by Castor, and the pressure must be relentless. Muirgheal and Braiden must keep the supply line moving, because that unit will be the beating heart of the attack. Casualties, she says, have to be evacuated as swiftly as possible, and they have already identified an area where treatment can be carried out. Horatio and Victor will mind the fort in the absence of the bulk of their forces. They will need to be creative when they keep the defensive perimeter.
Camelot is a fortress, she says, but they know who, what, and where the enemy is. Distracted by their own bleating, they fail to notice the Column blade that slashes their throats. Derek asks about a surgical strike and where he can sign up, and Eve says that is where the Wayfarer comes in. Derek objects that they have come this far and cannot afford to lose it all. He adds that we have barely been with them five minutes yet.
Eve tells him the men know him, and that they trust his experience and strength. Supporting the vanguard, she says, is critical to the mission’s success today. The simple truth, she adds, is that no matter what they throw at us, we seem to wriggle free alive. They are backing Camelot into a corner, she says, and their operational record is spotless. This is not a debate, she tells the gentlemen, and her decision is final.
She tells them they have their orders, and that they will march immediately. The meeting ends as we stand, and the HUD reads Speak to Eve, with Completed: Discover the 5th Column’s next step. Eve then takes us aside and tells us to go to the brig and find that rat Lancelot. She wants us to succeed where others have failed and make him talk. Once we are done with the prisoner, we should meet them at Camelot.
By the time we get there, she says, they should have breached the outer perimeter. We confirm, and she says she will see us on the battlefield, then dismisses us. A toast adds the Key to Lancelot’s Cell, Interrogate the Prisoner becomes the objective, and Speak to Eve completes.
Lancelot
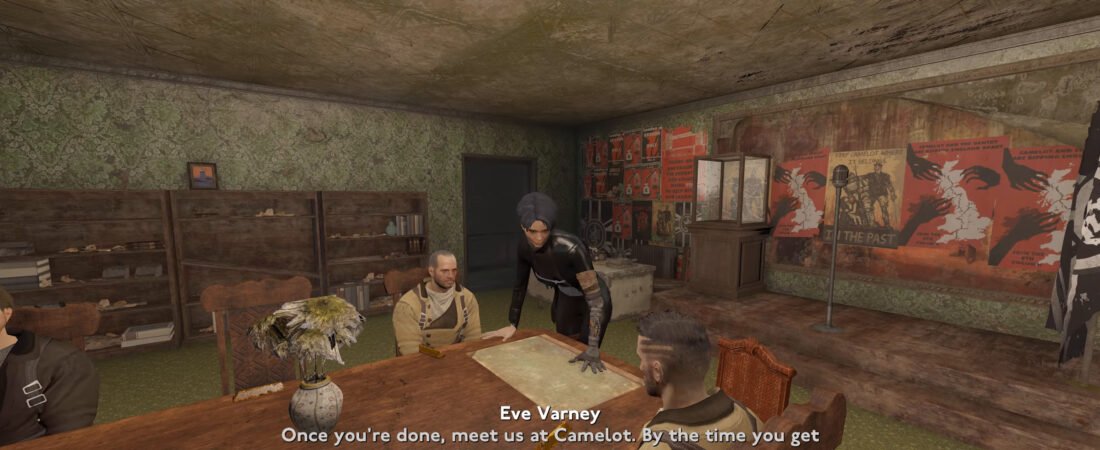
The walk from the meeting room to the brig is almost immediate, and the objective is still Interrogate the Prisoner. We unlock the cell with the Key to Lancelot’s Cell and step inside. He is a bald man in a green-and-yellow jumpsuit behind the bars, with RESTRICTED stencilled on the floor. Almost every prompt is met with the same official stage direction: [He stays silent]. We tell him a battle is inevitable, and that if he is the humanitarian he claims to be, he would want to minimise casualties.
We also tell him to make it easier on himself and on his friends. We say we do not want endless bloodshed, and that we are here to end it. Once order is restored to London, we add, they can finally make progress. Other prompts about Camelot, Arthur, and Merlin are likely taken as well, but he stays quiet through them. No Speak to Rhys objective appears on the HUD at any point in this episode.
We finally take a line about his stoicism getting him nowhere, and we tell him to think of his little “friend,” Rhys. That line is what finally breaks his silence in the brig cell. Lancelot curses us as a toadying scumbag and says he will see us in hell. We kill him in the cell, and we do not linger on the body. The HUD then reads Return to Eve, with Failed: Interrogate the Prisoner.
Assault on Camelot
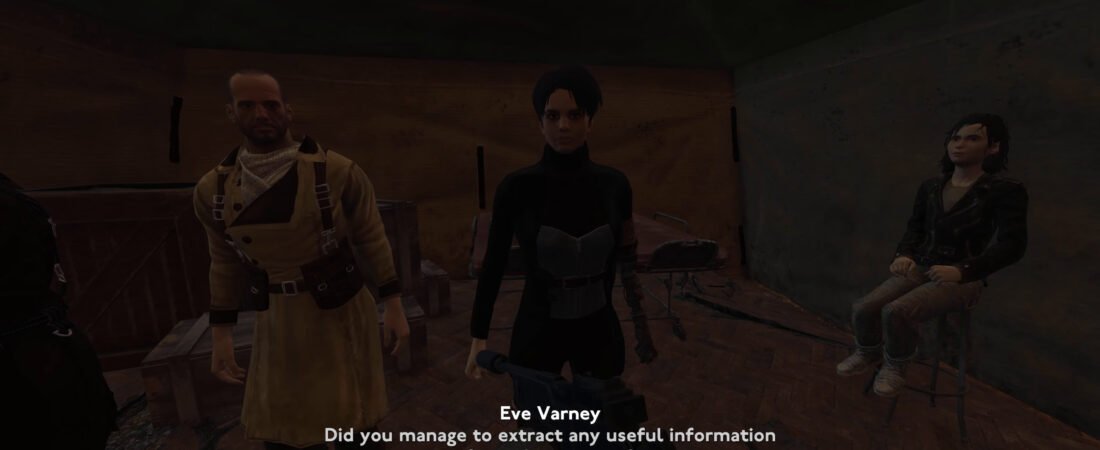
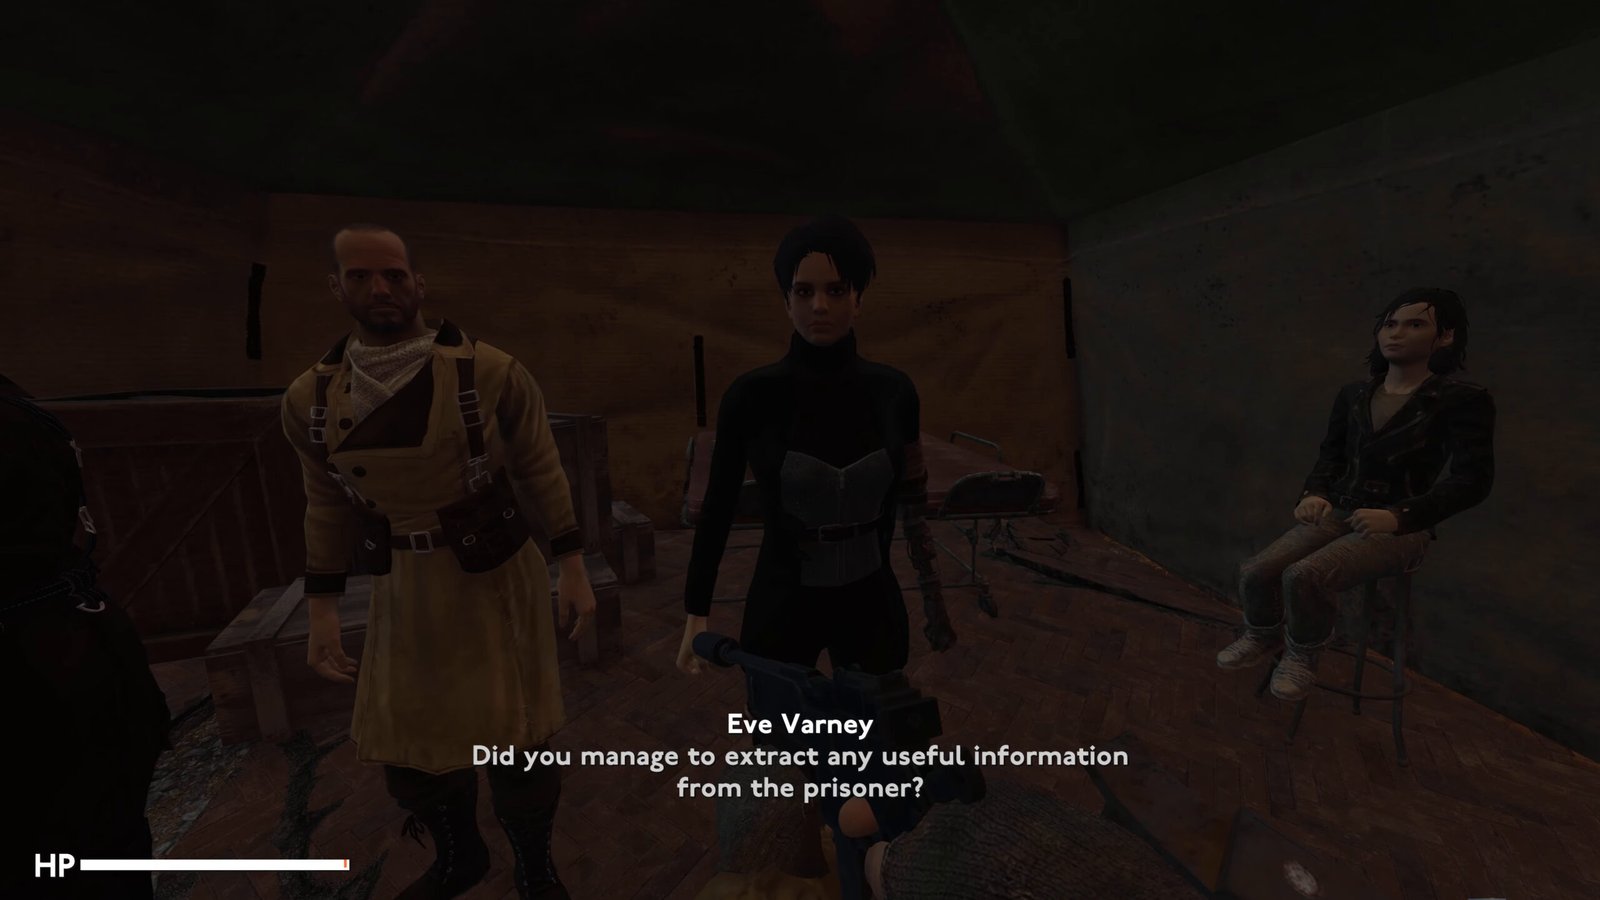
A cut takes us outside under an orange sky, and we find Eve waiting in a canvas hut. A bald man in a tan coat stands with her, and a woman sits on a stool to the side. Castor’s squad are gearing up, she says, and we should ready ourselves, because we are going to attach ourselves to their charge. She asks whether we managed to extract any useful information from the prisoner. We tell her the interrogation failed, and she answers that it is a shame, though she somewhat anticipated this outcome.
His stoicism would be an asset, she says, if it was not in the defence of such an unworthy cause. Their primary concerns, she adds, now wait out on the battlefield ahead. Castor’s squad are almost ready, and the plan is to have them absorb the most of the focus of Camelot’s defensive forces. Once they have breached the outer perimeter, we will move forward for a surgical strike and decapitate Camelot. This is the point of no return, she says, and when we are ready they will begin the assault.
We take “I’m ready,” and she answers, “Excellent, let’s go.” Outside, the HUD reads Begin the assault, with Completed: Return to Eve. We advance south across grassy sunset fields, past sandbag lines and yellow flowers, toward a fortified compound on the horizon. A toast then reports that Churchill has found an enemy, locking the companion dog’s name on the HUD.
The first hostiles are Camelot Levy, then a Gatekeeper, and then the Captain of the Guard under a danger warning. Tommy Lance Corporals fight with us in the push, and one of them shouts to kill the enemy as we clear the rusted yards. Begin the assault completes as Breach the Camelot headquarters becomes the next objective. 5th Column Unionists are in the fight as well, and Freddie Stonem is present near a doorway as we push on.
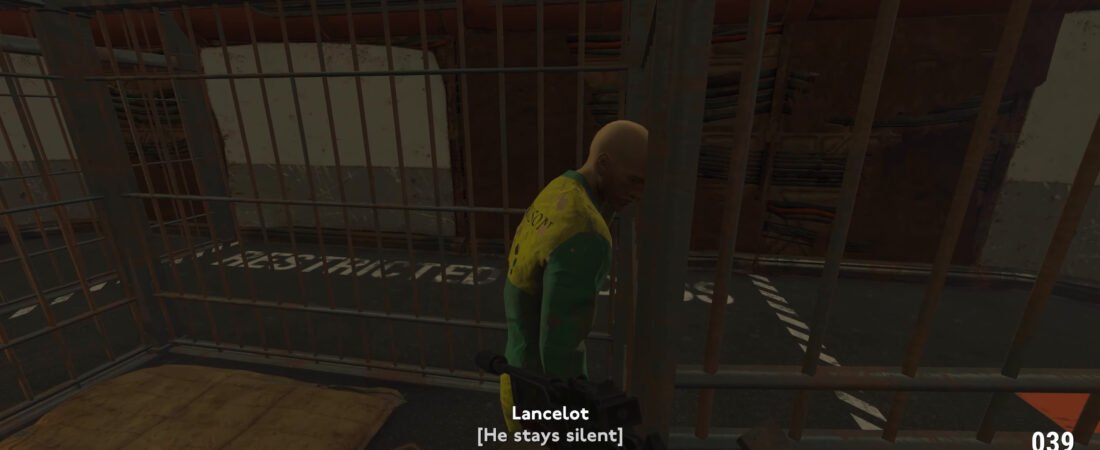
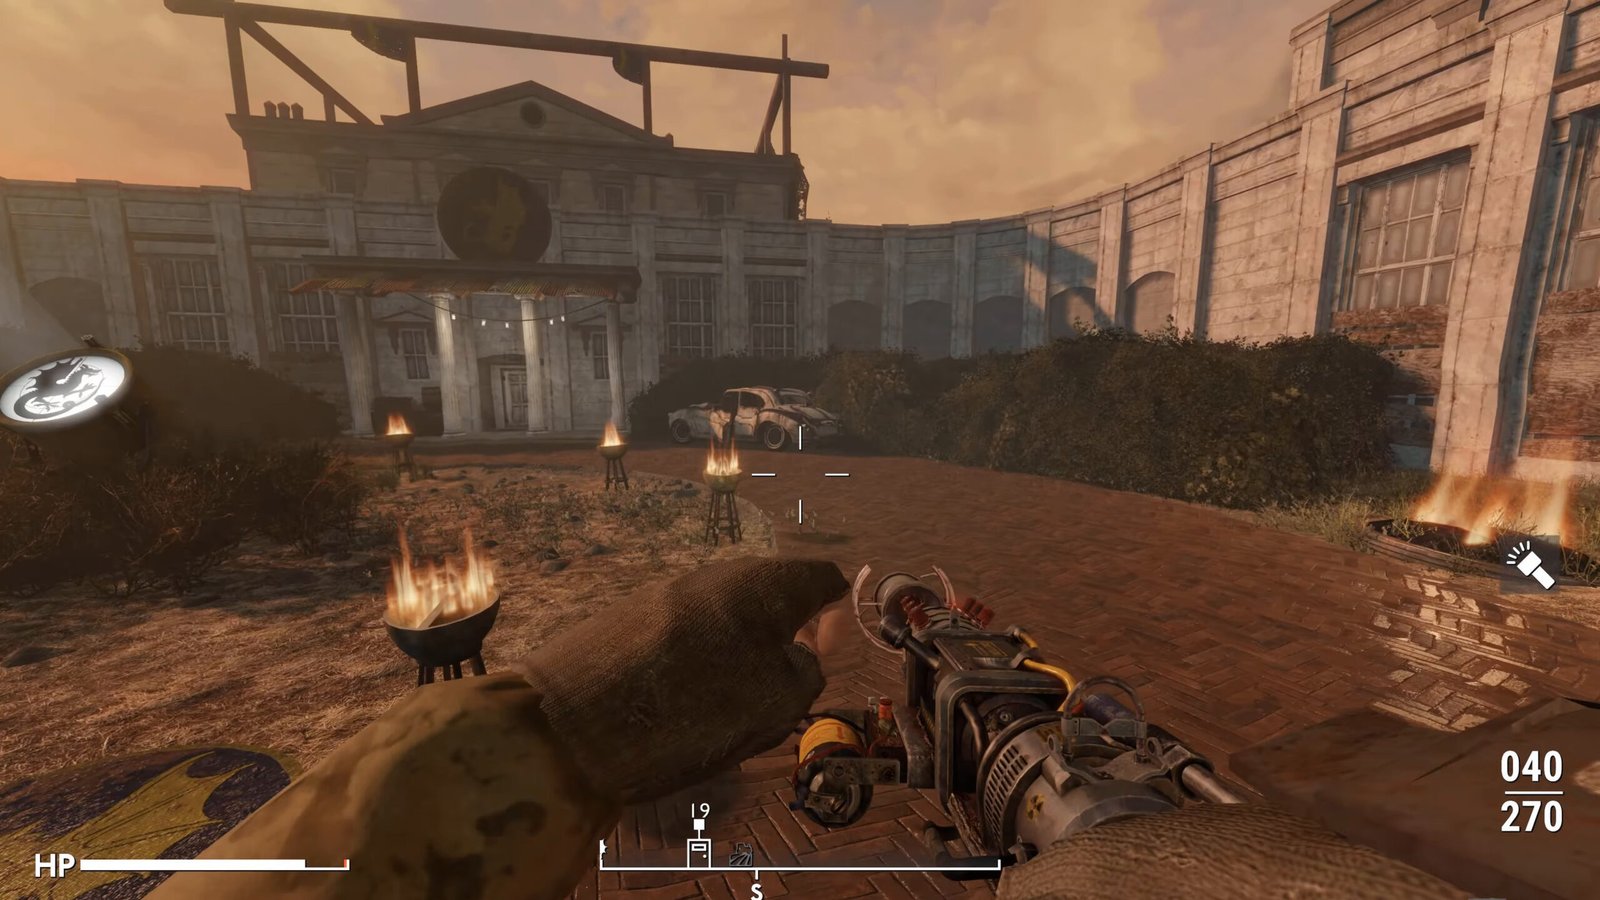
A Camelot Squire calls out not to mourn but to organise, and later shouts for Arthur. The location tag locks the place as Camelot as we fight down a market street toward the keep. General Jonathon Allen is already in the square, leading the main-gate assault as Eve ordered. He calls for the enemy to stop in the name of the Queen. The path leads into a brick courtyard in front of a neoclassical facade, with bowl fires and a painted crest on the ground.
Camelot Headquarters
Inside, a banner reads WELCOME under a yellow creature on a blue flag. Percival starts at the breach, caught off guard as we come in. Breach the Camelot headquarters completes as Find Arthur becomes the next objective. We fight a Strange Robot, then Galahad, through dusty halls of dragon banners and graffiti. Eve is already inside with us, and her nameplate appears under a large yellow dragon on a blue banner.
We keep moving rather than stopping to talk, and Percival falls on the stairs as we climb. Camelot Squires hold the upper rooms, and one of them tells us to prepare to face Camelot’s finest. Another says we cannot hide from the revolution they claim to be fighting. Camelot Infantry join the fight as well, and Eve is still with us when she lets out a short combat grunt. Find Arthur then completes in a red-rug hall, before we have reached Arthur himself, and Speak to Eve becomes the next objective.
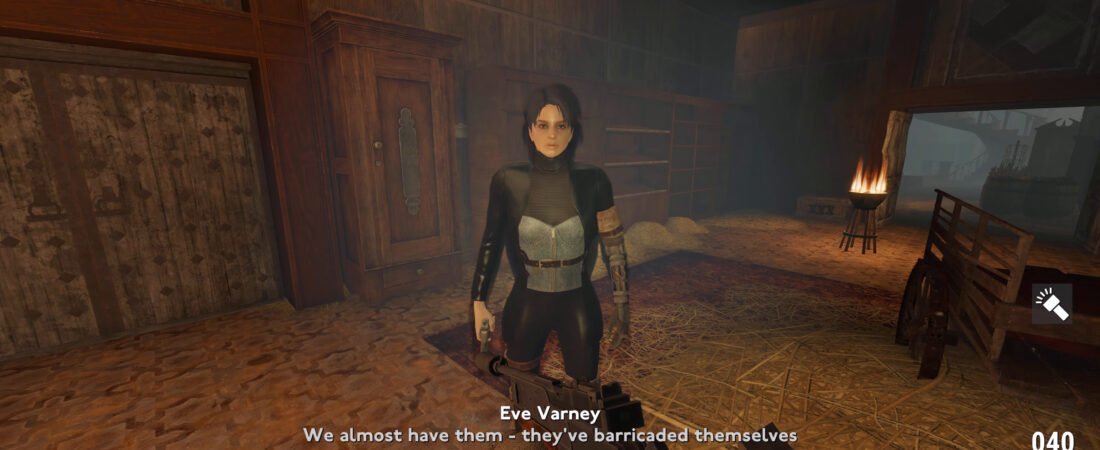
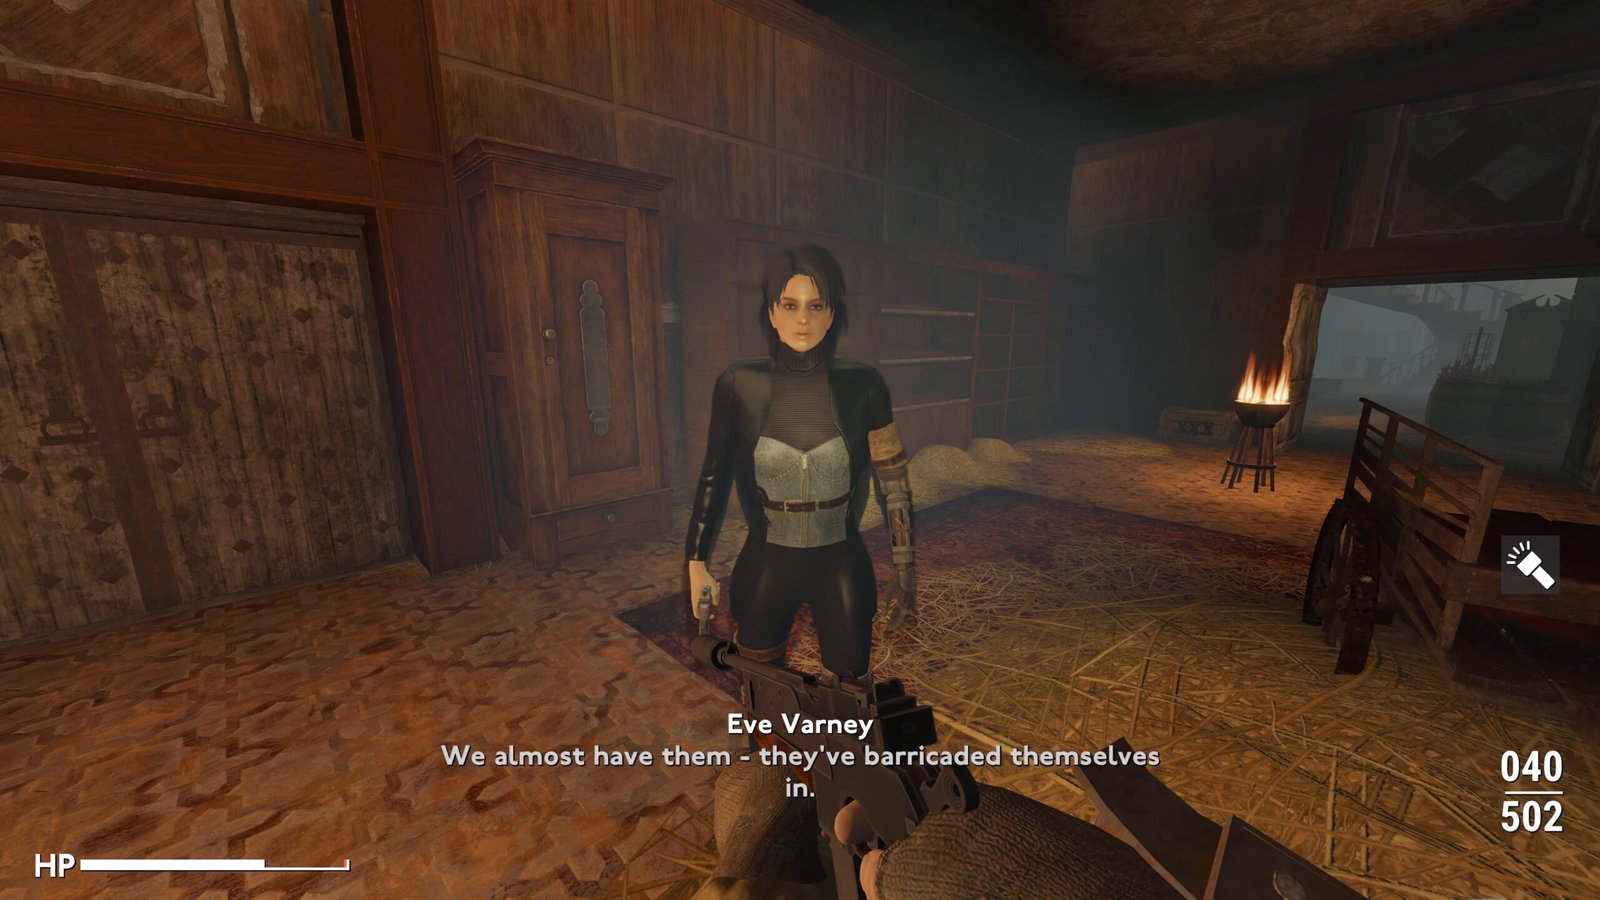
A door or cabinet nearby cannot be opened, but that is not a quest beat. We find her in a wooden hall with a fire bowl, empty shelves, and Churchill lying on a rug behind her. She asks us what we want as we come up beside her. A lore menu opens, including a question about Lily’s father, but no taken line is locked, and we walk away. The quest talk starts as she tells us they almost have them, because they have barricaded themselves in.
We ask whether we can blow it open, and she says not anytime soon, because anything they have on hand will only bury them deeper. We ask whether we can shoot the lock, and she says it is barricaded, not locked, so destroying the lock will achieve very little. When we ask how we get in, she answers that she would not be standing here if they knew. We take “Let’s look for another way in,” and she tells us to lead the way. Find the entrance to the safe room then replaces Speak to Eve.
Merlin
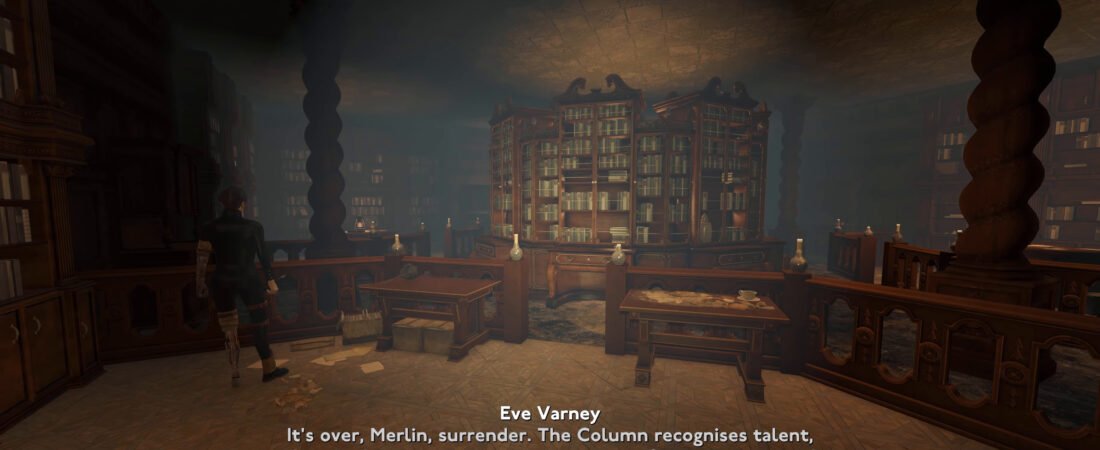
The search leads us into a grand library, with a lit circular bookcase at its centre, desks, papers, and twisted columns. “It’s over, Merlin, surrender,” she says, and she adds that the Column recognises talent. There is always room in their organisation, she tells him, for an experienced tactician. Merlin answers that their ranks are filled with brainless automatons, and he has no desire to join them. If he can take some of them with him, he adds, the world will be a better place for it.
A trap then hits Eve and puts her down, and Kill Merlin becomes the objective. We fight him among the stacks until his nameplate comes up, and he tells us we will rue the day. He falls in the library, says this is not over, and leaves Carnwennan and Merlin’s Beret among the unique drops. Kill Merlin completes there, and Check on Eve becomes the next objective. We do not linger on the body as we turn back to her.
Eve is sitting on the library floor among scattered papers and books. She curses Merlin for a trap that must have had some sort of ionic charge, and that charge has disabled her arm and leg. He would not have been guarding this room, she says, if there was not a way of opening the safe room in here. She tells us to find that way in and finish this for her. We take “I knew I’d have to do this myself,” and she tells us to stop wasting time, then Check on Eve completes.
We search the central bookcase and find a shelf of autobiographies waiting there. The official label reads AUTOBIOGRAPHIES OF JOHN FROST, ZEPHANIAH WILLIAMS, AND WILLIAM JONES, and we activate it. A circular stone shaft with a ladder then opens beneath the case. Find Arthur returns as the objective, with Completed: Find the entrance to the safe room. This is the second Find Arthur of the episode, now pointing us down into the safe room itself.
Arthur
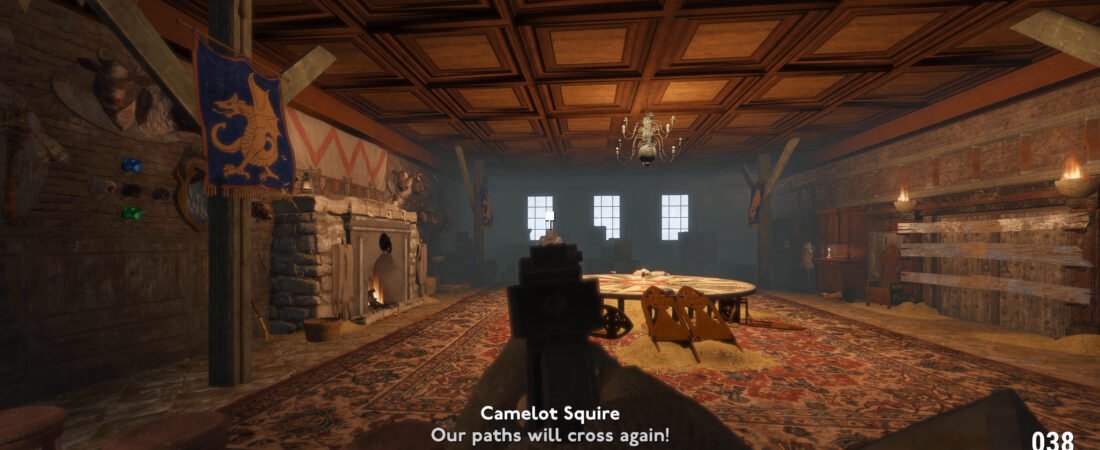
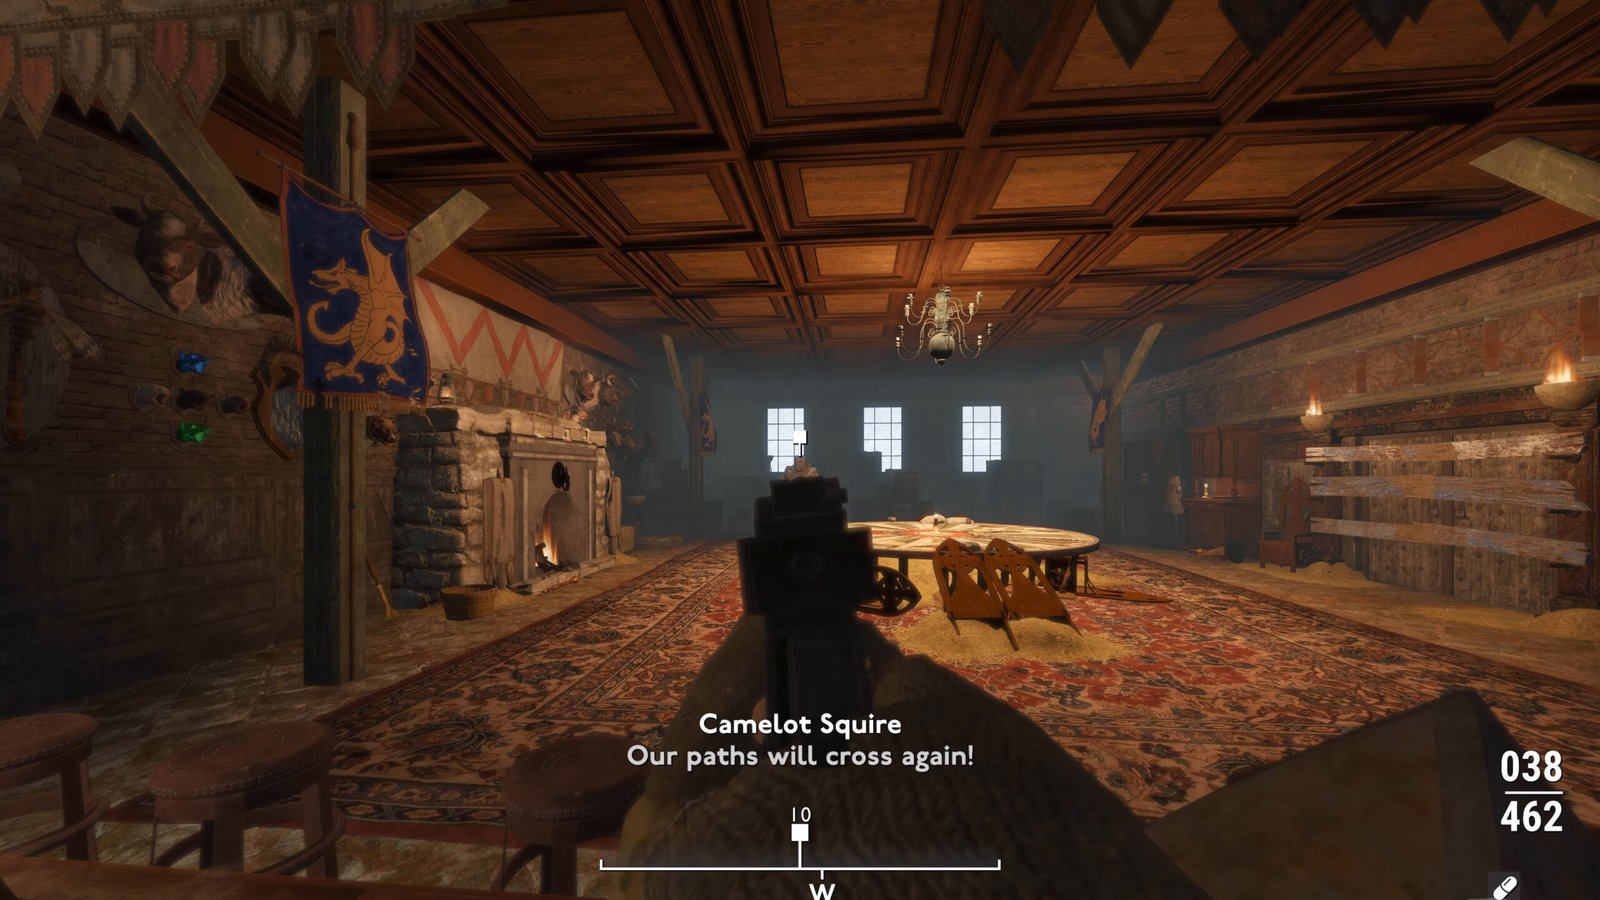
We climb down into a cave of glowing mushrooms and hanging roots, then up a wooden stair to the other side of the bookcase door. A voice on a speaker, tagged Sir Bors, warns that the fugitive should be considered armed and dangerous. The path opens into a coffered hall with a fireplace, red rugs, blue dragon banners, and a round table in the centre. Find Arthur completes as Kill Arthur becomes the objective, and Arthur’s nameplate comes up near the windows. The stills do not lock any pre-fight talk before the fight starts.
Arthur says he will not yield, and we kill him in the hall beside the round table and loot Haereticus Ferire. Return to Eve then replaces Kill Arthur, with Completed: Kill Arthur on the HUD. We leave the hall, climb back up through headquarters, and step back out into daylight at Camelot. Remaining Camelot Footmen and Camelot Levy are still in the yards around a rusted geodesic dome, and we clear them as we work toward Eve.
Idylls of the King
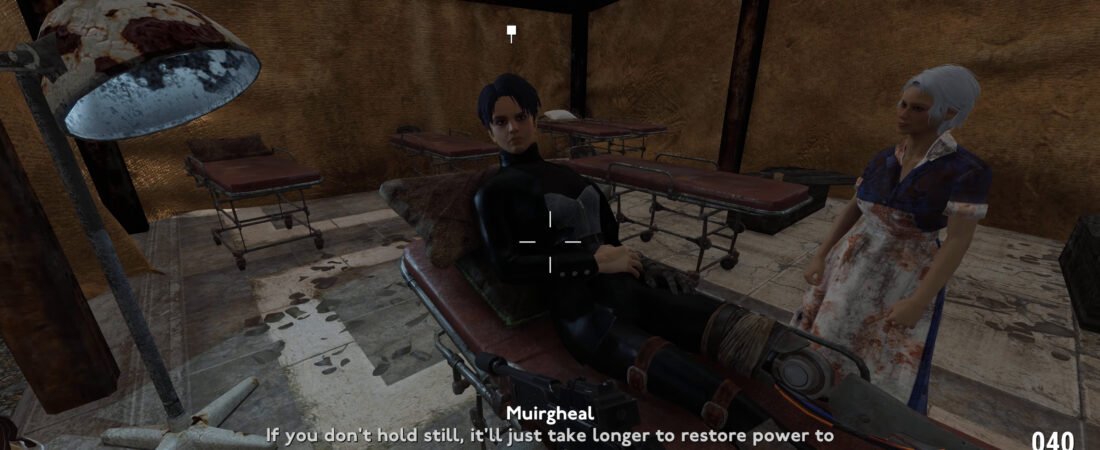
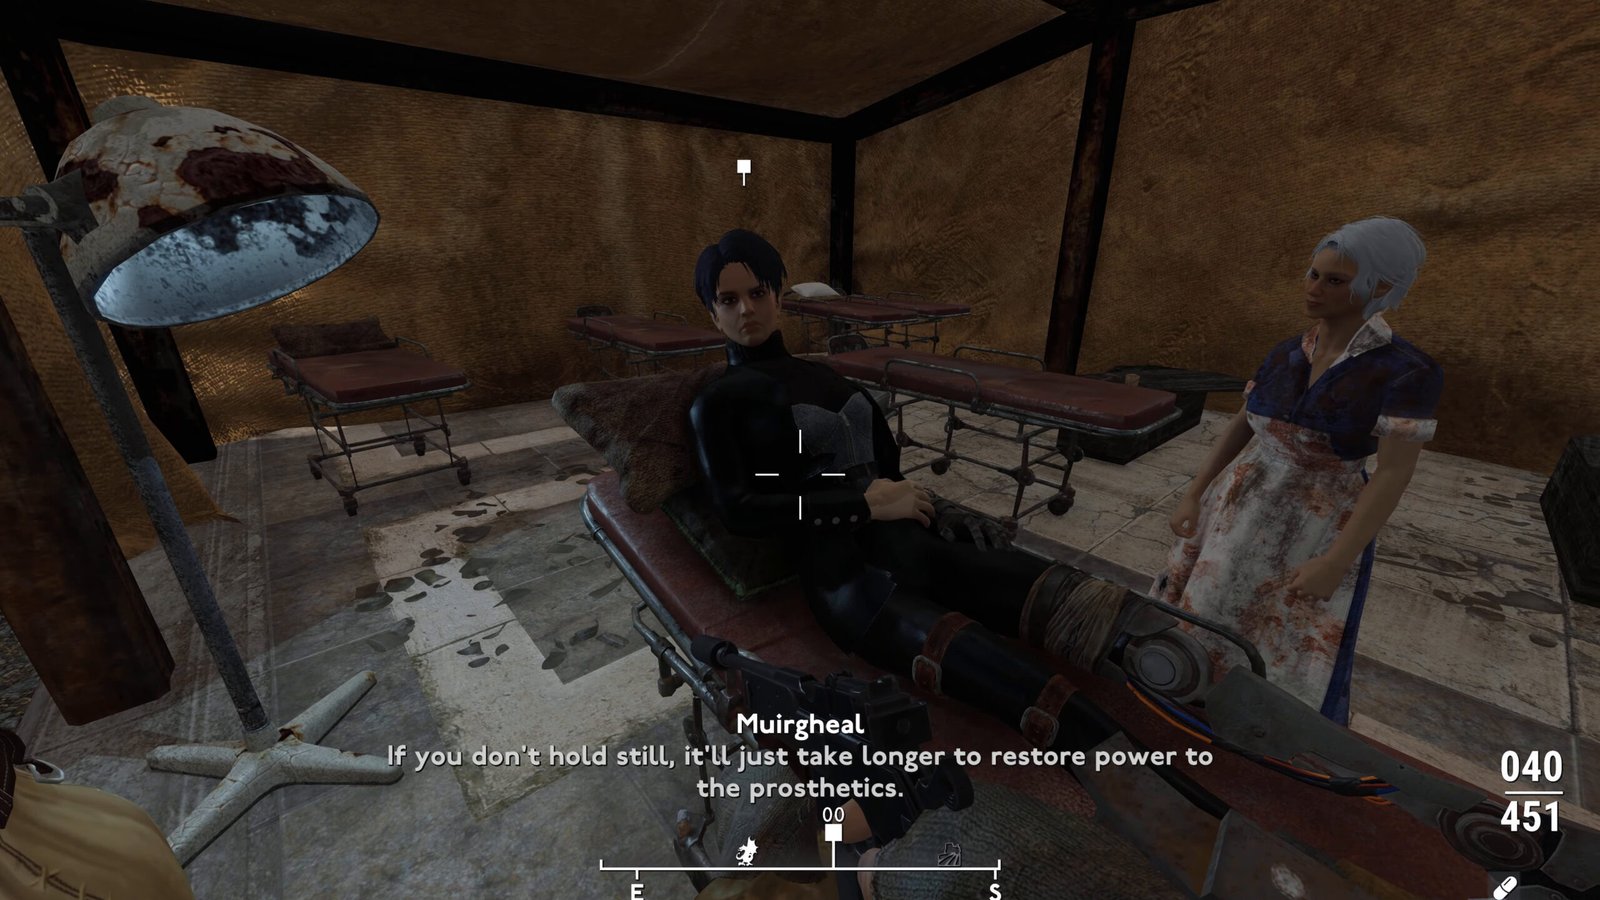
After the outdoor clear we cross a wooden walkway above a glasshouse and come down to a canvas field hospital. Eve is on a gurney, and Muirgheal stands beside her in a nurse’s dress. Muirgheal tells her to hold still so she can restore power to the prosthetics. “There he is… the man of the hour!” Eve says as we arrive. She apologises to Doc, but she cannot just lie there and say nothing, and history owes us a debt of gratitude for our actions today.
We take “I intend on collecting on that debt,” and Eve chuckles and tells us not to worry, because we will be handsomely rewarded. Though, if she is honest, she is somewhat disappointed of our myopia. Neither pleasure nor pain should enter as motives, she says, when one must do what must be done. The blood of the heroes, she adds, is closer to God than the ink of the philosophers and the prayers of the faithful.
There is more work to be done, she says, but today was a big step in fixing London, for the better. Braiden then cuts in, sorry to put a downer on things, but there was an incident at HQ. General Jonathon Allen calls that incident a thin report, and asks whether someone forgot to water the plants. Braiden snaps back that the incident was not trivial, and that it is sensitive. Eve tells General Allen to let Braiden speak, because she trusts everyone here, and he can stop being so ambiguous.
Braiden pauses, then says there is no easy way to say this. During the assault, Horatio attempted a coup, and his personal guard turned on him before anything could happen. Allen calls him a treacherous little turncoat and says he needs to answer for this. This kind of thing, he adds, is poisonous and must not stand. Muirgheal asks why it had to be now, and Derek threatens to tear Horatio’s ears off when he sees him.
Eve checks the report and asks whether that means there was no permanent harm. Muirgheal says they cannot let him get away with a coup like that. Eve asks who said she would, then explains that Horatio is blood, so this cannot be her decision. The responsibility, she says, should fall to his successor instead of her. As the new head of the Administrative Branch, the decision falls to us.
We rule that he should be executed, and when she asks the method we take a firing squad as the answer. Eve accepts that, tells Muirgheal she trusts her to make the arrangements, and Muirgheal says to consider it done. Eve then tells Castor to get a squad prepared to march on Westminster Bridge immediately. She asks Major Allen whether she can leave him to secure Camelot and mop up any remnants. As for us, she says, we should get some rest, because we have achieved more than can be asked of anyone.
She still needs us, she adds, for one final push after we rest. She tells us to meet her back at Cable Street, then dismisses us. A completion card for IDYLLS OF THE KING appears in the tent and awards +0424 XP. Eve is sitting up on the gurney, with Muirgheal still beside her, as the card comes up. No start card for the next quest appears, we do not travel to Cable Street, and the next official upload is 5th Column Ending.
Fallout London Episode 38 Lore Facts
Idylls of the King
No start card for IDYLLS OF THE KING appears in this upload, and the episode opens mid-quest at the meeting table at St George. The first HUD change is Completed: Discover the 5th Column’s next step, with Speak to Eve as the live objective. The completion card appears in the field hospital after Eve dismisses us, and it awards +0424 XP. She tells us to meet her back at Cable Street, but this episode does not travel there, and no next-quest start card appears.
Failed: Interrogate the Prisoner
Eve sends us to the brig to make Lancelot talk, and Interrogate the Prisoner becomes the objective after Speak to Eve completes. He stays silent through several prompts, and the line that finally draws an answer is the one that names his little “friend,” Rhys. No Speak to Rhys objective and no Force the Guard to leave objective appear on the HUD. We kill him in the cell, and the HUD records Failed: Interrogate the Prisoner, then sends us to return to Eve.
5th Column, the Column, and the Fifth
House spelling in the body, tags, and FAQ stays 5th Column throughout this walkthrough. The HUD in this episode uses that form as well, including Completed: Discover the 5th Column’s next step and the 5th Column Unionist nameplates. Eve’s spoken lines use a shorter form instead, including “the Column blade” at the meeting and “The Column recognises talent” in the library. An untaken closer option reads “Glory to the Fifth!” and quoted lines keep the on-screen spelling.
Horatio is blood
Eve assigned Horatio and Victor to mind the fort at the start of the meeting. After the assault, Braiden reports that Horatio attempted a coup, and that his personal guard turned on him before anything could happen. Eve says Horatio is blood, so the decision cannot be hers, and she names us the new head of the Administrative Branch. We rule that he should be executed, take a firing squad as the method, and she tells Muirgheal to make the arrangements.


Fallout London Episode 38 FAQ
What quest is in Fallout London Episode 38?
Idylls of the King is already under way when we sit with Eve Varney and the 5th Column leadership at St George. No start card appears as she assigns the assault on Camelot and sends us to interrogate Lancelot. We join the surgical strike, kill Merlin in the library, open the safe room, and kill Arthur in the hall with the round table. The quest completes in the field hospital for +0424 XP, and the next official upload is 5th Column Ending.
How do you interrogate Lancelot?
After the meeting, Eve sends us to the brig with the Key to Lancelot’s Cell and the objective Interrogate the Prisoner. He stays silent through several prompts, including an appeal to minimise casualties, until we take the line that names his little “friend,” Rhys. He then curses us and says he will see us in hell, and we kill him in the cell. The HUD records Failed: Interrogate the Prisoner and tells us to return to Eve, and no Speak to Rhys objective appears.
How do you assault Camelot and reach Arthur?
We tell Eve the interrogation failed, take “I’m ready,” and begin the assault across the sunset fields with Churchill and the Tommies. After Begin the assault completes, we breach Camelot headquarters, fight Percival, Galahad, and Camelot Infantry, and speak to Eve at the barricade. Find the entrance to the safe room leads us to the library, where we kill Merlin, check on Eve, and activate the Chartist autobiographies. We climb down to the hall with the round table, kill Arthur, and loot Haereticus Ferire.
How do you open the safe room?
Eve says they have barricaded themselves in, and that blowing the way open or shooting the lock will not help. We take “Let’s look for another way in,” and Find the entrance to the safe room becomes the objective. In the library, after Merlin’s trap disables Eve’s arm and leg, she tells us there must be another way into the safe room. We activate AUTOBIOGRAPHIES OF JOHN FROST, ZEPHANIAH WILLIAMS, AND WILLIAM JONES in the central bookcase, and a shaft opens to the safe room.
How does Idylls of the King end?
After we clear the remaining Camelot Footmen and Levies outside, we find Eve on a gurney in the field hospital with Muirgheal. We take the line about collecting on the debt of gratitude, then Braiden reports that Horatio attempted a coup during the assault. Eve names us head of the Administrative Branch, we rule that Horatio should be executed by firing squad, and she sends Derek Castor to Westminster Bridge. She tells us to meet her back at Cable Street, and IDYLLS OF THE KING completes for +0424 XP, with no next-quest start card.