

The Wayfarer’s Escape From Angel’s Lab and the Angel, Camelot and 5th Column Endings – The Complete Fallout London Walkthrough
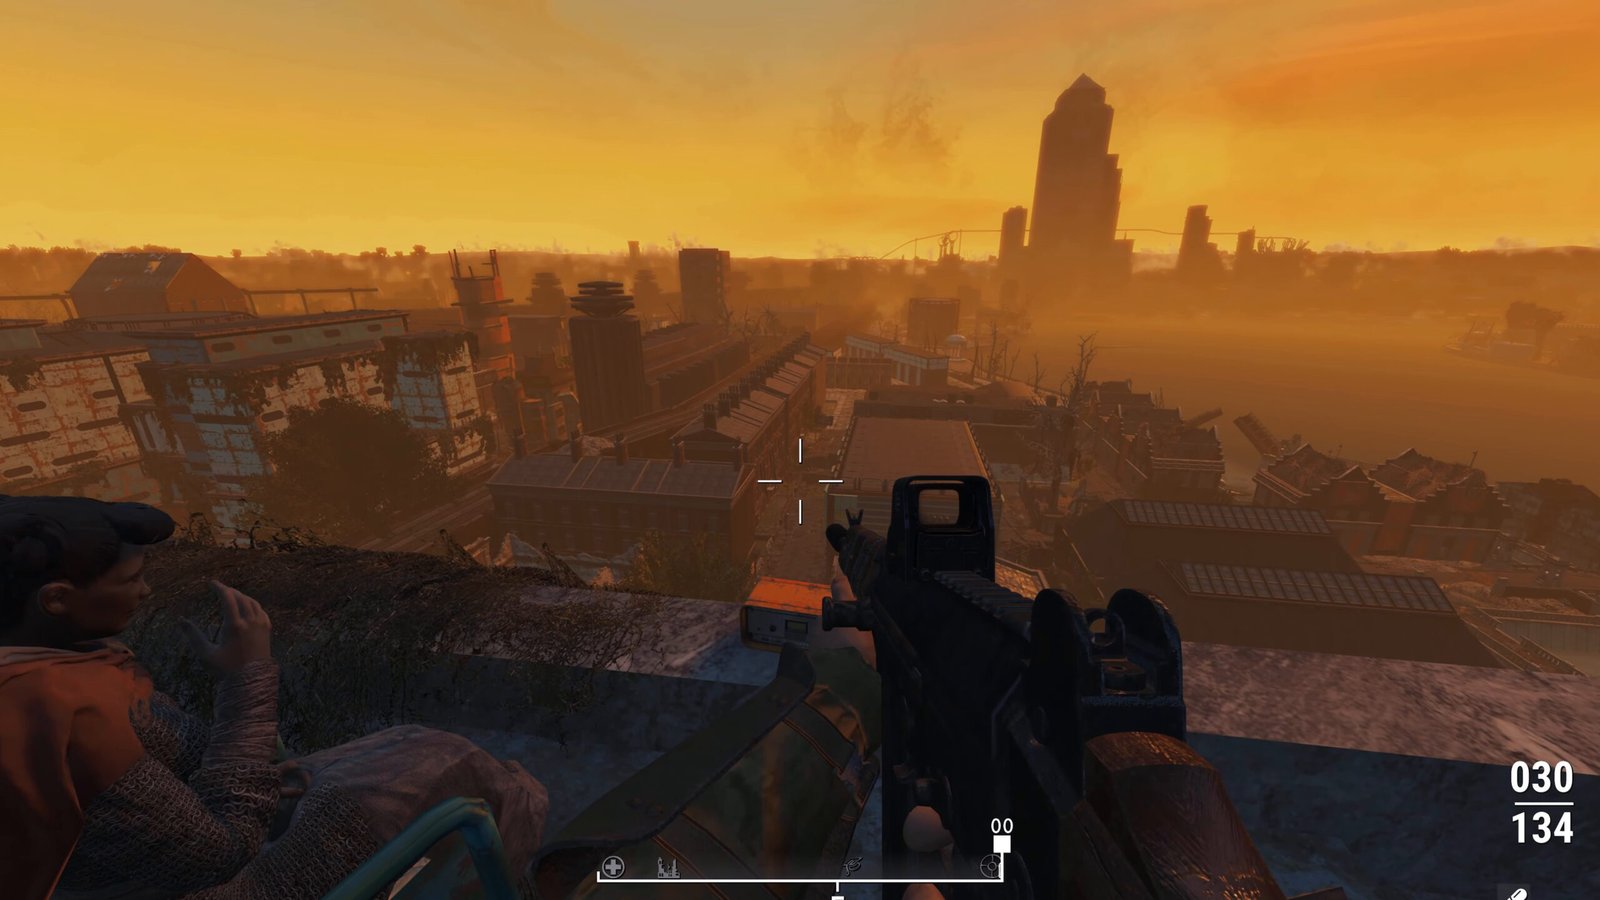
This Fallout London walkthrough follows the Wayfarer from a cracked capsule in a hidden lab under The Shard to the clock room of Elizabeth Tower. We stay on the main road through the first two acts: the Vagabonds and the Swan & Mitre, Churchill and the Mary Ellis, St Paul’s and Lazarus, the Roundels in Hackney, the Pistols in Camden, and the Hear Ye, Hear Ye petition that finally opens Westminster.
The petition does not reach a throne room. It lands us in Gentry Prison, War Games closes Act 2, and the run then splits by faction. Episodes 22 to 26 serve Agent Smythe’s Angel to Meet Your Maker and the Angel ending, where the Wayfarer learns they are Smythe’s clone. Episodes 27 to 33 take Camelot to the Camelot Ending, and Episodes 34 to 39 join Eve Varney’s 5th Column for the 5th Column Ending.
39 episodes carry that run from Broken Angel to the 5th Column Ending. Along the way Episode 19 also plays the Lake Nuke ending at Wimbledon Park, so four endings are on the record.
Table of Contents
- Episode 1: Broken Angel & The Swan & Mitre
- Episode 2: Greenwich Foot Tunnel & Meeting in Millwall
- Episode 3: Thameshaven, Churchill & the Mary Ellis
- Episode 4: Bermondsey, Tower Bridge & Monument Lab
- Episode 5: St Paul’s Cathedral & Free Lazarus
- Episode 6: Arms Race & Kinoworld Cinema
- Episode 7: HMS Dredge & The Train Job
- Episode 8: Mittenlurk Empress & Greenwich Impact Crater
- Episode 9: Heavenslayer, Bank of England & Gas Mask
- Episode 10: Hackney & Fashion Terrorism
- Episode 11: Fair is Foul & Lost & Won
- Episode 12: The Brass Nail & Syndicate Factory
- Episode 13: Angel Lab & King’s Cross
- Episode 14: Westminster & Lay of the Land
- Episode 15: Thomas Black & Breaking the Cycle
- Episode 16: Pindar Station & The Lost Tommies
- Episode 17: Camden, Here’s the Pistols & Arlington School
- Episode 18: Here’s the Pistols, Water Woes & Guns of Lewisham
- Episode 19: Glad Tidings, A Foot in the Grave & Lake Nuke Ending
- Episode 20: No Man’s Wasteland & Croydon
- Episode 21: All to Pot, The Placebo Effect & War Games
- Episode 22: Taking Initiative & Nature Adores a Crab
- Episode 23: You Only Live Twice, Westminster House & Camelot
- Episode 24: Ozymandias, Out of the Shadows & Election Night Special
- Episode 25: Crossing the T’s, Acceptable Losses & Spin Doctor
- Episode 26: The Gloves Are Off, Meet Your Maker & Angel Ending
- Episode 27: Joining Camelot & Green and Pleasant Land
- Episode 28: Every Breath You Take & Brickton
- Episode 29: Living on a Thin Line & Camelot
- Episode 30: The Dolorous Strike & Under Pressure
- Episode 31: Knight of the Cart & The King’s Speech
- Episode 32: Cable Street Woes & Tower of London
- Episode 33: Camelot Ending – Unto The Breach
- Episode 34: Back to Black, Lesson Plan & T.E.R.R.Y.
- Episode 35: Of Mutants and Men & A Molehill
- Episode 36: Songs of Carthage & The Queen’s Army
- Episode 37: A Roar in the Waves
- Episode 38: Idylls of the King
- Episode 39: 5th Column Ending
Episode 1: Broken Angel & The Swan & Mitre
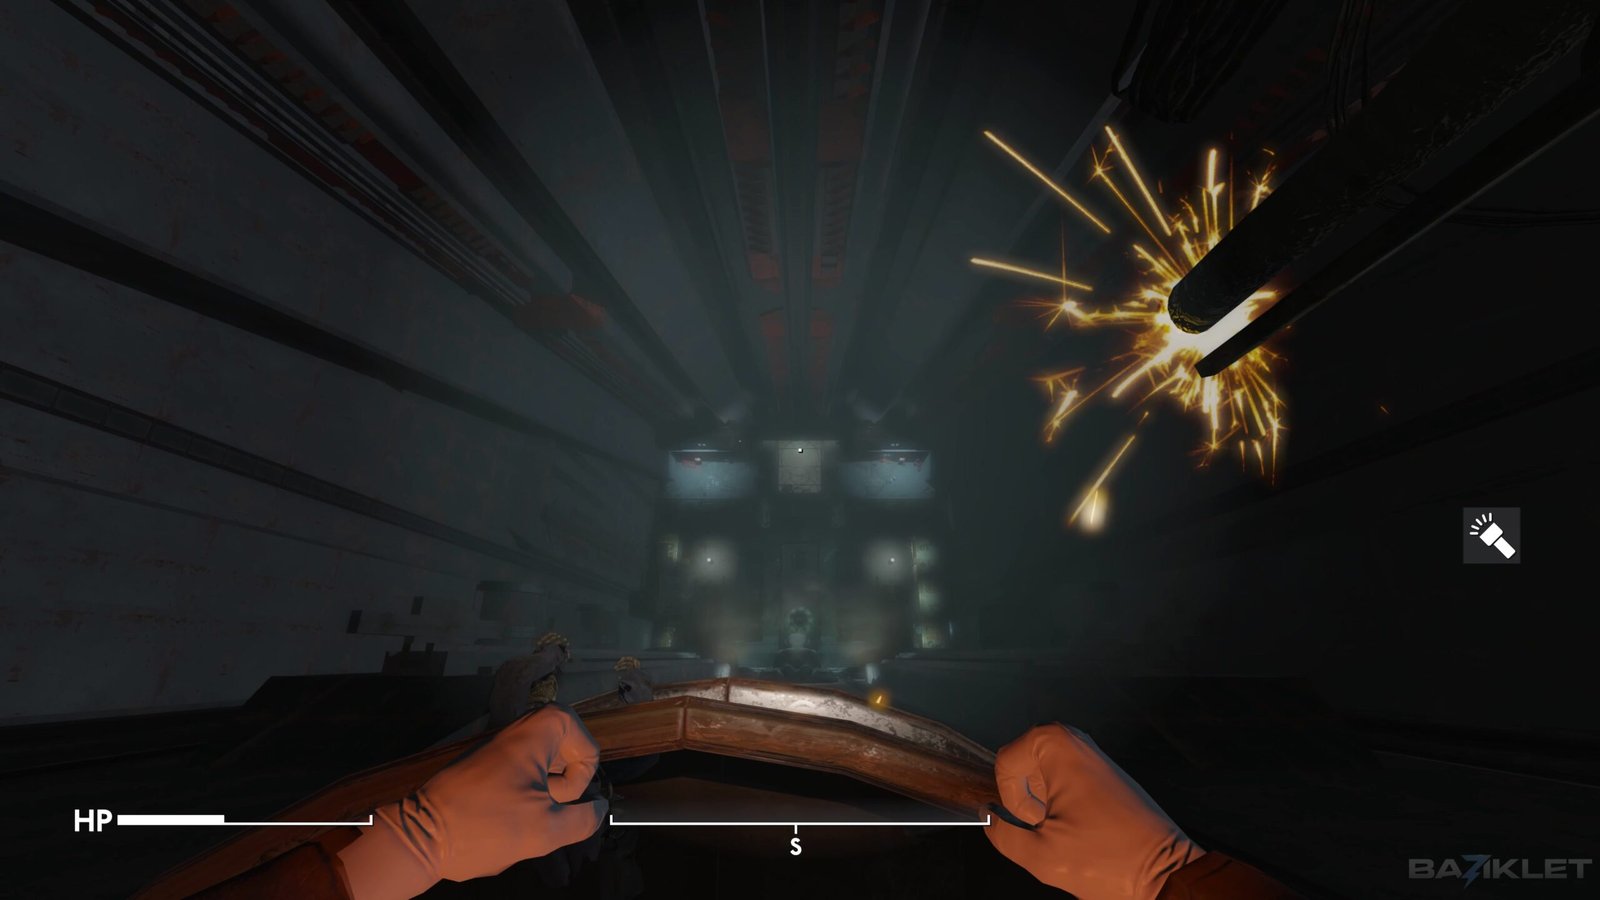
Broken Angel is the opening hour, and it starts with the Wayfarer waking in a cracked capsule in a hidden lab. We break out, hear Agent Smythe speak like he owns the experiment, and climb through The Shard until a note simply says “Do it.” The jump is the way down.
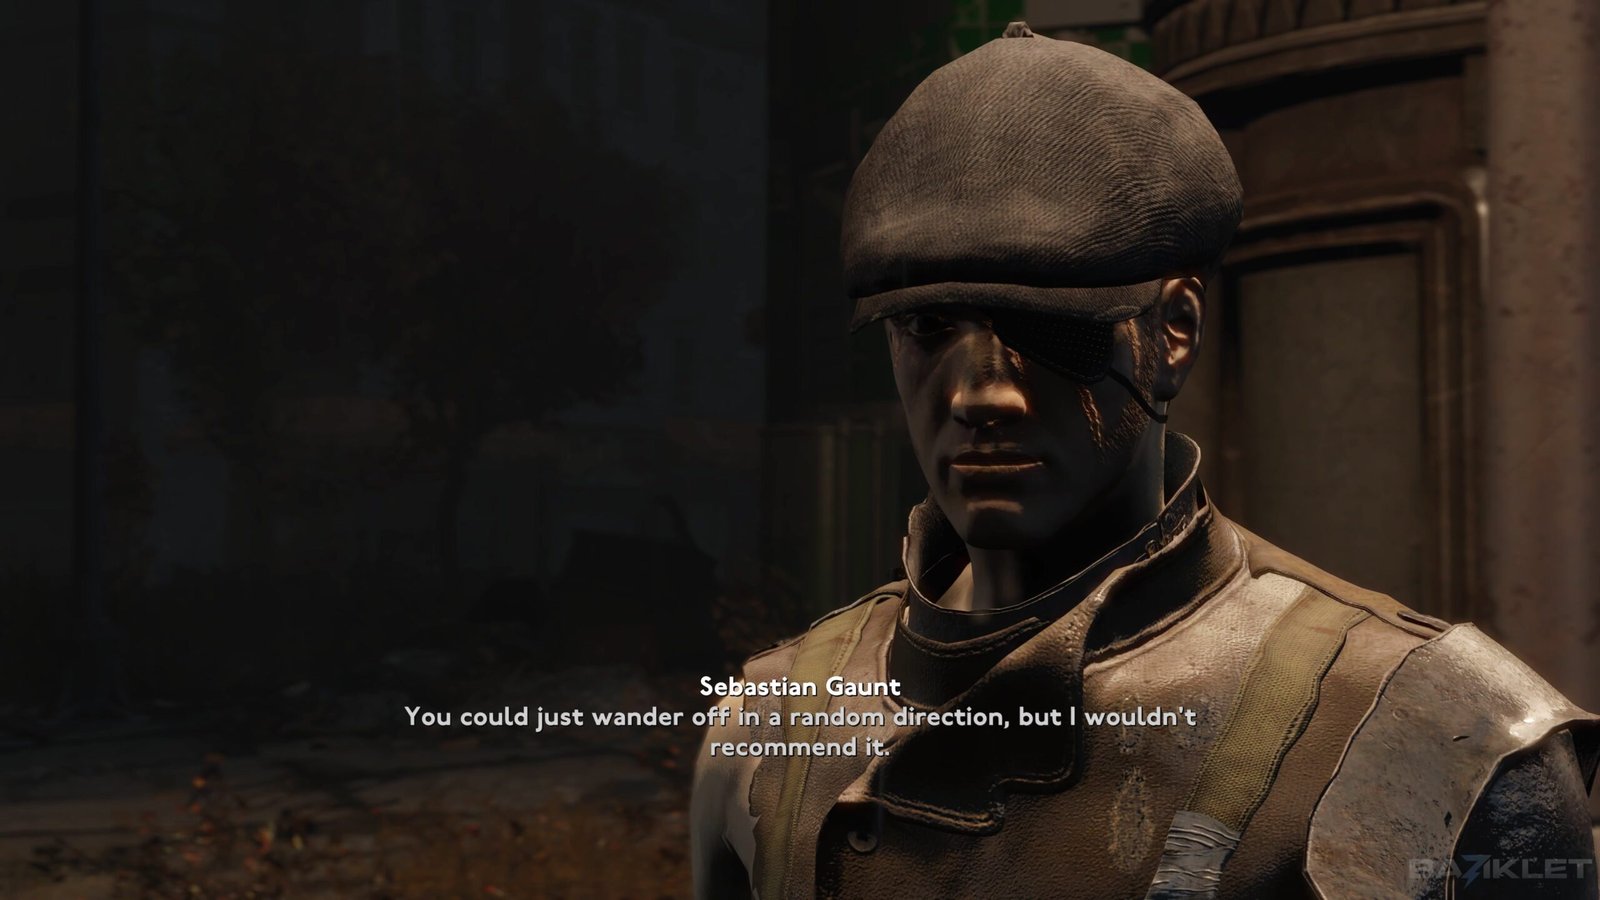
The train out of London Bridge Station never reaches its stop. After the crash we meet Sebastian Gaunt and the Vagabonds, pull a medkit out of Greenwich Station, pass Private Fay and Brookes Retail Supplies, and help hold the Swan & Mitre against the Isle of Dogs Syndicate. Yvette clears our first affliction, and On the Mend begins.

Episode 2: Greenwich Foot Tunnel & Meeting in Millwall
Greenwich Foot Tunnel & Meeting in Millwall starts at Dom’s Cafe and turns the Swan & Mitre into a list of favours. We run Chill Winston’s errand to Nadia’s Trade Post, get Bullettooth Anthony his Crystalline Photon Agitator, and put Blind Nelson’s radio back together. The broadcast says Yvette is in trouble.
The only clean way across the Thames is Greenwich Foot Tunnel South, a run of radiation, holes and drowned ghouls. On the north side we help Yvette pull Uma out of Millwall. Then we report to Sebastian Gaunt and join the Vagabonds.

Episode 3: Thameshaven, Churchill & the Mary Ellis
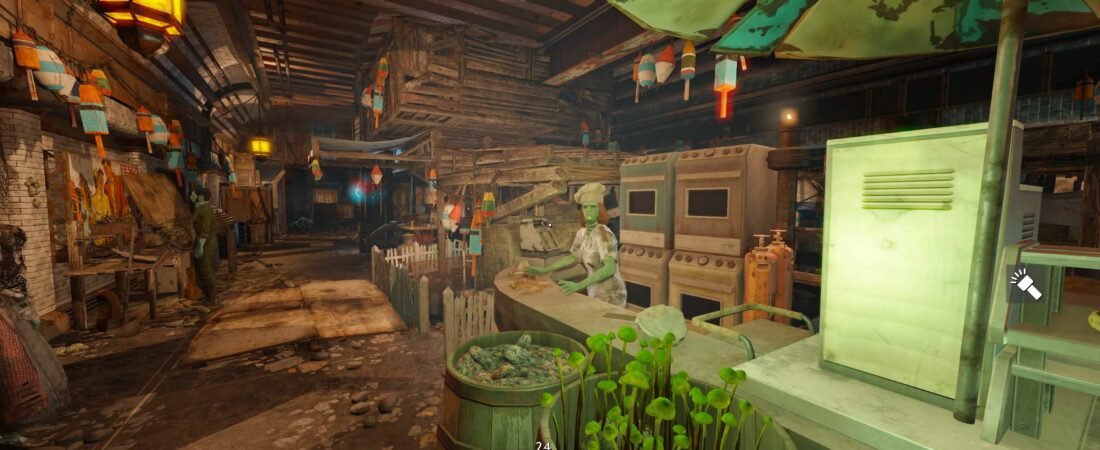
Thameshaven, Churchill & the Mary Ellis takes the Charybdis road east. At the Prilladog Food Factory we pull Churchill the bulldog out of a dogfight, and the Factory Guard lets us keep him. Then we talk past the gate into Thameshaven and drop down an elevator shaft to save the Ferryman from the leeches.
Sealing the breach in the abandoned district starts Lands of the Seraph. The pin jumps to the Mary Ellis, a crashed airliner in Rotherhithe ringed by Mittenlurk nests. The episode stops in the cockpit with Archie.
Episode 4: Bermondsey, Tower Bridge & Monument Lab
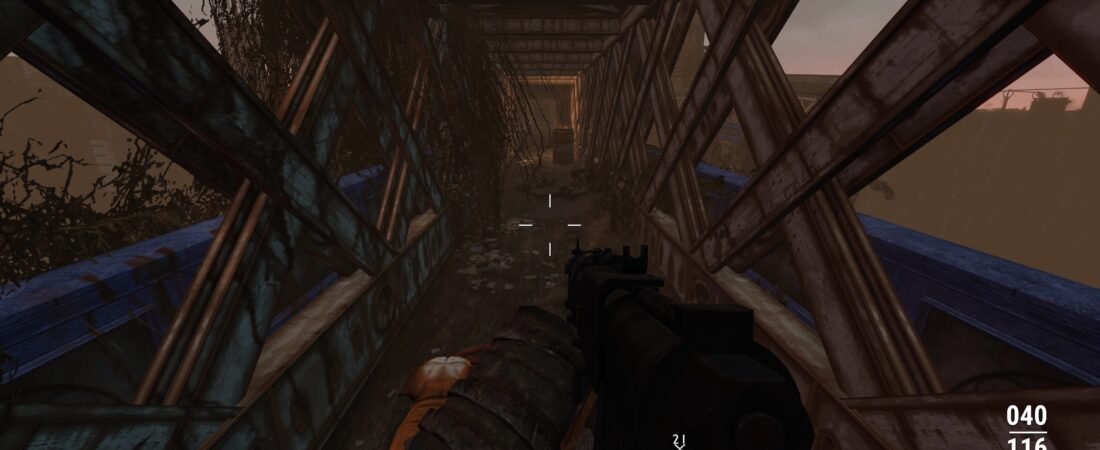
Bermondsey, Tower Bridge & Monument Lab finishes Lands of the Seraph. The Ferryman needs the north bank, so we drop the crane bridge at Bermondsey Dock, walk Bermondsey, and fight our way across Tower Bridge. It is the first big crossing of the run.
At City of London Dock we regroup with the Ferryman and Archie and take the Monument Hatch Key. Inside Monument Lab we restore power, open the noisy door, and kill the Super Clone Experiment. Lands of the Seraph ends on that lab floor.
Episode 5: St Paul’s Cathedral & Free Lazarus
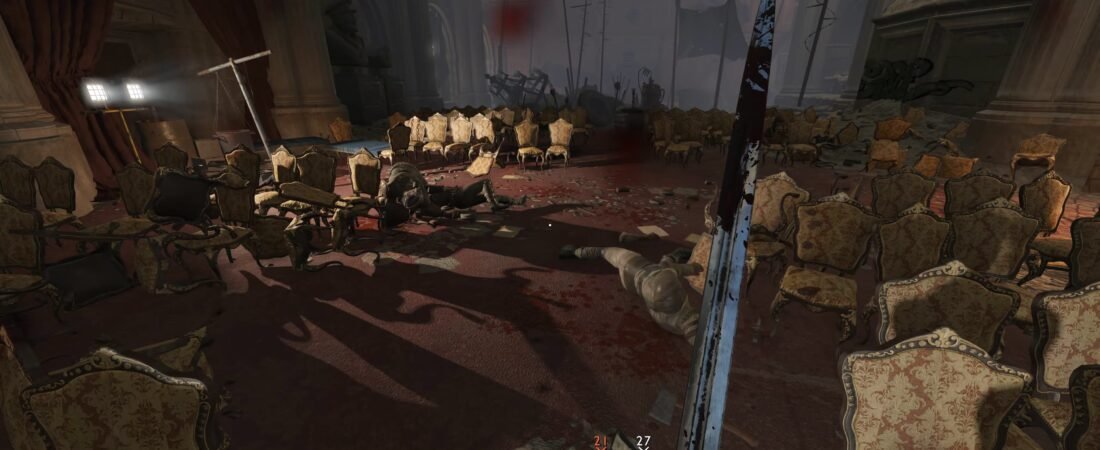
St Paul’s Cathedral & Free Lazarus begins at a closed sanctuary. The Frenchman will not open the doors while Violent Violet’s hooligans own the street, so we speak with Lyle and clear Guildhall. Only then does Fidei Defensor end at Bishop Whaler’s pulpit.
Cold Case sends us to Father Luke, and the trail runs through Beefeater Burger into Wintergarden. After the fight outside East Wintergarden we free Lazarus. He is cleared to return to the Sanctuary.
Episode 6: Arms Race & Kinoworld Cinema
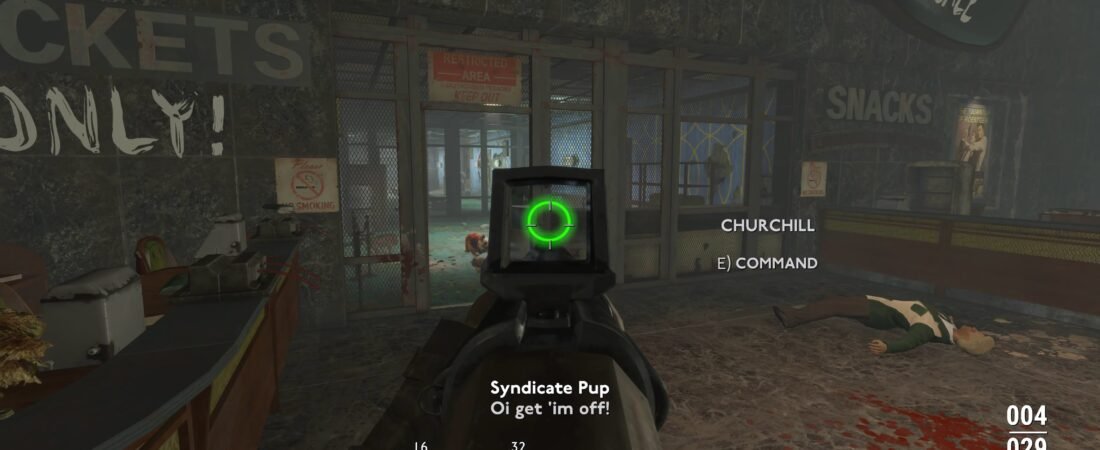
Arms Race & Kinoworld Cinema opens with Sebastian Gaunt’s war meeting at the Swan & Mitre, where the lieutenants hand out three jobs. This episode takes Bullettooth Anthony’s. His target is the Syndicate depot at Kinoworld Cinema, where Gentry factory guns are parked.
Valentina in the Isle of Dogs Ruin can hack a warehouse key card if she gets the parts. We bring them, walk into Kinoworld with the Hacked Warehouse Key Card, and finish the depot. Anthony gets the report.
Episode 7: HMS Dredge & The Train Job
HMS Dredge & The Train Job finishes the other two lieutenant jobs. Prison Break starts on the water, where we clear the Syndicate off HMS Dredge, reset the cell terminal and free the prisoners. Johnny Shrapnel’s bombs go on the lower deck.
The Train Job takes us into the Docklands Light Railway with another bomb. We plant it on the train and get off before it blows. Chill Winston closes the job back at the Swan & Mitre.
Episode 8: Mittenlurk Empress & Greenwich Impact Crater
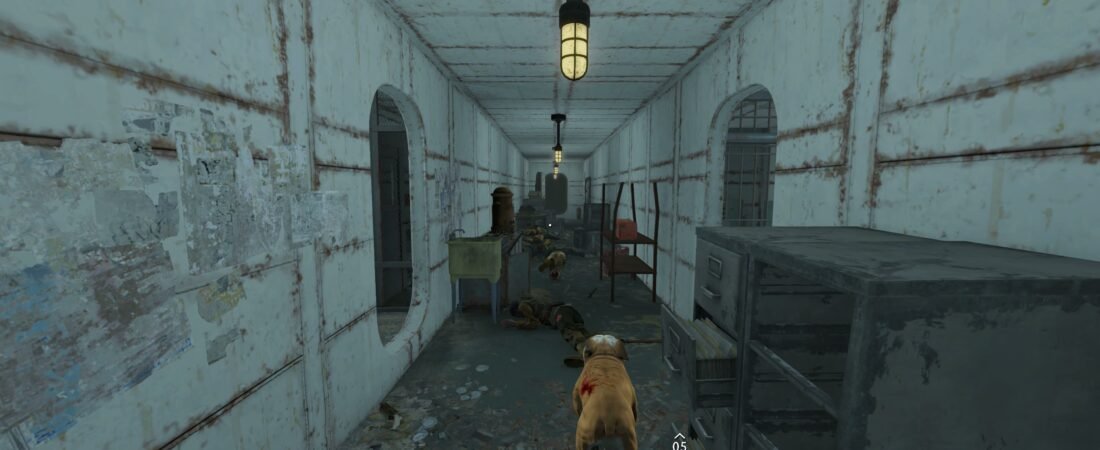
Mittenlurk Empress & Greenwich Impact Crater is Scylla, Thameshaven’s missing-persons case. Rachel Hall wants Bob Clarkson kept in town, so we go looking for Carl instead. The trail runs through Carl’s Shack, Jeremy Lewis and Buchannann’s Art Supply Co.
Carl’s body and holotape send us out to the Greenwich Impact Crater to kill the Mittenlurk Empress. We take proof back to Horace and finish Scylla. Thameshaven gives us a home.
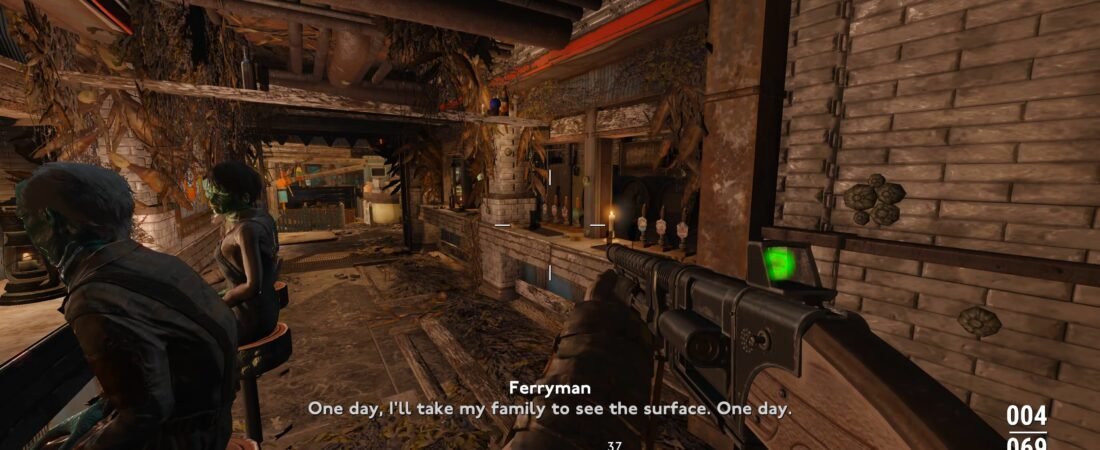
Episode 9: Heavenslayer, Bank of England & Gas Mask
Heavenslayer, Bank of England & Gas Mask starts at the Imperial War Museum, the Tommies’ headquarters. Colonel Major walks us in to General Asquith, and the price of a gas mask is the Hooligans holding the Bank of England. Nothing in Lambeth is free.
We reach the bank through Monument Underground Station and fight it floor by floor. The Bank of England Key and the Bank Manager Key open the vault. Colonel Major then hands over the Gas Mask.

Episode 10: Hackney & Fashion Terrorism
Hackney & Fashion Terrorism is our first walk into Hackney. The checkpoint opens Hurly Burly, a Roundel fight against Miller’s Men that starts with Rosie Krantz and Guy Denstern in the street. It ends inside Club Oberon, where Dennis Blanford’s speech puts Ronnie Jones on the wrong side of the raid.
Patrick Smiths then starts Fashion Terrorism. We work for Milano and Chanelle, stop Greta Golitely, and wear Chanelle’s Battle Coat into The Shoppe. Upstairs waits Prince Pete Davies.

Episode 11: Fair is Foul & Lost & Won
Fair is Foul & Lost & Won commits to Dennis Blanford and Joan Shrimpton. We dose Prince Pete Davies, take Guy Denstern’s and Rosie Krantz’s roundels, and let Dennis claim the clubs. Patrick Smiths leaves for Camden.
The road to Roger Moon runs through The Barbican and Smoke City, and Fair is Foul ends when Moon is dead. Lost & Won marches the Roundels against Miller’s Men on Cawdor Street and into Club Oberon. We kill the Radger and put Manchester Mike in charge.

Episode 12: The Brass Nail & Syndicate Factory
The Brass Nail & Syndicate Factory brings back the Vagabond war. Sebastian Gaunt opens Revenge, Thy Name Is Fury and names three Syndicate lieutenants: James Lockheed, Enforcer Sinclair and Pieter the Fence. Each Vagabond officer wants the hits done his own way.
Meg gets us into The Brass Nail, and we stand aside while Winston finishes Lockheed. Lexi opens the Syndicate Factory, Sinclair dies upstairs, and her body goes into the furnace. Pieter stays behind Admiralty Arch.
Episode 13: Angel Lab & King’s Cross
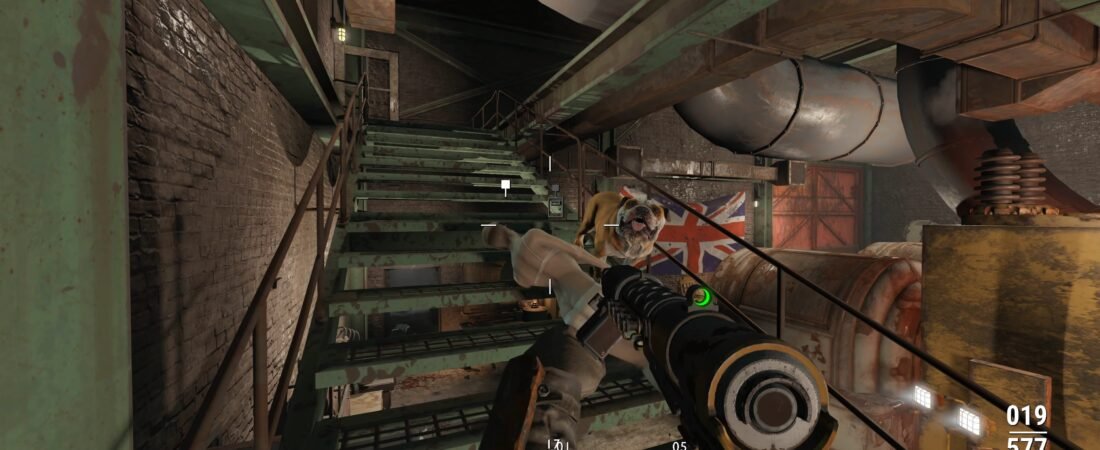
Angel Lab & King’s Cross is the last approach of Heavenslayer. With the gas mask already in hand, we take the hidden Islington sewer, cross the Quarantine Zone and drop into Angel Underground Station. Smythe has left a lock for us.
In Angel Station Lab the platform scanner clears Lab Rat, which finishes On The Mend. The tube tunnel then puts us in King’s Cross St. Pancras Station. Heavenslayer is done.

Episode 14: Westminster & Lay of the Land
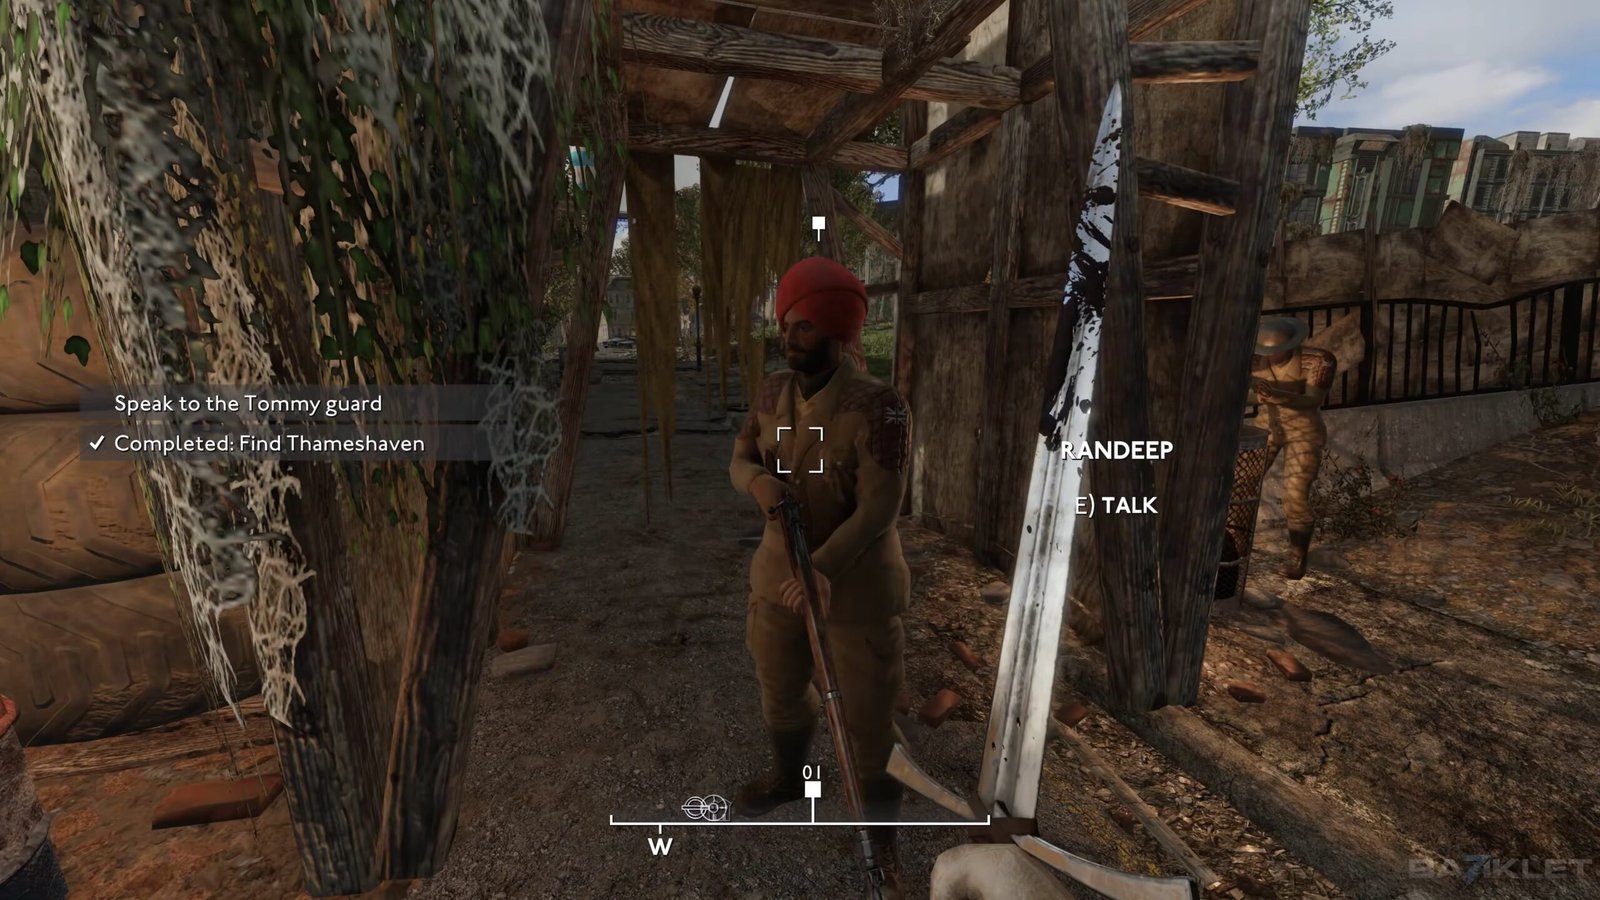
Westminster & Lay of the Land finally gets us through Admiralty Arch, once the Tommy Guard finds our name on the list. Alexandra walks us through the first streets of a city that still looks kept. Then we pull Smythe’s Calling Card out of the Crash Site.
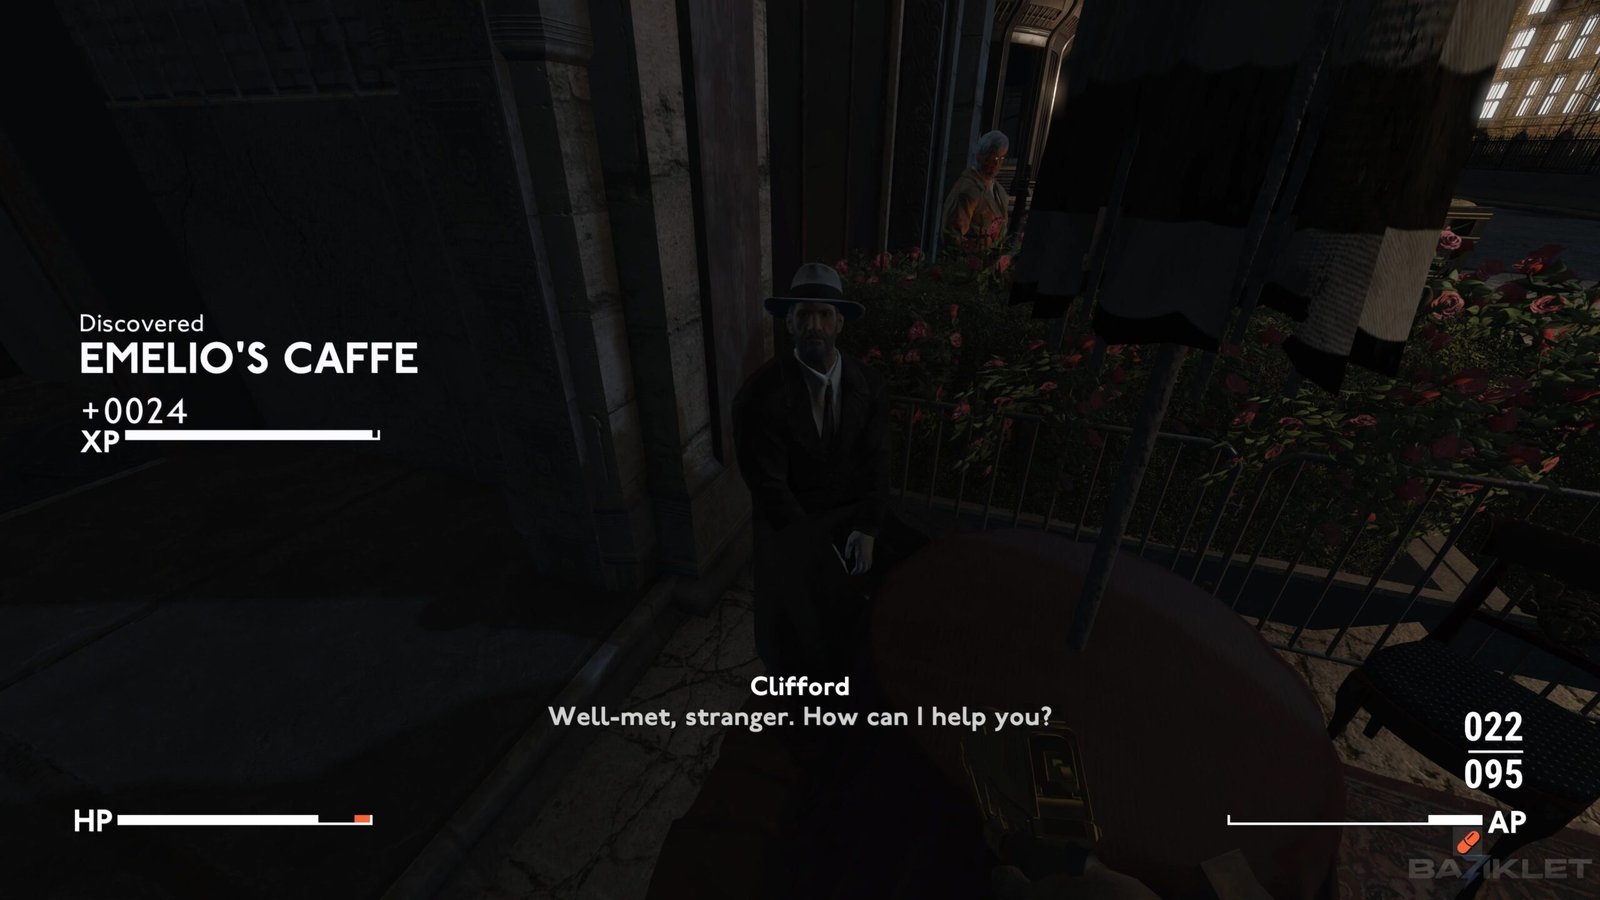
The Parliament Guard’s errand at 221 Mount Street closes Lay of the Land on his briefing about the petition. Clifford de Hory starts Hear Ye, Hear Ye at Emelio’s Caffe. Inside the Aeneid, Tisi and Pieter the Fence are finally in reach.

Episode 15: Thomas Black & Breaking the Cycle
Thomas Black & Breaking the Cycle opens with Nelson’s note at the Swan & Mitre and a radio call that sends us onto the Docklands Light Railway. Blind Nelson admits he has been feeding the Syndicate ever since Black used Gaunt’s life to keep him on a leash. We keep him alive.
At One Canada Square, Thomas Black will only sign a ceasefire if Sebastian Gaunt stops running the Vagabonds. We take the chair from Gaunt, and a radio truce ends the war with the Isle of Dogs Syndicate. Breaking the Cycle earns the Peacemaker perk.

Episode 16: Pindar Station & The Lost Tommies
Pindar Station & The Lost Tommies starts with Private Tommy, a looping distress call and a patrol that never came home. His marker is an unmarked hatch in Tower Hamlets. It leads into Pindar Station.
The station is a feeder puzzle first and a tomb second. We work Relay Tower Maintenance, climb the three Security Level IDs and leave Research and IT with She Who Dares before the bunker cooks itself. Tommy gets his proof.
Episode 17: Camden, Here’s the Pistols & Arlington School
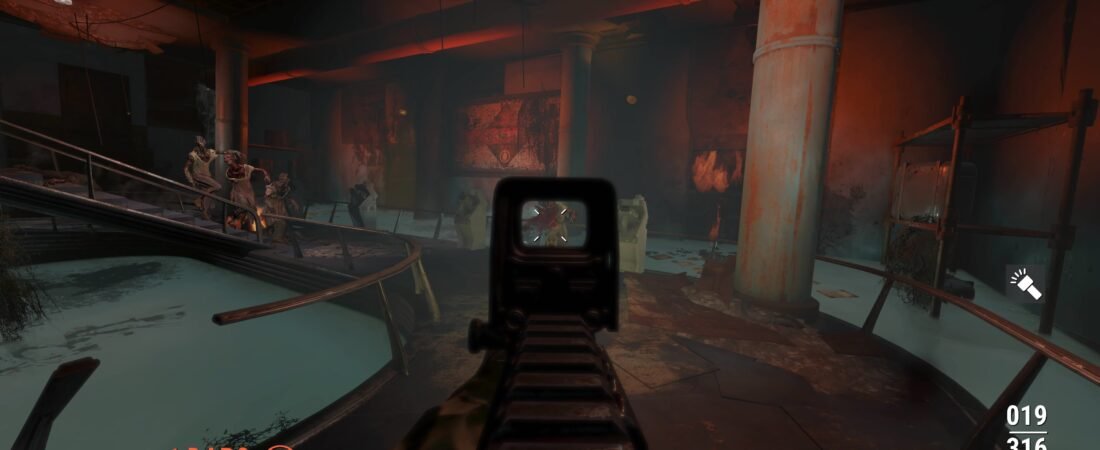
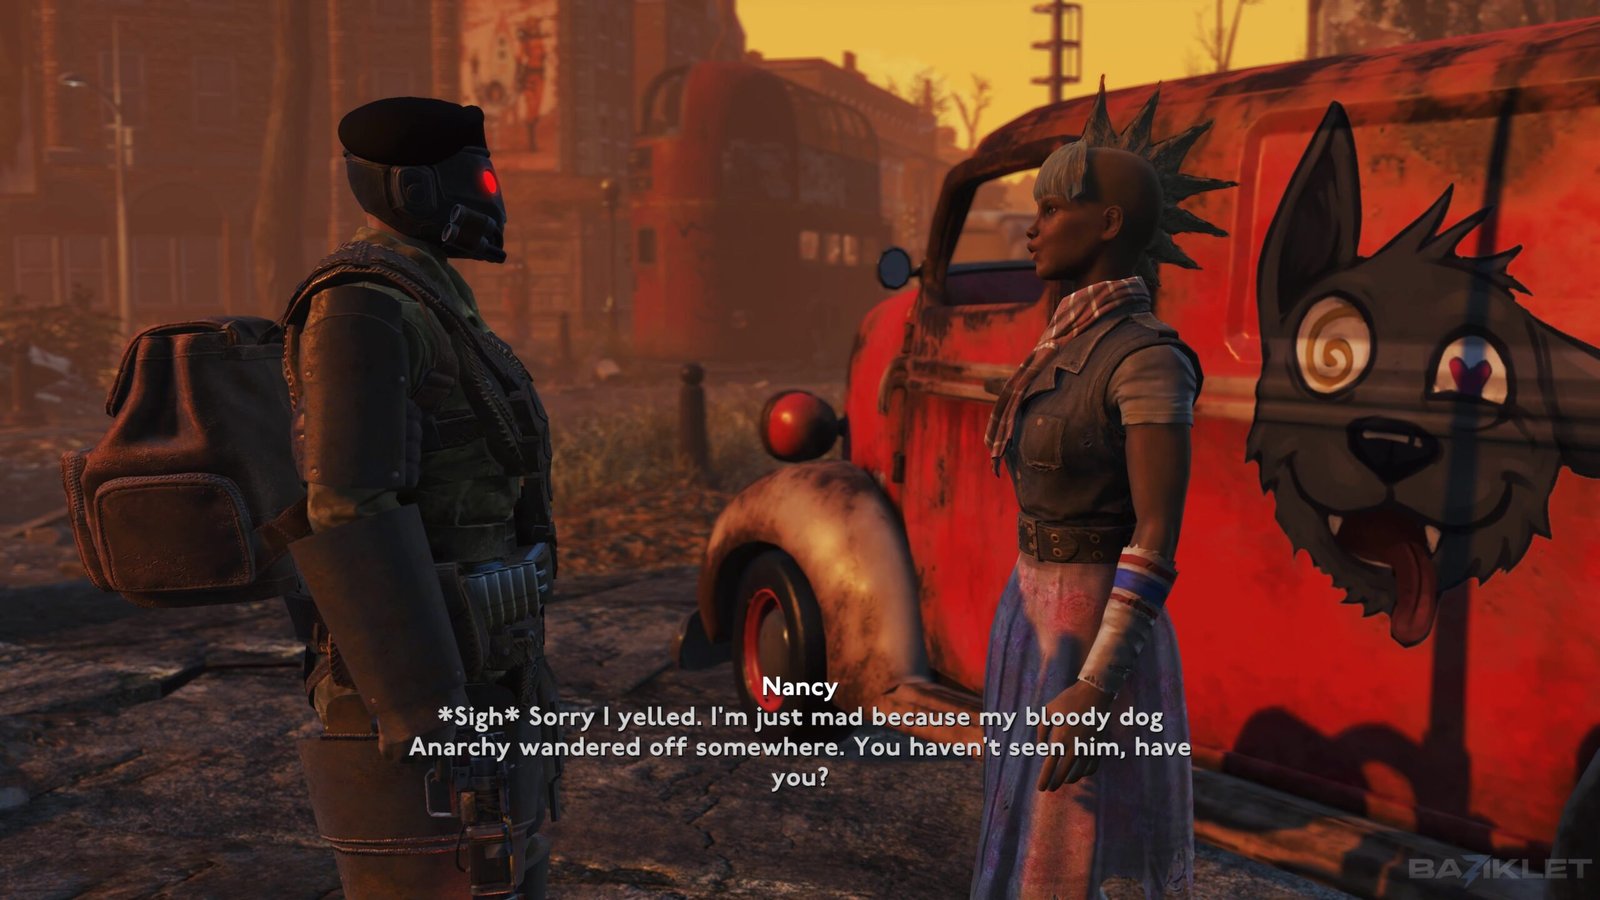
Camden, Here’s the Pistols & Arlington School takes Hear Ye, Hear Ye north. We come in through Euston Station and Mornington Crescent into Pistols territory, find Nancy’s dog Anarchy, and drop into Cyberfox. Apache Alice is not easily impressed.
Here’s the Pistols starts with a test. We clear the Hooligans holding Arlington School and report back to Alice at the club. Membership still needs more.

Episode 18: Here’s the Pistols, Water Woes & Guns of Lewisham
Here’s the Pistols, Water Woes & Guns of Lewisham collects three council endorsements for Alice. Water Woes runs from Palmira Romero in the Catacombs to Polly Ester at the Water & Power Syphon and out to Jesse Gray for the missing purifier. Guns of Lewisham sends us south to Lewisham Police Station for Captain Reasonable.
What’s In a Name is the last sponsor, with John Strutter and Malcolm Rhodes at the Two Westminster Chairmen. Then Alice signs. Camden is on the petition, and we are Pistols.
Episode 19: Glad Tidings, A Foot in the Grave & Lake Nuke Ending
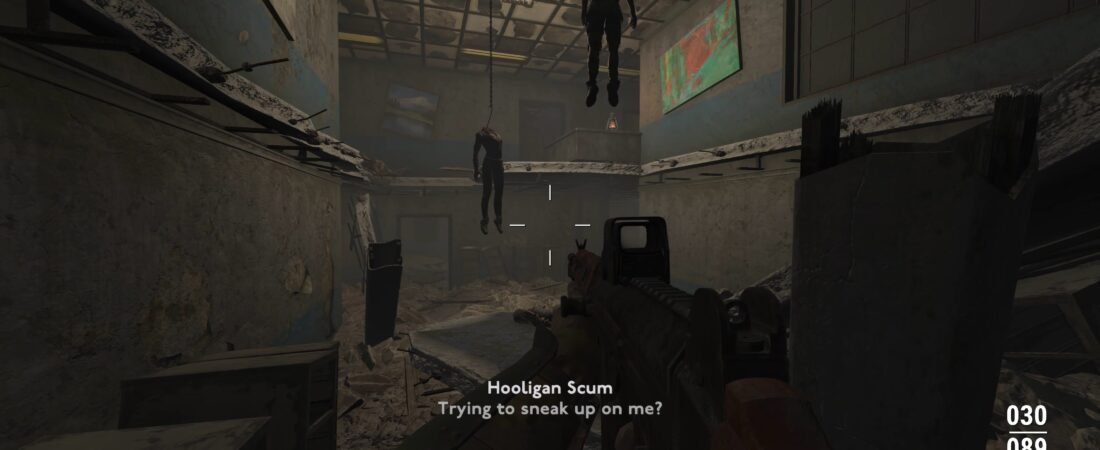
Glad Tidings, A Foot in the Grave & Lake Nuke Ending takes the petition to Islington Charter House. Miller will not sign until a life debt is paid, so we visit John Marsh at St Paul’s and cross to London City Airport to lay Jane Marsh to rest. Miller signs.
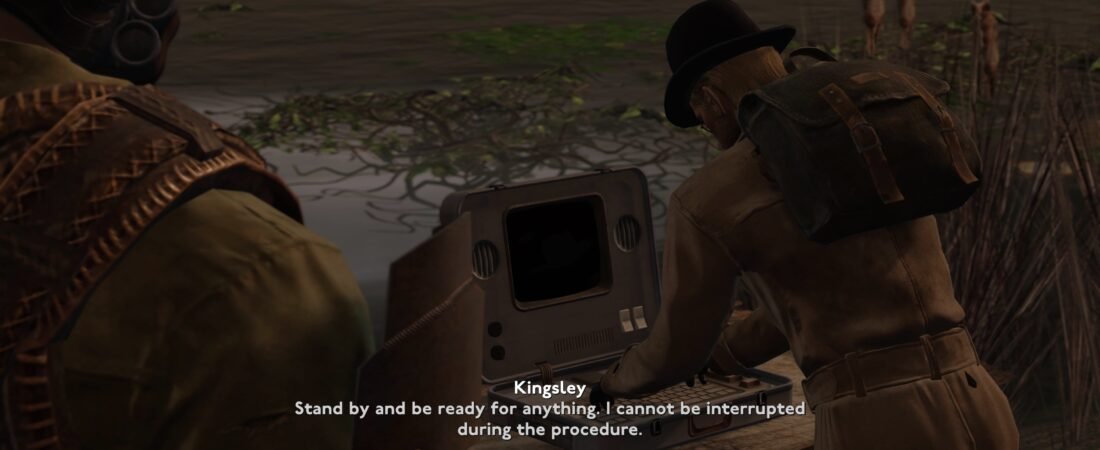
Kingsley Baxter’s A Foot in the Grave runs south past Manchester Mike, who signs for Hackney, to Wimbledon Park Lake. We recover Kingsley II from Pike Carling, and Kingsley disarms the undetonated nuke. Then we reload, let Pike try, and watch the Lake Nuke ending.
Episode 20: No Man’s Wasteland & Croydon
No Man’s Wasteland & Croydon starts in Brickton, where Chief Roach refuses to pay the tax the Tommies demand after a bridge job went into the lava. He sends us to settle it. Croydon sits on a lava crater.
Past Croydon Pindar we drop through West Croydon Underground Station, kill a Gehenna with stranded Tommies, and pull the Support Beam at West Croydon Station. We make contact with Reece and report through Buckley and Doyle. Roach signs for Lambeth.
Episode 21: All to Pot, The Placebo Effect & War Games
All to Pot, The Placebo Effect & War Games starts with the finished petition. We hand it to the Angel Palace Guards and step into a ringing telephone box on Bridge Street. We wake in Gentry Prison.
The breakout runs through Scotland Yard, and the Science Museum puts Mr X in reach for The Placebo Effect. War Games ends at the Tournament Grounds with a charge under the Gentry box. Smythe survives, and Act 2 closes.

Episode 22: Taking Initiative & Nature Adores a Crab
Taking Initiative & Nature Adores a Crab is the first Angel job. Director Wesley Herbertson wants four DNA samples from the ghoulified scientists on the Angel Lab lower levels. Then he puts us in the cages with them.
Nature Adores a Crab sends us to the London Aquarium Lab. Smythe wants Reggie, Subject 822, destroyed, but we free him before the lab floods. Answering the telephone outside locks the Angel path.
Episode 23: You Only Live Twice, Westminster House & Camelot
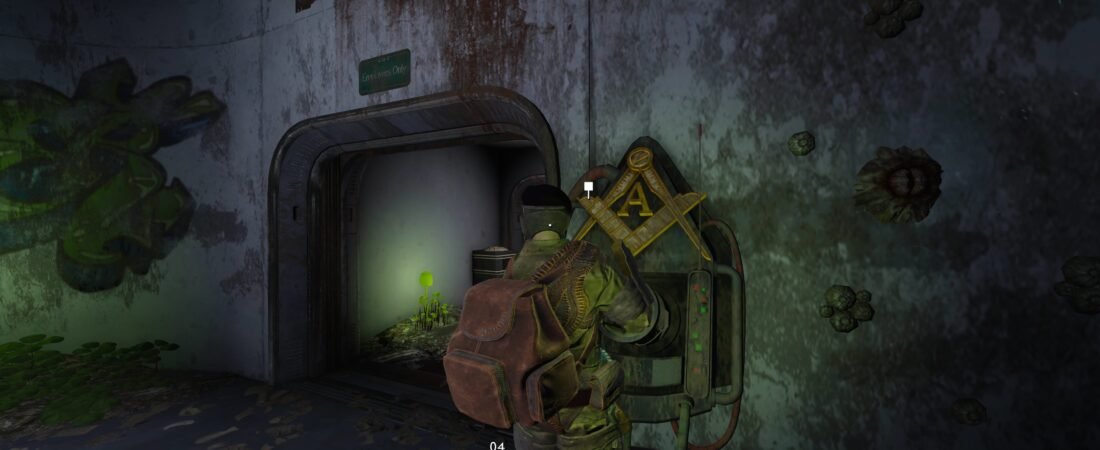
You Only Live Twice, Westminster House & Camelot opens on Doctor James North’s funding speech at Two Westminster Chairmen. In his lab under Hyde Park Corner he lays out Smythe’s plan: clone Camelot’s spy, Guinevere. The trap is a party.
At Westminster House we clear the surveillance devices, lure Guinevere into the garden and take the sample. Smythe uses the clone to kill North, and the same face walks us into Camelot to finish Arthur. You Only Live Twice closes back in the lab.

Episode 24: Ozymandias, Out of the Shadows & Election Night Special
Ozymandias, Out of the Shadows & Election Night Special finishes the second name on Smythe’s list. We talk to Horatio Whitehouse and Victor Schmidt at St George, then kill Eve Varney at King Edward Memorial Park. The 5th Column does not turn on us.
Out of the Shadows collects a royal appointment across Buckingham Palace, the tennis court, the Royal Albert Hall and Westminster Abbey. An election shuts 10 Downing Street and forces a campaign detour. The ceremony at St James’s Palace makes Smythe Lord Chancellor.

Episode 25: Crossing the T’s, Acceptable Losses & Spin Doctor
Crossing the T’s, Acceptable Losses & Spin Doctor hands Smythe the Tommies. Colonel Major’s Appointment Notice goes to General Asquith and then to Queen Victoria II for her signature. After a duel with Asquith, Colonel George Major takes command.
Acceptable Losses is a false flag. We burn the Peckham settlement with the Angel Flamer and plant the evidence for the Tommies. Spin Doctor retakes Broadcasting House from the Roundheads, hires Dicky Anderson and Robert Maxwell-Jones, and puts Angel on the air.

Episode 26: The Gloves Are Off, Meet Your Maker & Angel Ending
The Gloves Are Off, Meet Your Maker & Angel Ending is the Battle of Westminster on the Angel path. We burn Camelot’s trebuchet on Westminster Bridge and fight the 5th Column up through Waterloo Waterworks. Parliament Square, 10 Downing Street, Admiralty Arch and Broadcasting House fall in that order.
In Elizabeth Tower Smythe finally stands in the room. The Wayfarer is his clone, the body meant to replace him. We take the fortune in his briefcase, and the Angel ending plays.

Episode 27: Joining Camelot & Green and Pleasant Land
Joining Camelot & Green and Pleasant Land starts a new path. We climb to Arthur after the bout and ask to join, which closes Sword in Hand. His first case is a forest fire.
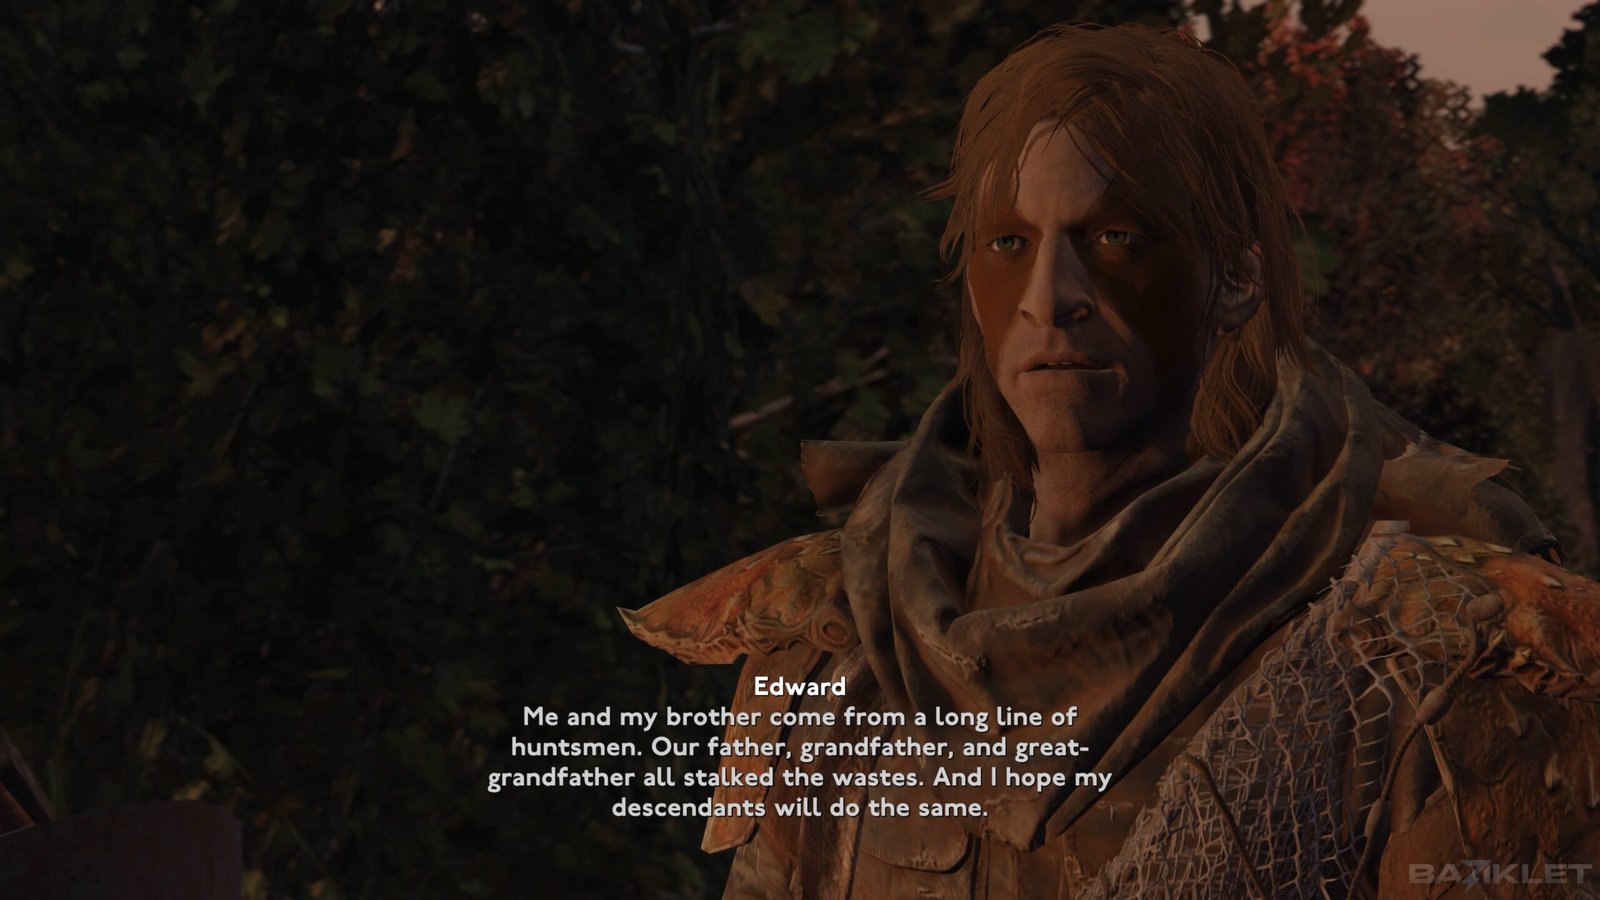
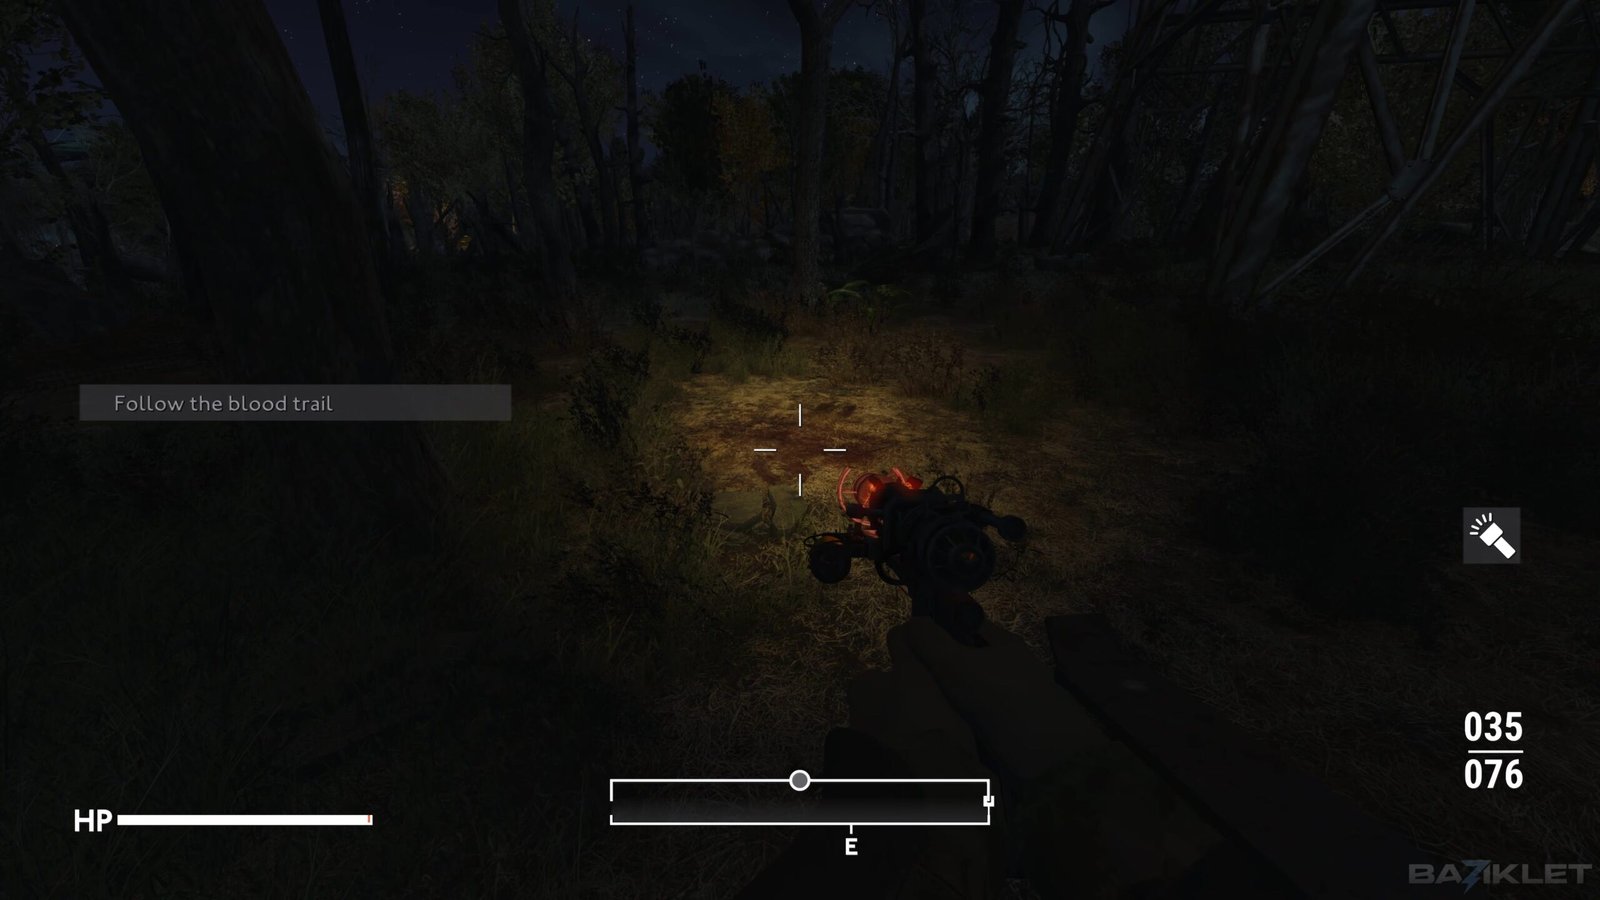
The Fletchers and the Baileys blame each other. We hear Edward Fletcher at Great Oak Tree House and Harold Bailey at Wandsworth Substation, follow the blood trail to Timothy Bailey, and confront Ryan Bailey at the shack. The fire was an accident, and that is what Arthur hears.
Episode 28: Every Breath You Take & Brickton
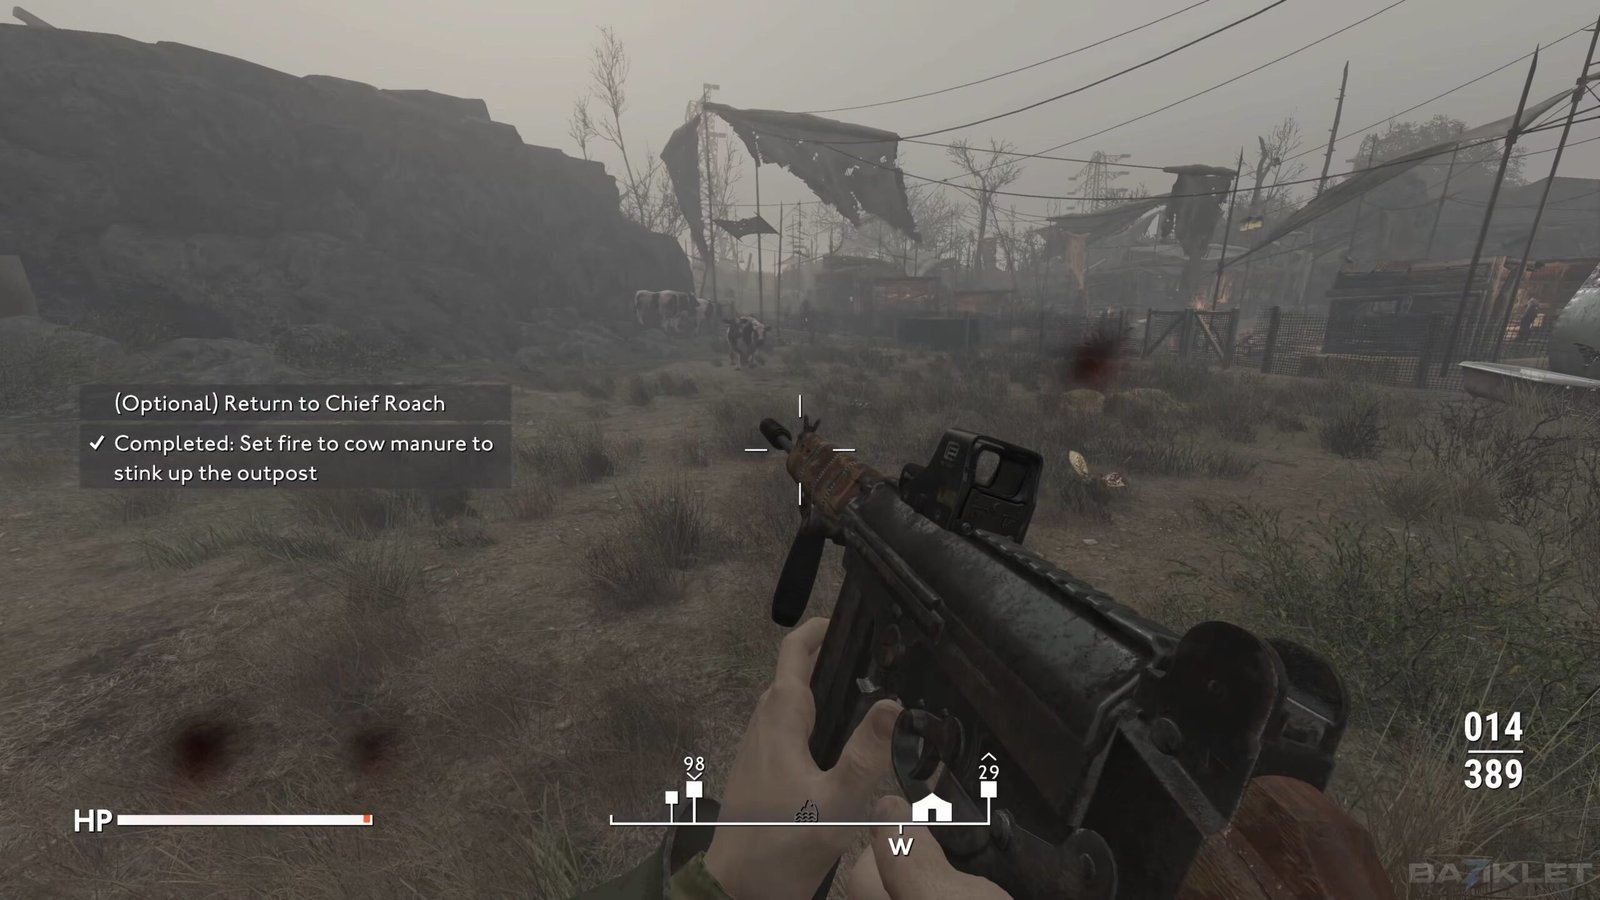
Every Breath You Take & Brickton sends us to Chief Roach, whose tribe wants the Tommies gone. We spread rumours about Lieutenant Doyle, dose the rations, kill the turret generator and set the manure on fire. Major Sneed arrives anyway.
As the Brickton Shadow we hit Sneed’s stuck wagon, and the garrison packs up. Percival and Merlin close the job. We are now a Knight.

Episode 29: Living on a Thin Line & Camelot
Living on a Thin Line & Camelot turns a captured Tommy outpost into a fortress. Merlin sends us north to Knight Gawain. Boasts are not walls.
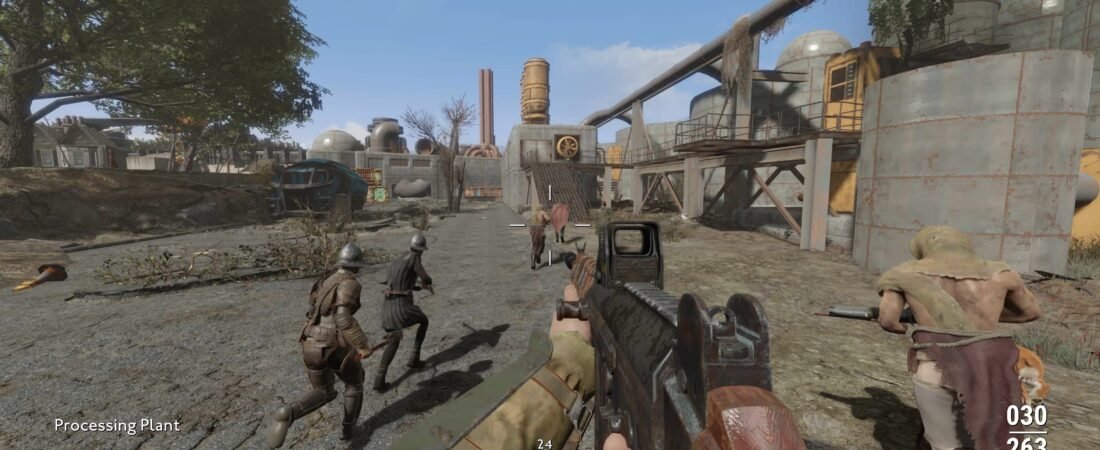
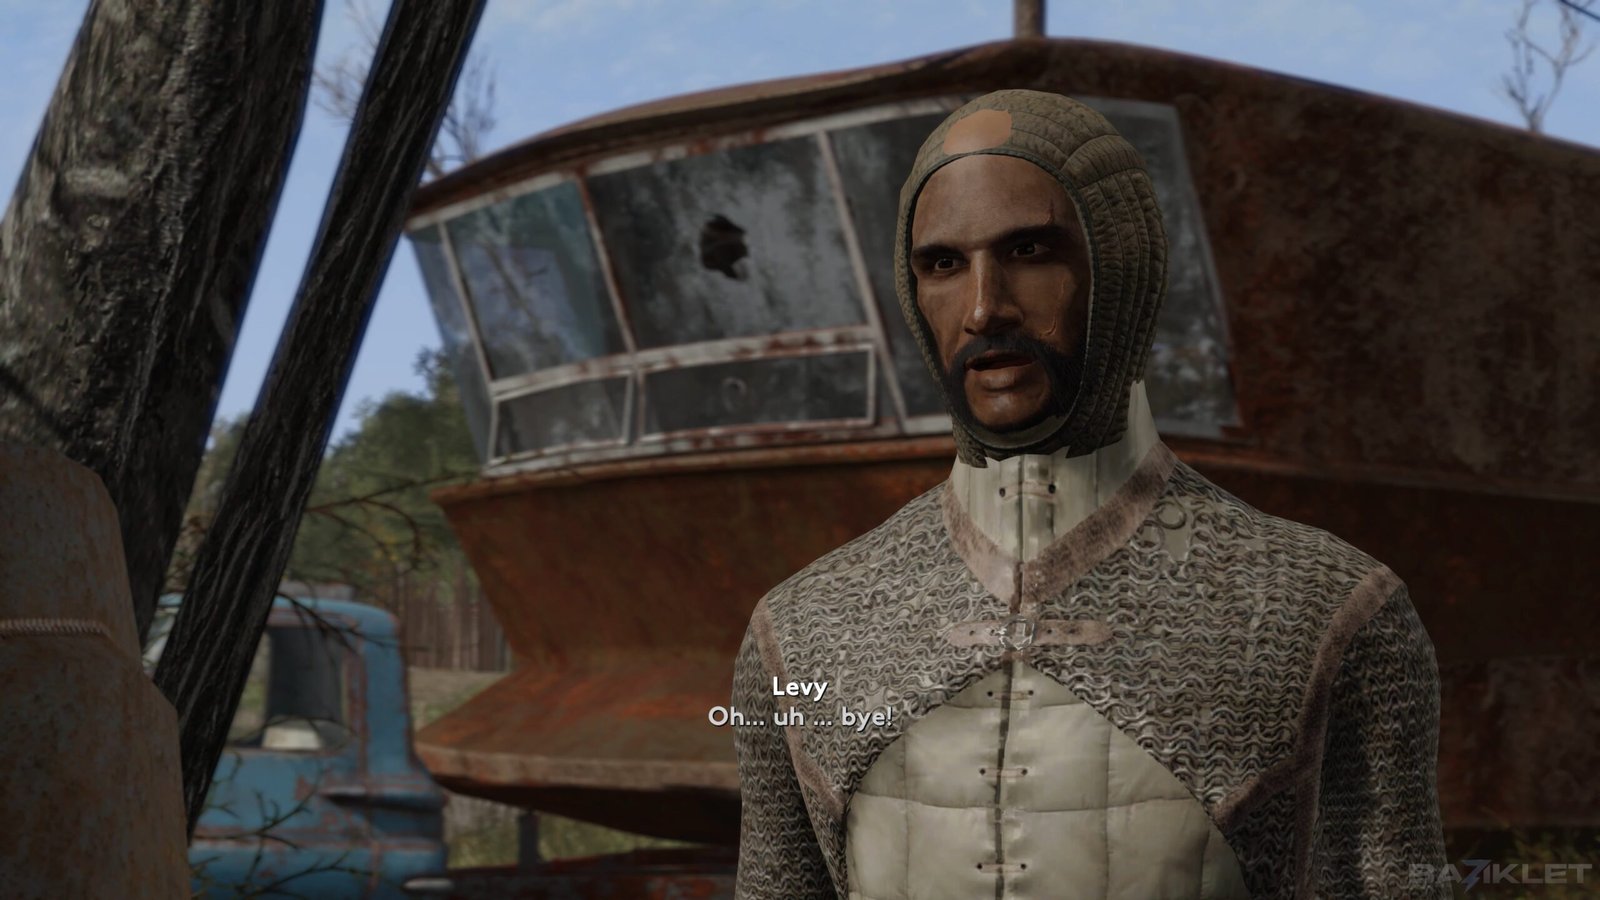
We bring food, timber and sandbags, finish Alex Pili’s explosives training and walk Levy Daniels home. The factory raid clears the last hooligans. Reporting to Merlin locks us into Camelot.
Episode 30: The Dolorous Strike & Under Pressure
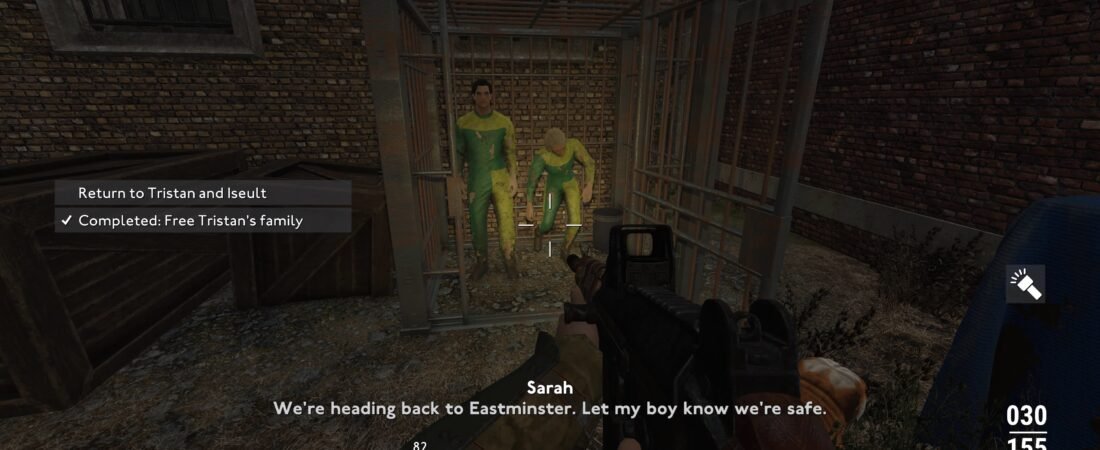
The Dolorous Strike & Under Pressure starts with a bombing at Charing Cross Station that Arthur never ordered. Eastminster has named two knights, and the 5th Column holds a family over the charge. We find Tristan and Iseult in the underground and free the family at St Anne’s Churchyard.
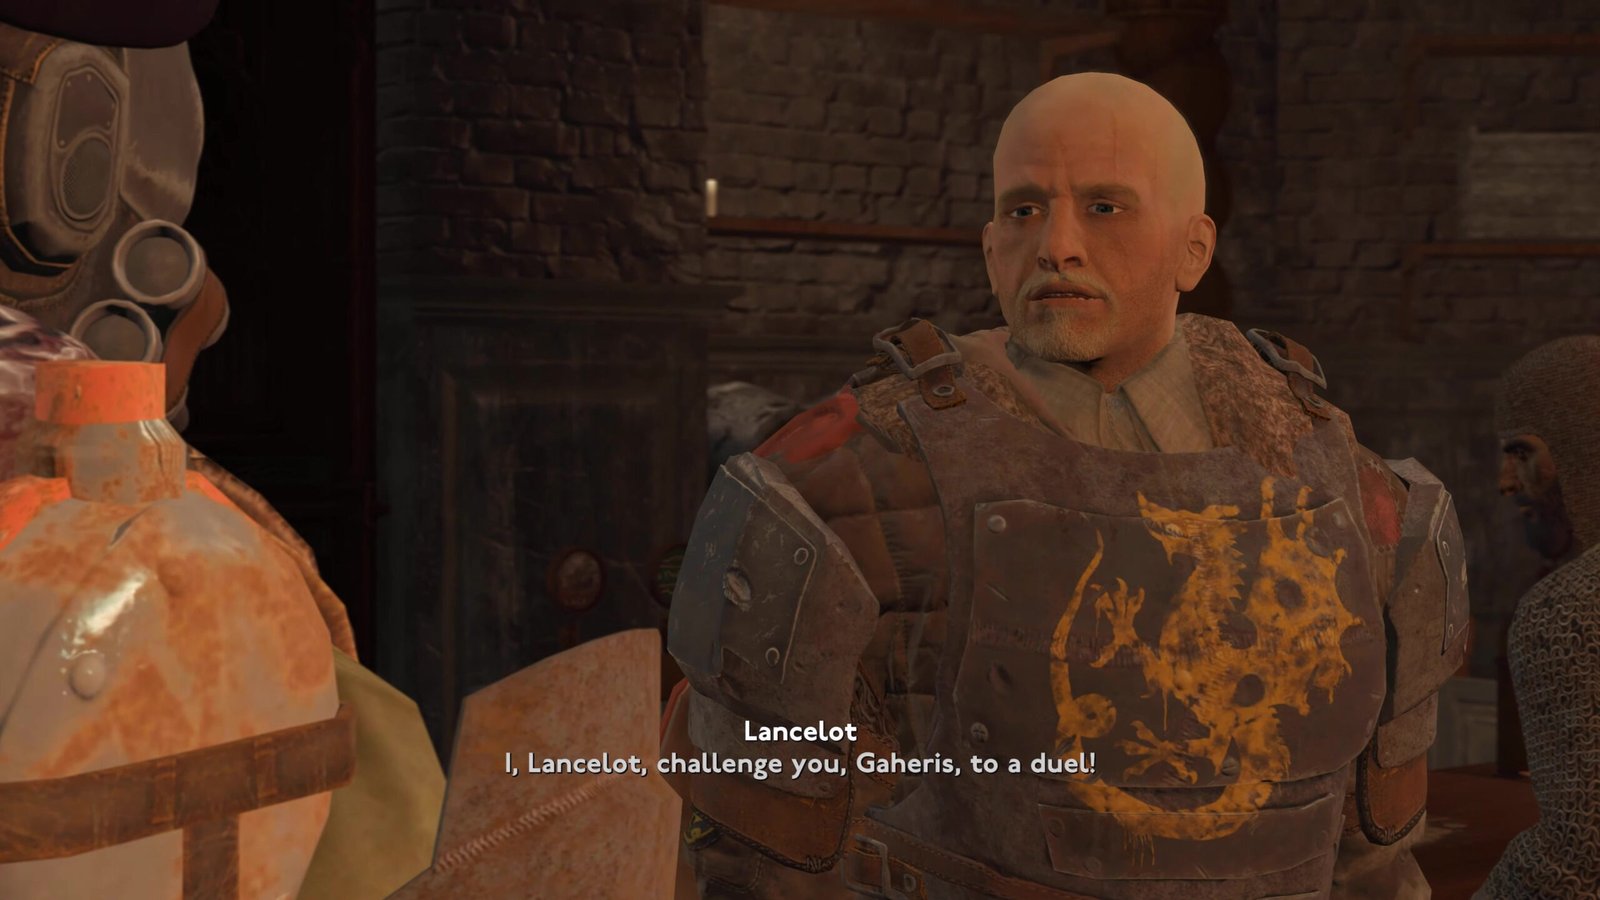
At the Round Table Arthur offers the empty chair. We are christened Sir Gaheris. Then the Tommies hit the keep, and we hold the courtyards and rescue Percival. At the northern outpost, Gawain has jumped on a grenade to save his squad.
Episode 31: Knight of the Cart & The King’s Speech
Knight of the Cart & The King’s Speech is a spy hunt. Lancelot takes the blame for the breach at Albion, and Lieutenant Tinkler trades intel for a doctor. A bet, a duel at Dueller’s Ditch and a loan shark letter expose Jeff Mutt.
Arthur then wants peace with the Tommies. We find General Asquith in Razorgrain Field, meet Guinevere in Westminster, and expose Major Allen as a 5th Column asset. The King’s Speech wins a non-aggression pact.

Episode 32: Cable Street Woes & Tower of London
Cable Street Woes & Tower of London starts with the Whitechapel Murderer and his .45, Autumn of Terror. Bedivere wants the Tower of London cleared for Camelot’s push. We clear it, then work undercover at the LT Tower.
Merlin’s coordinates lead to Knight Kay, and we rescue him. Then Camelot charges Cable Street and storms St George. Eve Varney is already dead when we arrive.

Episode 33: Camelot Ending – Unto The Breach
Camelot Ending – Unto The Breach opens on Westminster Bridge with Merlin’s trebuchet. Arthur gives us the honour of the first shot. Then we take Parliament Square, 10 Downing Street, Admiralty Arch and Broadcasting House.
In the House of Commons H4N-24RD carries a death sentence against us, and we climb Elizabeth Tower to fight Mr Smythe. We let him fall. In the Camelot Ending, Arthur begins building a true representative democracy.

Episode 34: Back to Black, Lesson Plan & T.E.R.R.Y.
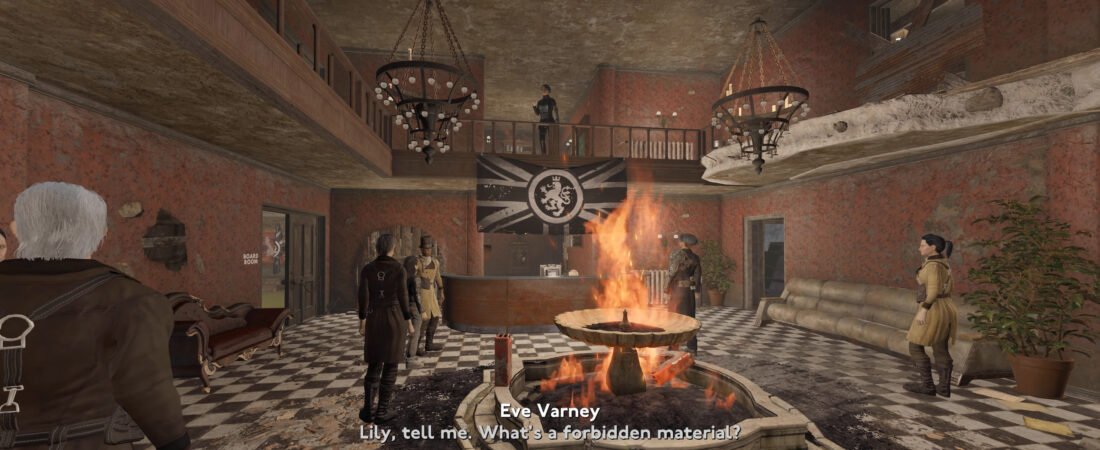
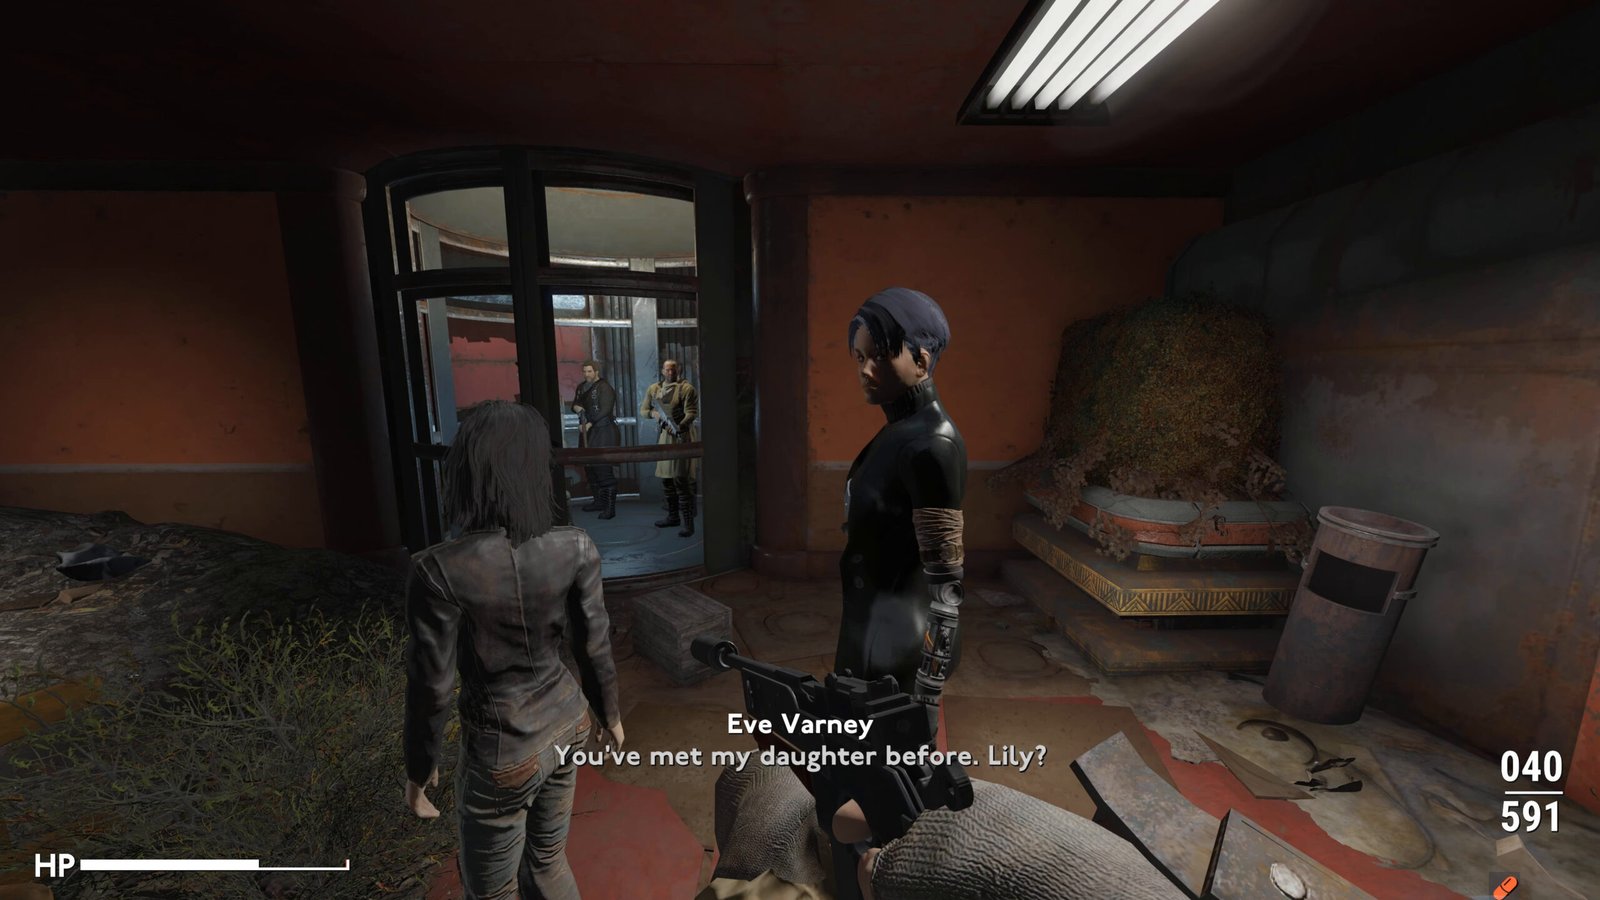
Back to Black, Lesson Plan & T.E.R.R.Y. locks us into the 5th Column. McFadden recruits us, Eve Varney welcomes the tourney winner at St George, and Victor Schmidt puts us to work. The jobs start small.
Good Samaritan takes us to Braiden Knight in Eastminster and to patients at Caleb Wood’s clinic, and we test whether Giovanni is a genuine recruit. John Smith starts Lesson Plan. We shut down T.E.R.R.Y. in the British Museum and bring the books back.
Episode 35: Of Mutants and Men & A Molehill
Of Mutants and Men & A Molehill begins with Horatio Whitehouse, Eve’s half-brother, asking why the Thamesfolk never catch tunnel cough. We bring Margery Connoly in from Cable Street. Eve cuts a deal that sends her home with Rachel Hall.
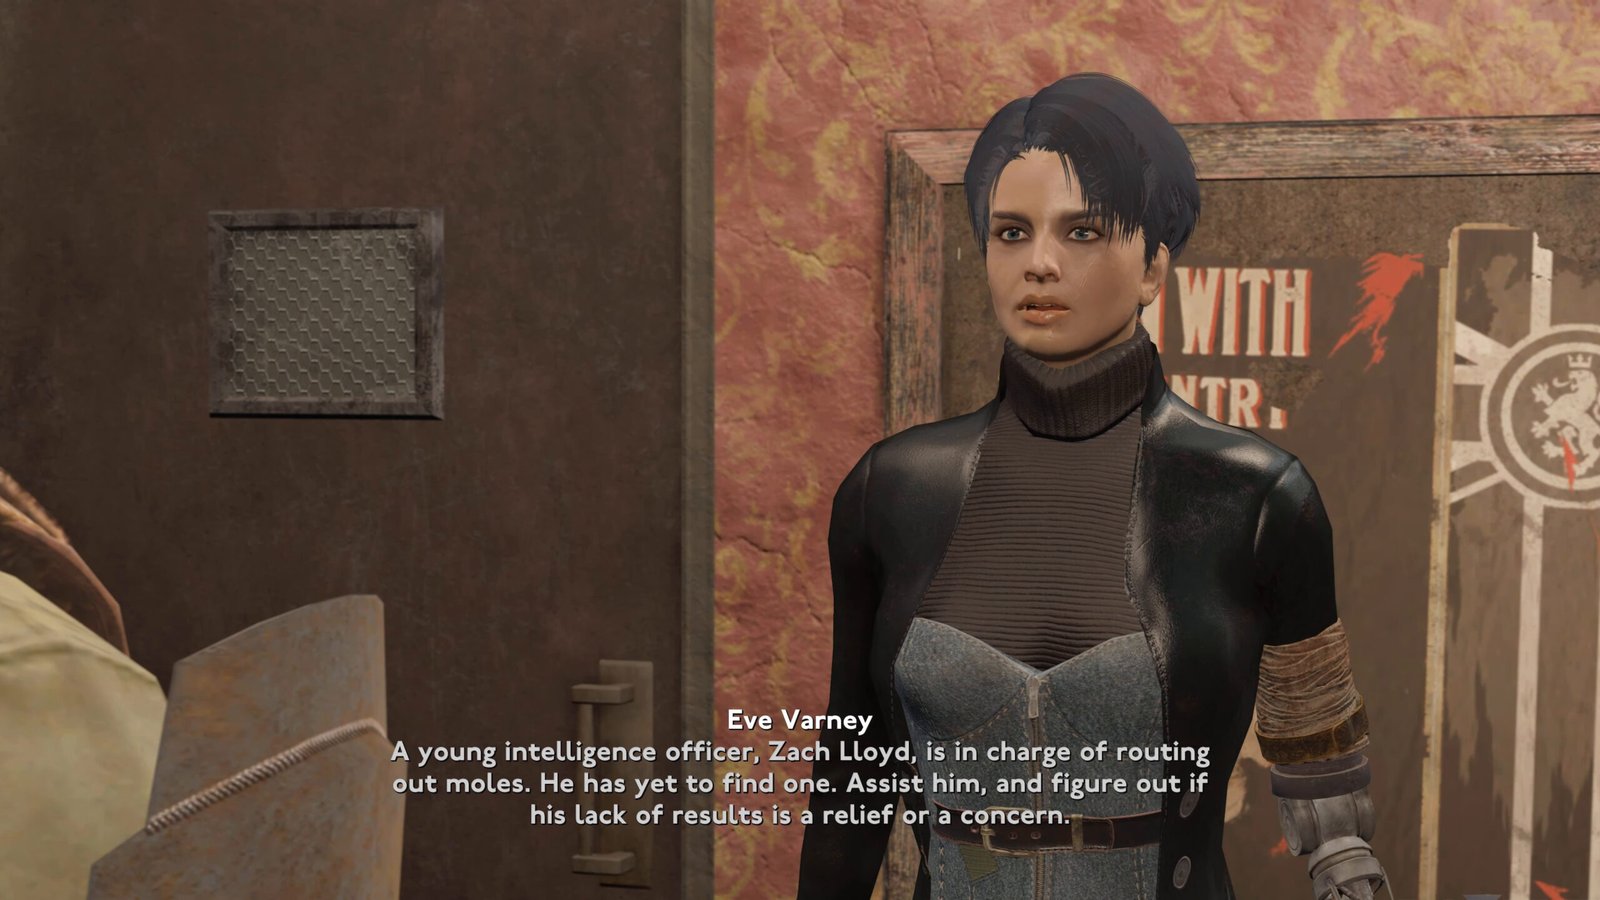
Zach Lloyd then puts us on a mole hunt. It runs through The Gherkin, Jeff Mutt, Lancelot’s room and a letter from Rhys Clarke. In Eve’s office we name Freddie Stonem as the weak link.

Episode 36: Songs of Carthage & The Queen’s Army
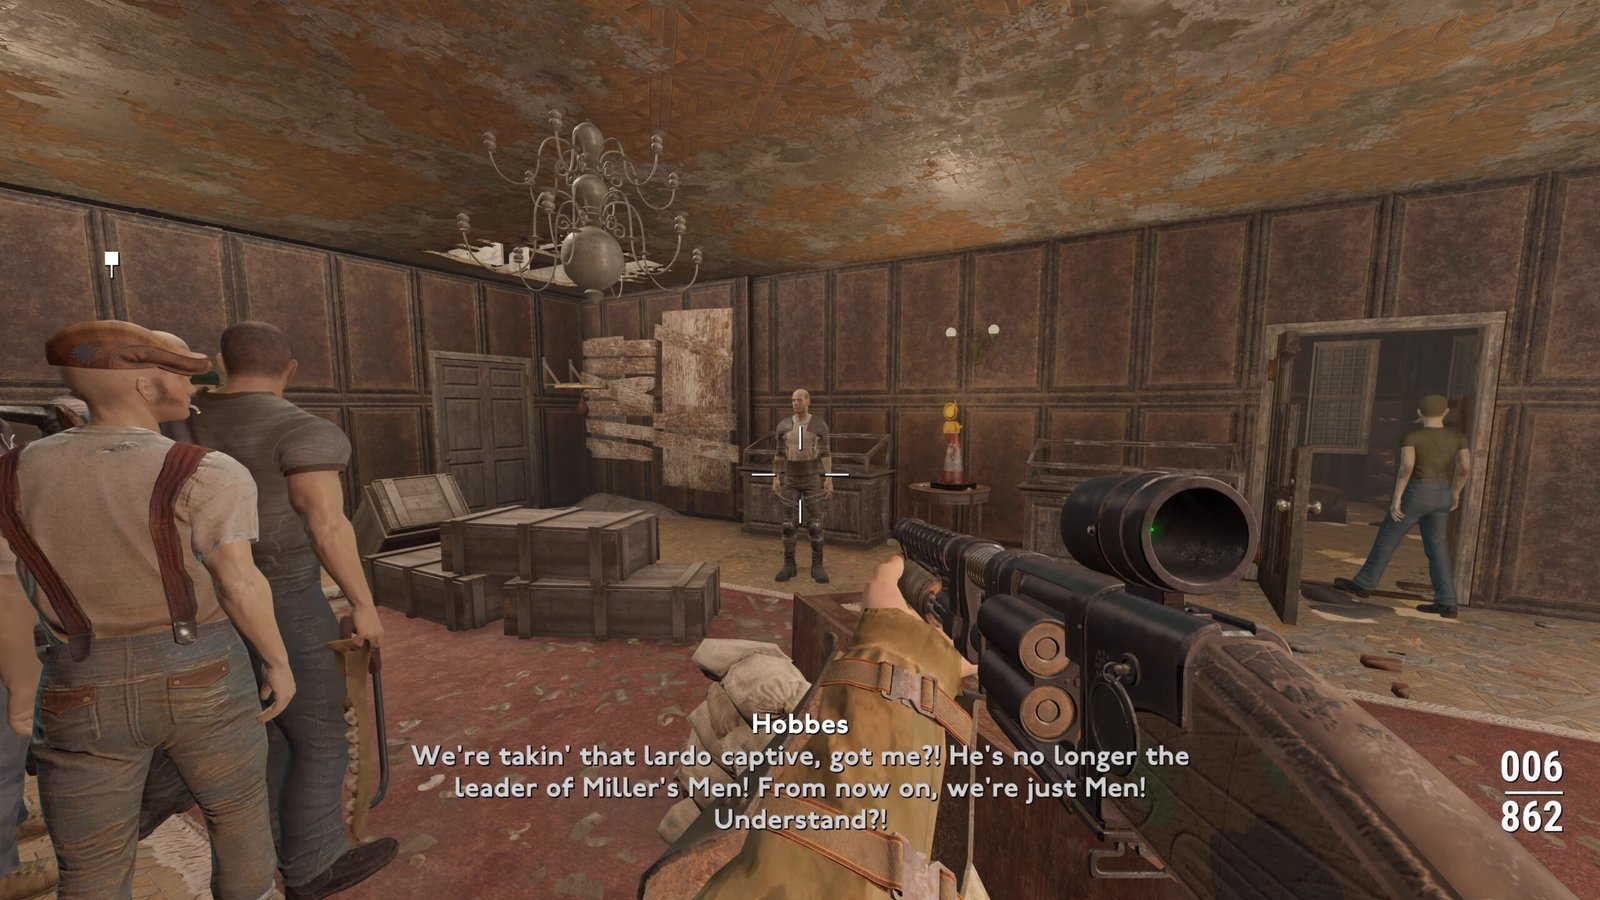
Songs of Carthage & The Queen’s Army starts with Derek Castor and an order to annex Miller’s Men. We duel Hobbes, then Miller at Charterhouse. Lily completes the bond.
The Queen’s Army is a coup. We go through Buckingham Palace for the royal heads and bring one to General Asquith with Major Jonathan Allen. Allen takes the Tommies for London, and we kill Colonel George Major and the resistors.

Episode 37: A Roar in the Waves
A Roar in the Waves is the 5th Column’s organised attack on the London Telecom Tower. Horatio Whitehouse leads us to Broadcasting House for the LT Tower Passcode. The Roundheads give it up.
Captain Abercrombie leads the charge up the floors, and we ride the lift with Eve, Lily, Freddie, Derek and Braiden. At the top Bradley Fortworth comes over to our side. Eve’s recorded speech goes out over London.

Episode 38: Idylls of the King
Idylls of the King is the 5th Column’s assault on Camelot. Eve Varney calls it the point of no return. We try to make Lancelot talk in the brig, and it fails.
Beside General Jonathon Allen and the Tommies we fight into the headquarters, find Merlin in the library and Arthur in the safe room. Horatio’s coup attempt comes out in the field hospital. Eve makes us head of the Administrative Branch.
Episode 39: 5th Column Ending
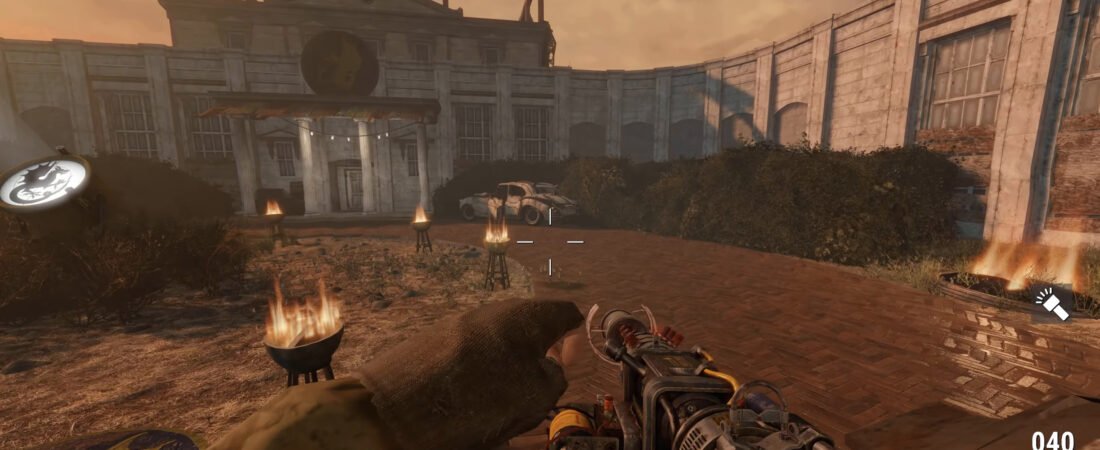
5th Column Ending opens with Eve Varney planning the strike on Westminster now that Camelot is gone. We lead a unit through the Waterloo Waterworks and open Westminster from the inside. Derek Castor sends us to take 10 Downing Street, Admiralty Arch and Broadcasting House.
The Palace of Westminster and the House of Commons lead to the Elizabeth Tower clock room. Mr Smythe says we are the same, then fights us with his umbrella. The 5th Column Ending slides close the run.









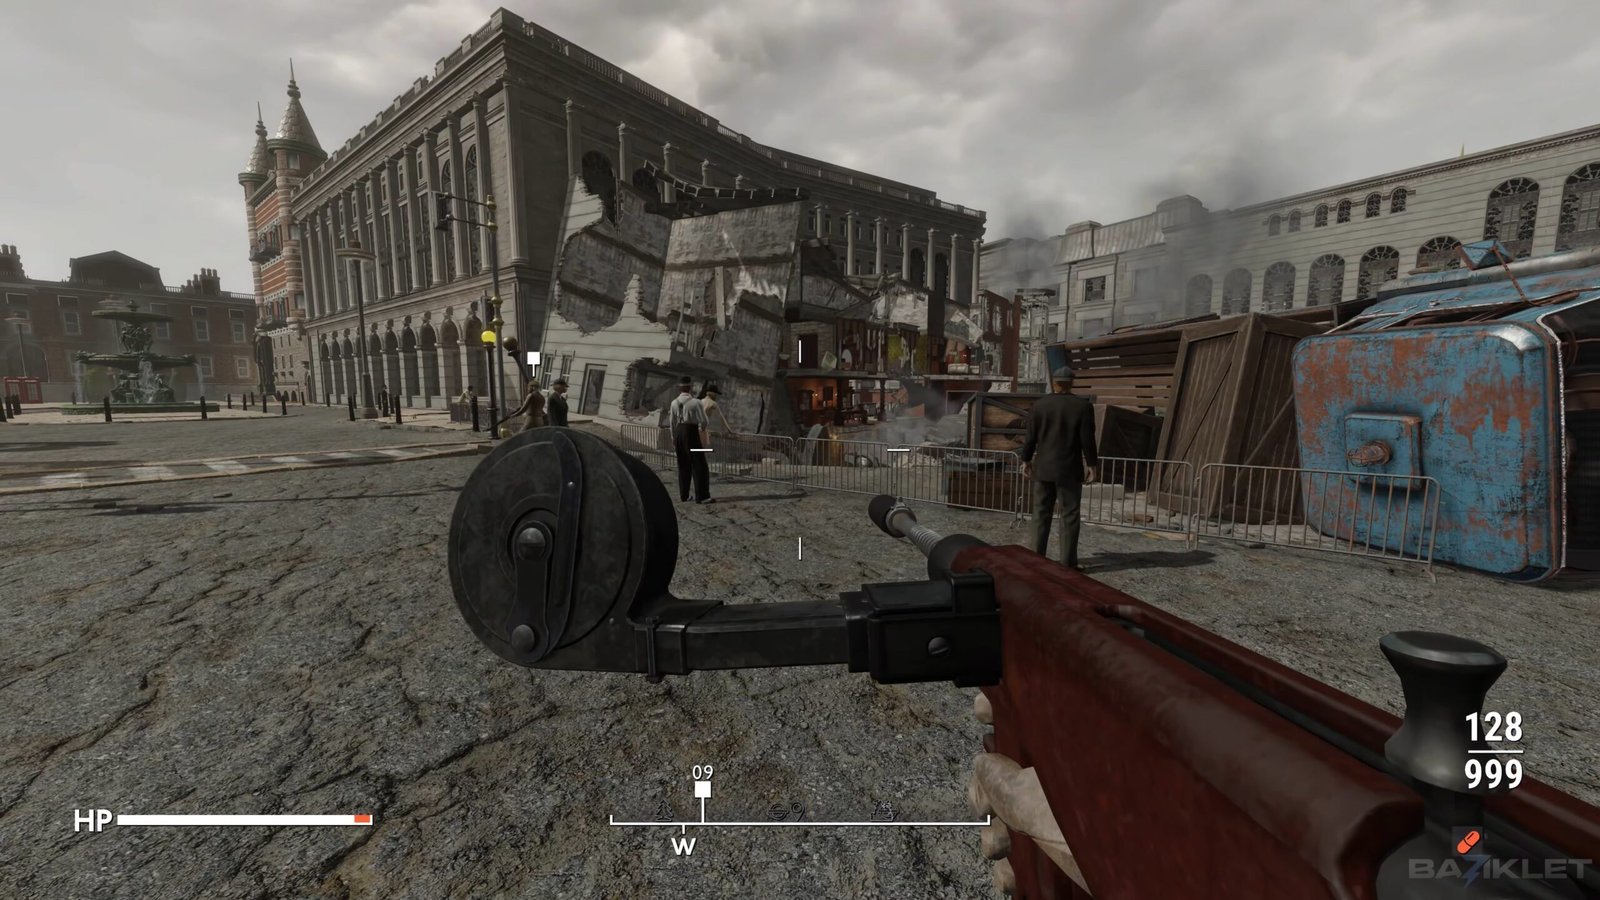



















Fallout London Walkthrough FAQ
How many episodes is the Fallout London walkthrough?
39. Episodes 1 to 21 cover the shared story from Broken Angel to War Games. Episodes 22 to 26 follow Angel, 27 to 33 follow Camelot, and 34 to 39 follow the 5th Column.
Which Fallout London endings does this walkthrough show?
Four. Episode 19 plays the Lake Nuke ending at Wimbledon Park when Pike tries to disarm the bomb. Episode 26 is the Angel ending, Episode 33 the Camelot Ending, and Episode 39 the 5th Column Ending.
Is the Wayfarer a clone of Agent Smythe?
Yes. In Elizabeth Tower Smythe tells the Wayfarer they were meant to be his replacement once conditioning was complete. He calls himself a clone of a clone of a clone. Meet Your Maker in Episode 26 and the clock room in Episode 39 both reveal it.
When do you lock in a faction in Fallout London?
It depends on the faction. Answering the telephone outside the London Aquarium after Nature Adores a Crab locks Angel (Episode 22). Reporting the finished outpost to Merlin in Living on a Thin Line locks Camelot (Episode 29). Back to Black locks the 5th Column (Episode 34).
Is Fallout London connected to Fallout 4?
Yes. Fallout London is a total-conversion mod built on Fallout 4, so it moves the same engine and systems to a post-war London. For the base game, see our complete Fallout 4 walkthrough, which follows the Sole Survivor to the Institute ending.