From Dom’s Cafe to Greenwich Foot Tunnel and the Uma Rescue in Fallout London Episode 2
Video chapters
- 0:00 Dom’s Cafe and the Isle of Dogs scout
- 1:23 Back to the Swan & Mitre
- 5:42 Leave the Swan & Mitre
- 6:03 The Hound
- 10:00 Churchill Library
- 12:35 Nadia’s Trade Post
- 14:25 Chill Winston and Bullettooth Anthony
- 16:24 Crystalline Photon Agitator
- 18:27 Johnny Shrapnel and Mickey
- 23:23 Nelson’s radio
- 29:17 Road to Greenwich Foot Tunnel South
- 34:50 Greenwich Foot Tunnel South
- 37:54 Greenwich Foot Tunnel North
- 40:30 Rescue Uma with Yvette
- 46:52 Join the Vagabonds
In this episode
- Quests
- On the Mend, Meeting in Millwall
- Locations
- Dom’s Cafe, Swan & Mitre, The Hound, Churchill Library, Nadia’s Trade Post, Greenwich Foot Tunnel South, Greenwich Foot Tunnel North, Millwall
- NPCs
- Yvette, Blind Nelson, Chill Winston, Nadia, Bullettooth Anthony, Johnny Shrapnel, Mickey, Uma, Sebastian Gaunt
- Unlocks
- Nelson’s radio fixed, joined the Vagabonds
Episode 2 of our Fallout London walkthrough picks up at Dom’s Cafe and stays on the Vagabond path through the rest of Swan & Mitre and into Meeting in Millwall. We kill the Isle of Dogs scout, run Chill Winston’s errand to Nadia’s Trade Post, get Bullettooth Anthony his Crystalline Photon Agitator, and put Blind Nelson’s radio back together. The broadcast says Yvette is in trouble. The only clean way across the Thames is Greenwich Foot Tunnel South, a hard stretch of radiation, holes, and drowned ghouls that dumps us at Greenwich Foot Tunnel North. From there we help Yvette pull Uma out of Millwall and report to Sebastian Gaunt about joining the Vagabonds.

Dom’s Cafe and the Radio Job
Episode 2 opens at Dom’s Cafe. Yvette sent us after the Isle of Dogs scout who slipped the attack on the Swan & Mitre. We find the scout in the back and kill him, then cut back to the pub and tell Yvette it is done. That closes the fight that started in Episode 1 and hands the floor to Blind Nelson.
Nelson needs the radio fixed. Chill Winston has the antenna side of the job, but only after we check on his main supplier. Winston is stuck at the pub after the Syndicate raid, so he sends us out to collect the package and make sure Nadia is still breathing. Swan & Mitre is no longer a shootout. It is a list of favours that have to get done before anyone in Bromley hears a usable signal.

The Hound, Churchill Library, and Nadia’s Trade Post
We leave the Swan & Mitre and walk the job instead of fast travelling it. The Hound sits on the way. Inside we pick up a Cutethulhu doll and a two-handed sword, then step back into Bromley. A few seconds down the road is Churchill Library. We do not go inside. Scavengers are already fighting on the grounds, and that scrap is where the first automatic rifle drops.
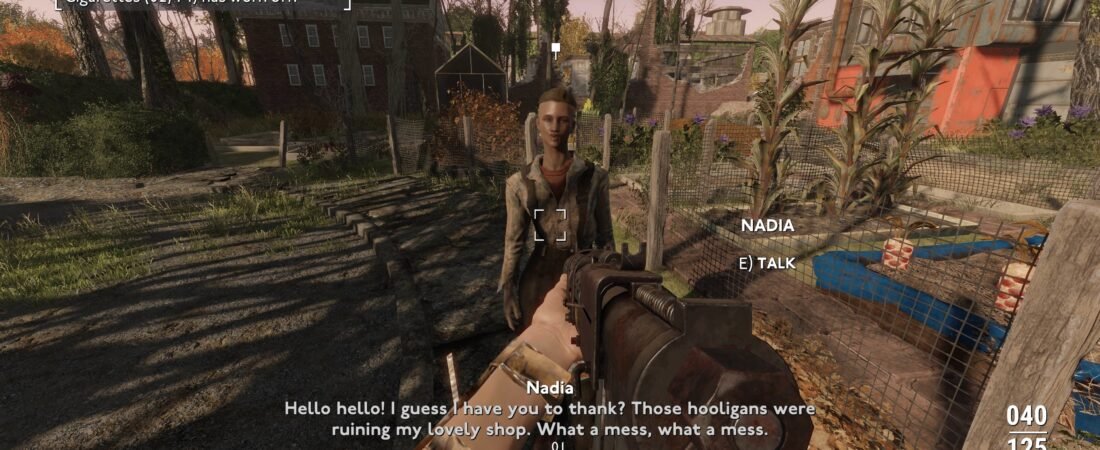
Nadia’s Trade Post is the actual marker. Hooligans are on her when we arrive. We clear them, talk to Nadia, and take Winston’s package. Then we teleport back to the Swan & Mitre, hand the delivery to Chill Winston, and go downstairs to Bullettooth Anthony. The radio still needs a workbench. Anthony will not clear his bench until he has a Crystalline Photon Agitator for the laser rifle he has in pieces.
- Lore Fact: Cutethulhu dolls are scattered across Fallout London. The one on the table in The Hound is an early pickup and starts the thread that later becomes Mysterious Dolls and Dolls of the Deep. It is optional flavour on this walk, not a required Vagabond objective.
The Agitator, Mickey, and Nelson’s Radio
We go back outside for the Crystalline Photon Agitator, bring it to Anthony, and get the bench. Johnny Shrapnel has the last piece: the battery. He will not hand it over until we take a gift to Mickey and apologise on Johnny’s behalf. Mickey accepts. Johnny gives us the battery. The radio goes back together and we give it to Nelson.
That is the end of the busywork inside Swan & Mitre. Nelson turns the set on. The message is not routine traffic. Yvette is in trouble in Millwall, inside Isle of Dogs Syndicate ground, trying to stop an execution. Meeting in Millwall starts here. Greenwich Foot Tunnel South is the crossing Nelson points us at, and it is the part of this episode that actually hurts.

Greenwich Foot Tunnel South
We leave the pub and head for Greenwich Foot Tunnel South. On the way we hit a stranded ship and help the townsfolk take it back, then keep walking. The tunnel entrance is the one that matters. Greenwich Foot Tunnel South is the pre-war pedestrian tube under the Thames. It is flooded with radiation, the stairs are broken, and drowned ghouls hunt the dark.
This is the hard quest of Episode 2. There is no clean firefight at the door and no fast travel that skips the pipe. We go in at the south end, work the length of the tunnel, and climb out at Greenwich Foot Tunnel North on the Millwall side. If you miss the name on a map, you miss the only reliable crossing the Vagabonds use this early. South is the Greenwich entrance. North is the Tower Hamlets exit. Get those two labels right or the next marker makes no sense.

Rescuing Uma and Joining the Vagabonds
Greenwich Foot Tunnel North puts us in Millwall. Yvette is already there. The Syndicate has Uma, and the guards are not going to talk their way out of it. We take the guards down and help Yvette get Uma out. Meeting in Millwall is that rescue. No extra tour of the Isle of Dogs. In, fight, out.
We cut back to the Swan & Mitre and speak with Sebastian Gaunt. The radio job, the tunnel, and Uma are what he needed to see before the Vagabonds stop treating us like a stray from the train wreck. Episode 2 ends on that conversation: we are in with Gaunt, Yvette is alive, and Greenwich Foot Tunnel South is no longer an unknown stretch of map.
- Lore Fact: Greenwich Foot Tunnel is a real London crossing, opened in 1902 so dock workers could walk under the Thames between Greenwich and the Isle of Dogs. Fallout London keeps both mouths of the tunnel and turns the walk into one of the first real tests south of the river.

Fallout London Episode 2 Greenwich Foot Tunnel FAQ
How do you finish the Swan & Mitre radio job?
Kill the Isle of Dogs scout at Dom’s Cafe and report to Yvette. Blind Nelson needs the radio fixed. Check on Nadia for Chill Winston, get Bullettooth Anthony a Crystalline Photon Agitator, take Johnny Shrapnel’s gift to Mickey, then bring the battery back. Hand the working set to Nelson.
Where is Nadia’s Trade Post?
South of the Swan & Mitre in Bromley. Winston sends you there for his package. Hooligans are on Nadia when you arrive. Clear them, take the delivery, and teleport back to the pub. The Hound and Churchill Library sit on that same walk; we do not enter the library.
How do you get to Millwall in Meeting in Millwall?
Use Greenwich Foot Tunnel South, not a bridge. The south mouth is the Greenwich entrance. The tunnel is irradiated, broken, and full of drowned ghouls. Climb out at Greenwich Foot Tunnel North on the Tower Hamlets side. That is the crossing this episode uses to reach Yvette.
How do you rescue Uma in Meeting in Millwall?
Meet Yvette after the north exit. The Isle of Dogs Syndicate is holding Uma. In this video we take the guards down and pull Uma out with Yvette. No extra tour of Millwall. Then cut back to the Swan & Mitre.
When do you join the Vagabonds in Episode 2?
After Uma is out, speak with Sebastian Gaunt at the Swan & Mitre. The radio job, the tunnel, and the rescue are what he needed. Episode 2 ends on that conversation. Welcome to the Vagabonds is the next stretch, not this video.